Table of Contents
Introduction
This guide covers how to perform a clean installation of Windows Server 2025. This applies to Preview, Evaluation, and Final Release Builds. Whether you’re deploying in a small office environment or preparing for a large-scale infrastructure build, a clean installation is often the best starting point. However, a clean install means the primary drive will be formatted, removing any existing data. Please ensure that you back up any critical data before proceeding!
System Requirements
The following are Microsoft’s current minimum system requirements for Windows Server 2025:
- Processor: 1.4 GHz 64-bit processor (x64 architecture)
- Memory: Minimum 2 GB RAM (Desktop Experience), 512 MB (Core Install)
- Storage: At least 32 GB (more depending on role/services)
- Firmware: UEFI with Secure Boot recommended
- TPM: TPM 2.0 required for secure boot and enhanced security features
- Display: VGA-compatible display
- Internet: Required for activation, updates, and optional connected services
While this is the minimum needed to run Server 2025, the roles you intend the server to fulfill and additional features you want to install may require more powerful hardware.
While this is the minimum needed to run Server 2025, the roles you intend the server to fulfill and additional features you want to install may require more powerful hardware.
Creating Bootable Installation Media
To create a Windows Server 2025 installation USB (8 GB or larger):
- Set the following options in the tool:
- Partition scheme: GPT (for UEFI systems)
- File system: NTFS
- Target system: UEFI (non-CSM)
- Download the ISO image for Windows Server 2025 from one of the following sources:
- Microsoft Evaluation Center (for preview and evaluation builds)
- Volume Licensing Service Center (VLSC) (for licensed customers, download link provided by Microsoft once purchased)
- Use a tool to create the bootable USB, such as Rufus, or a similar utility.
Microsoft also provides command line guidance for the USB creation process on their Help Page
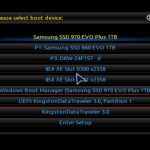
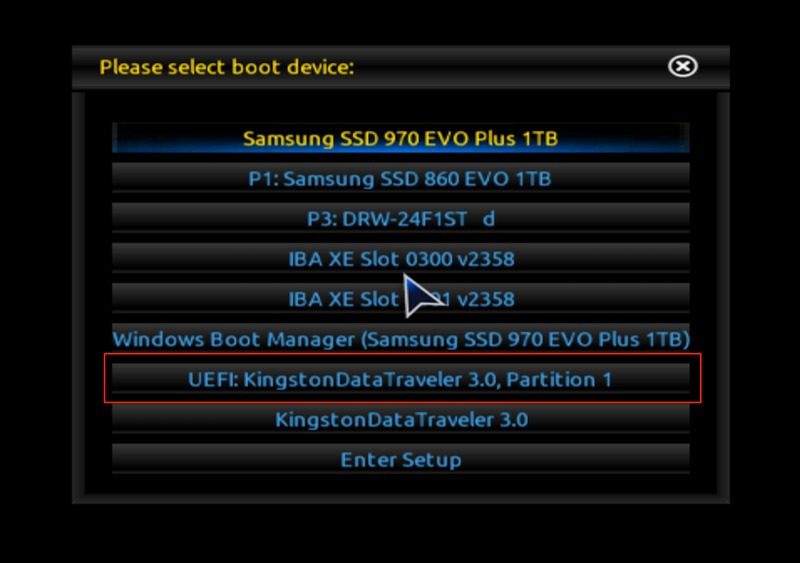
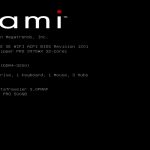
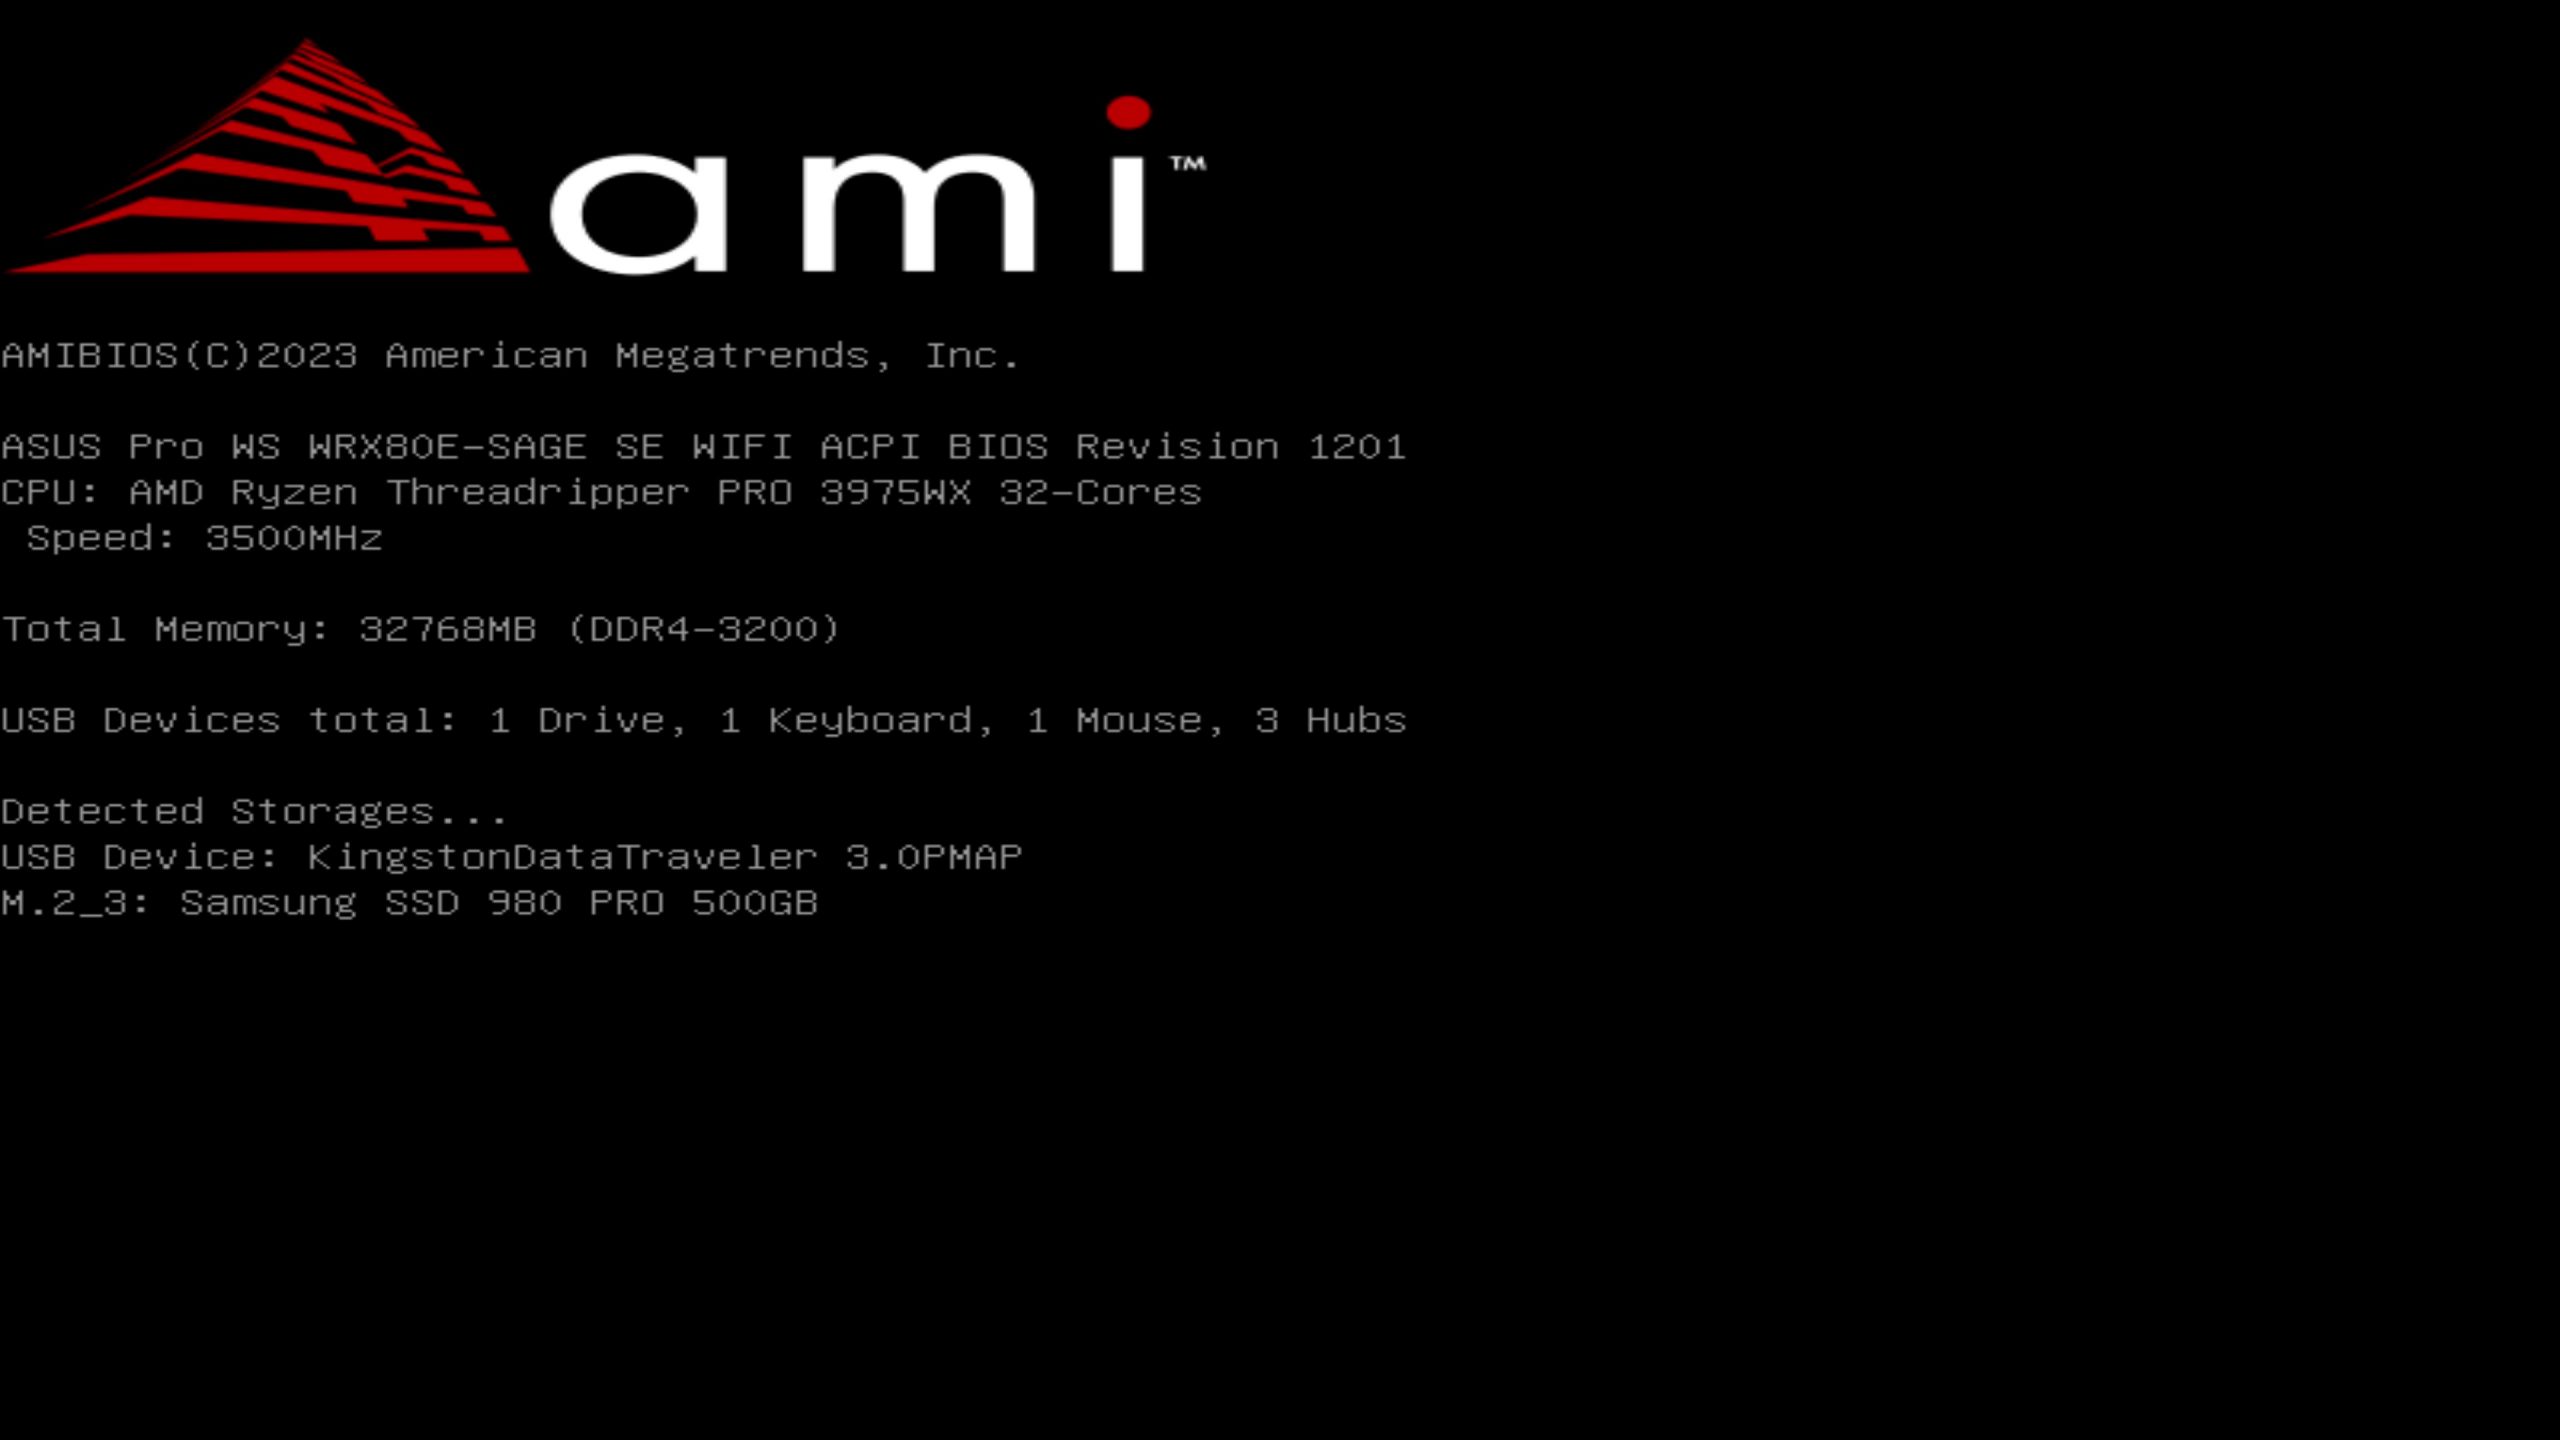
Booting from USB
- Insert your bootable USB drive into a USB 3.0 port (on the rear of the system if possible) and power it on.
- Use the appropriate key for your motherboard to access the boot menu. Here are examples of common boot menu function keys.
- ASUS: F8
- Gigabyte: F12
- MSI / ASRock: F11
- Once the boot menu appears, select your USB drive to begin booting into the Windows Server 2025 installation environment.

System Image
Starting the Installation
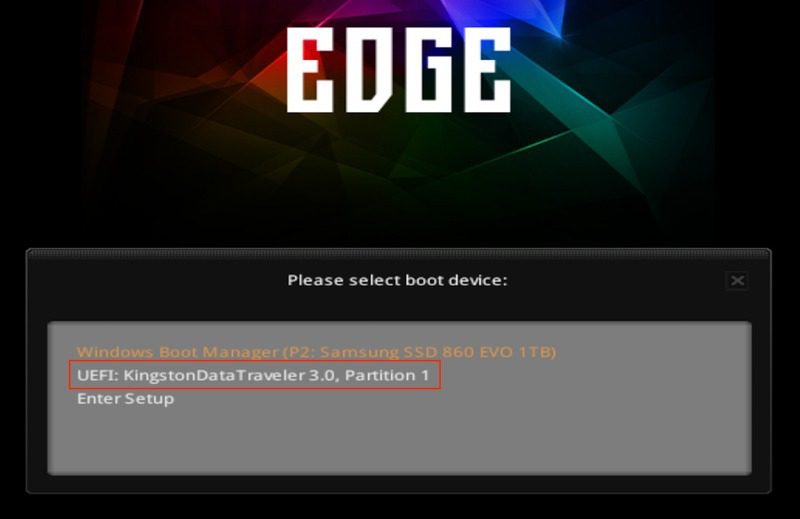
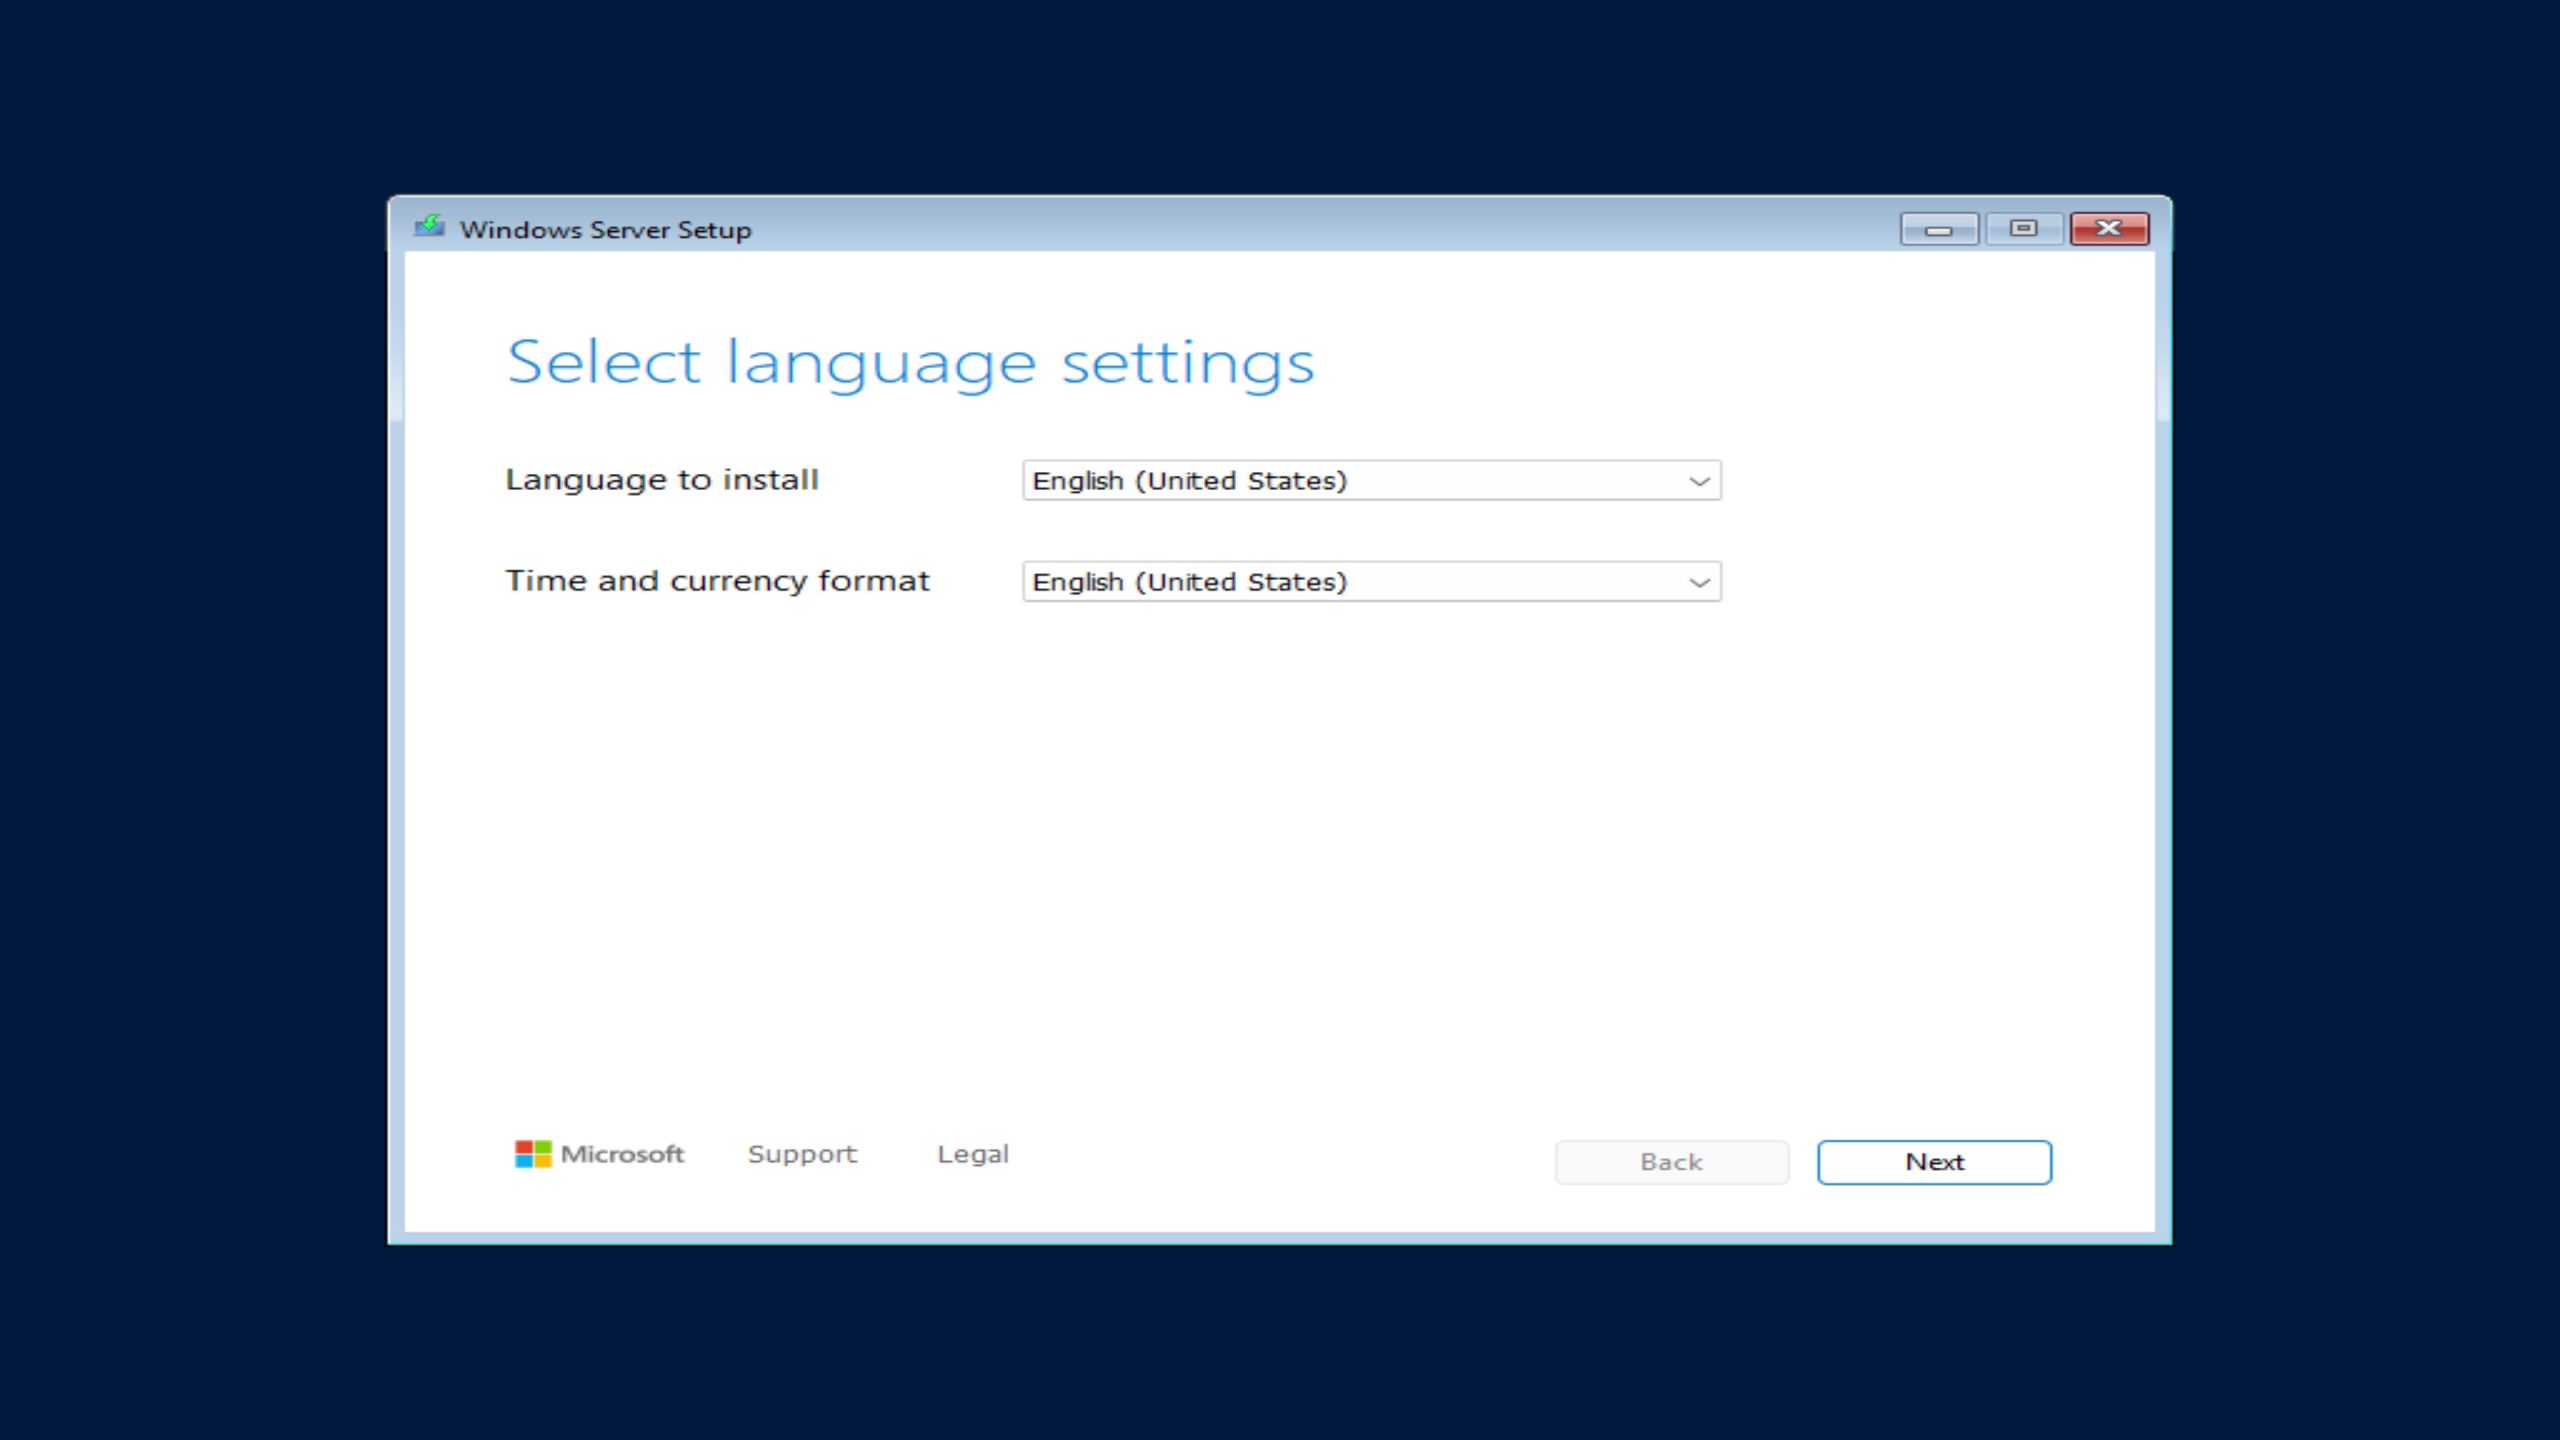
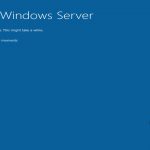
Once booted, you’ll see the Windows Server setup screen:
- Language and Time: Choose your preferred settings, then click Next.
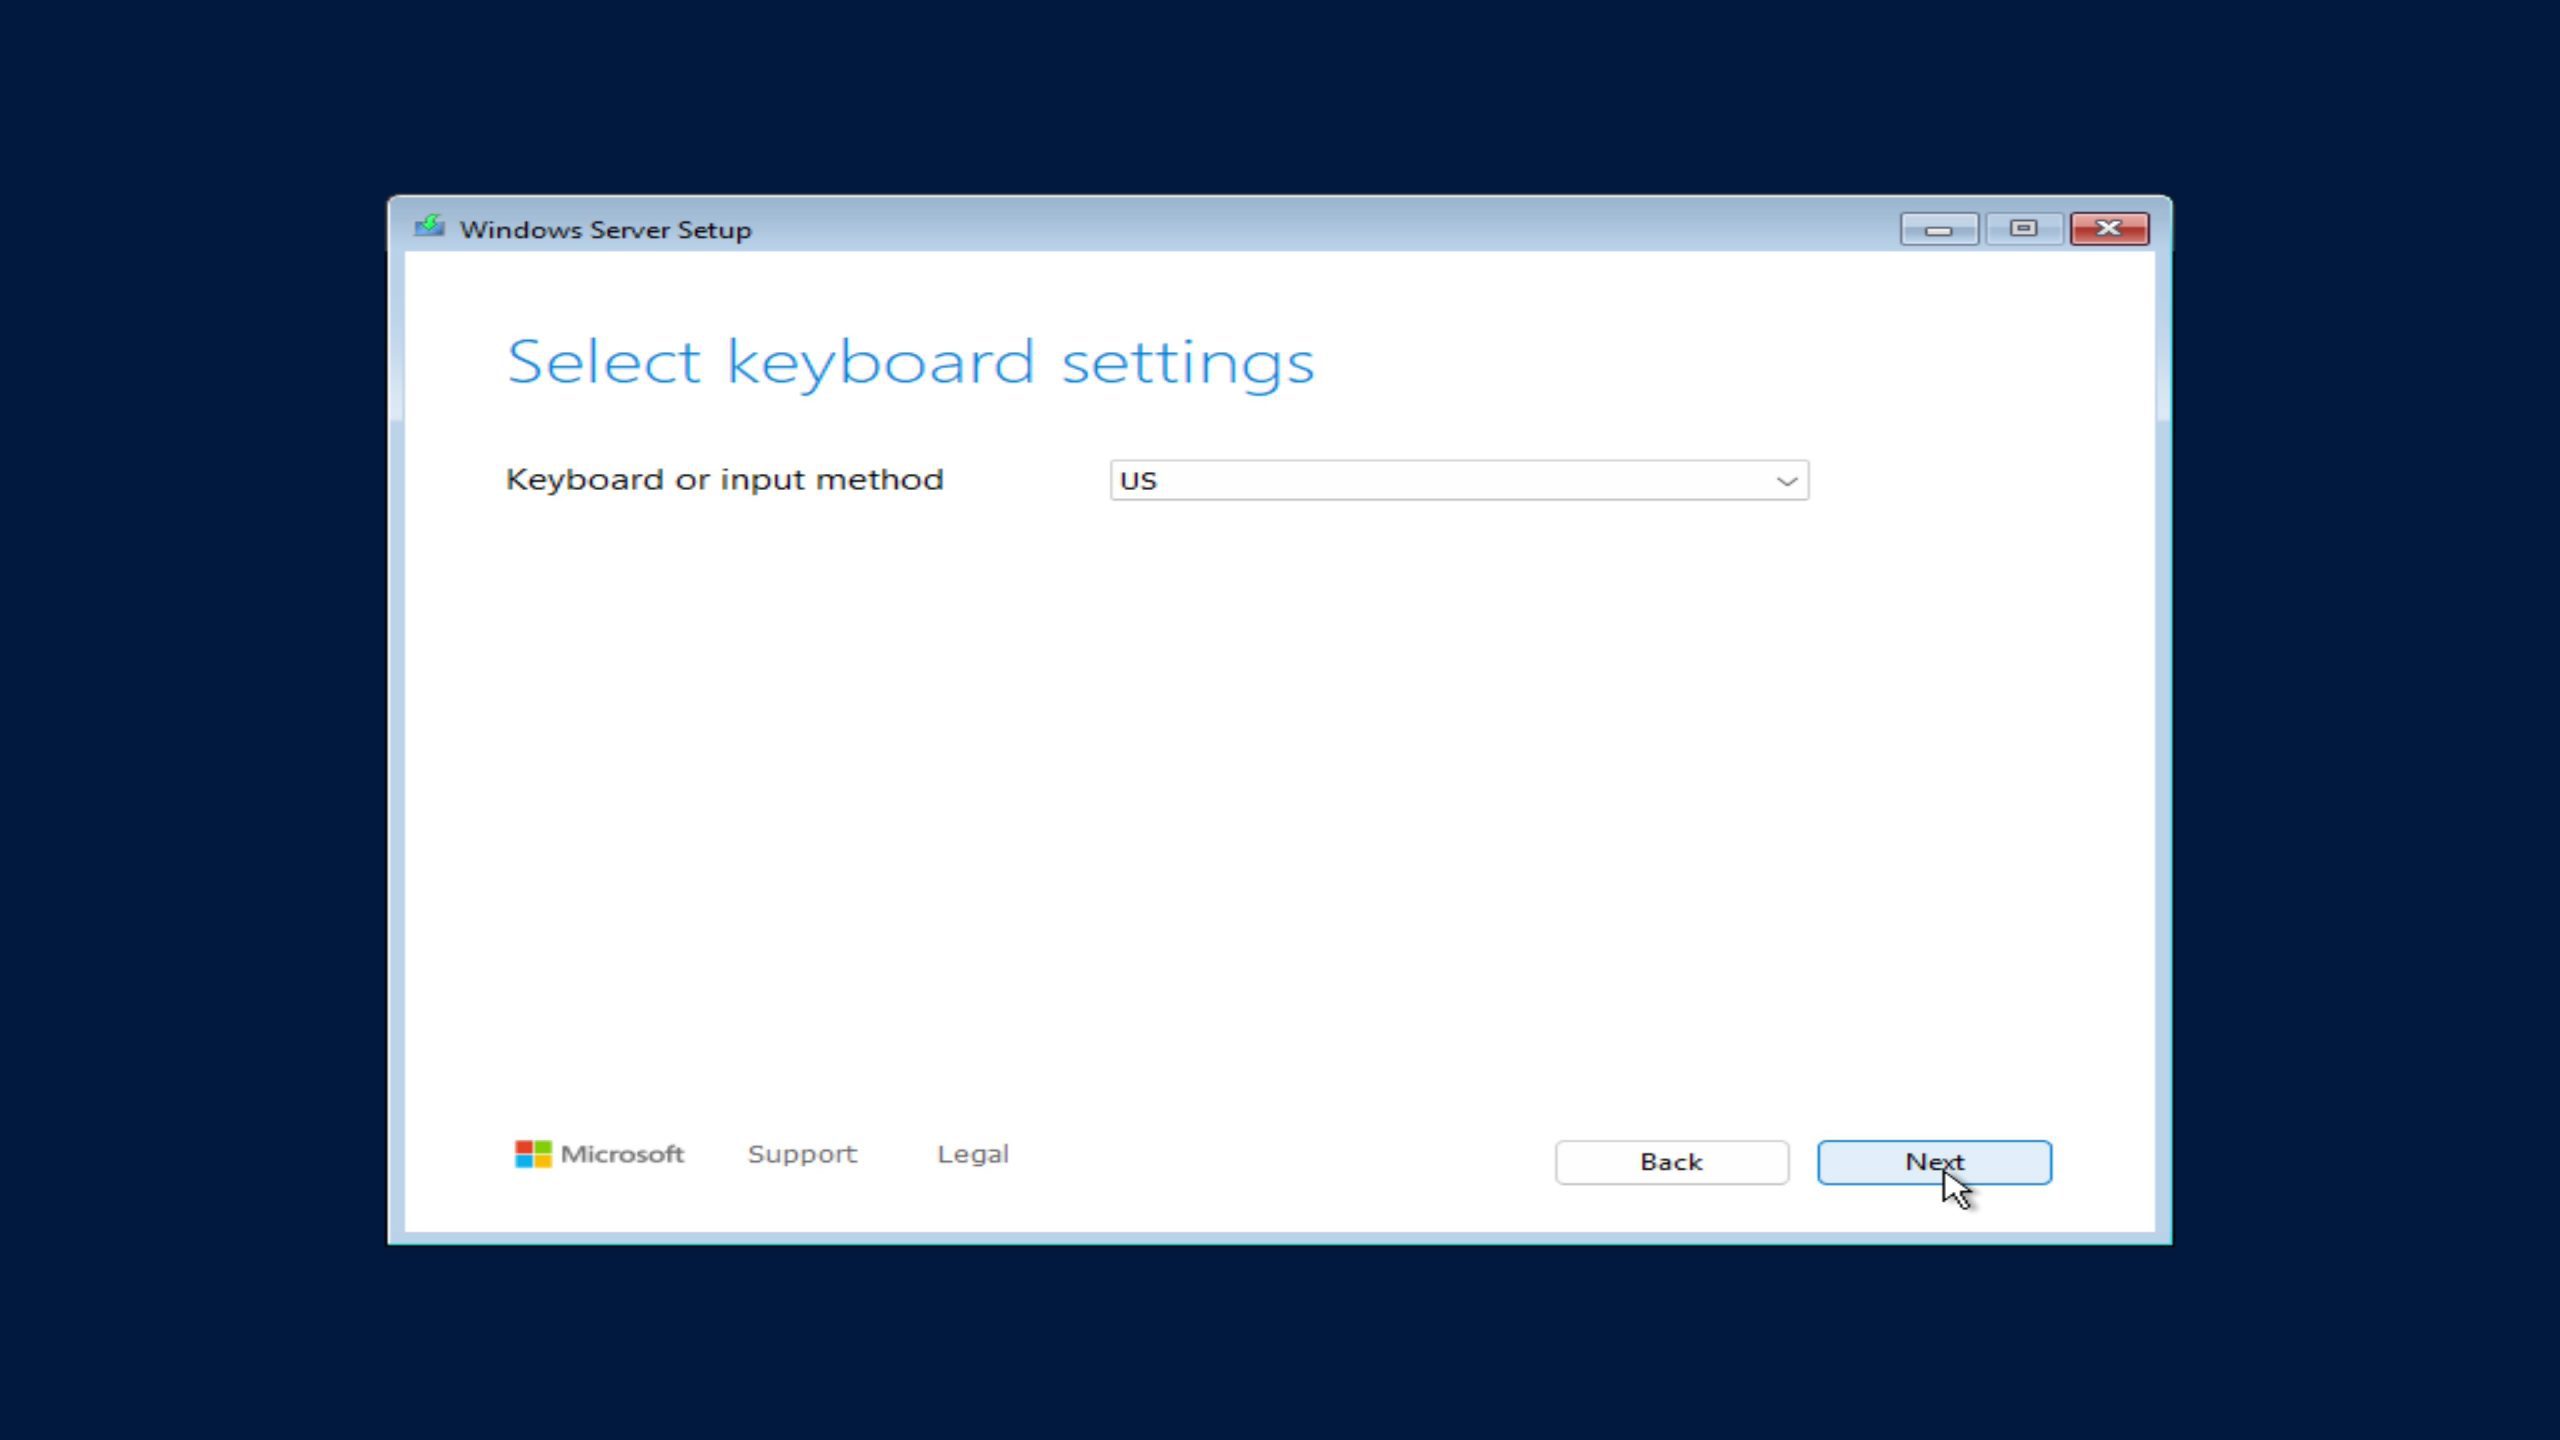
- Select your Keyboard layout, then click Next.
- Click Install Now.
System Image
Choose Your Server Edition
Next you’ll be prompted to select the version of Windows Server 2025:
- Standard Core / Datacenter Core – no GUI, command-line only
- Standard (Desktop Experience) – includes full GUI
- Datacenter (Desktop Experience) – full GUI + advanced features (Shielded VMs, Storage Replica, etc.)

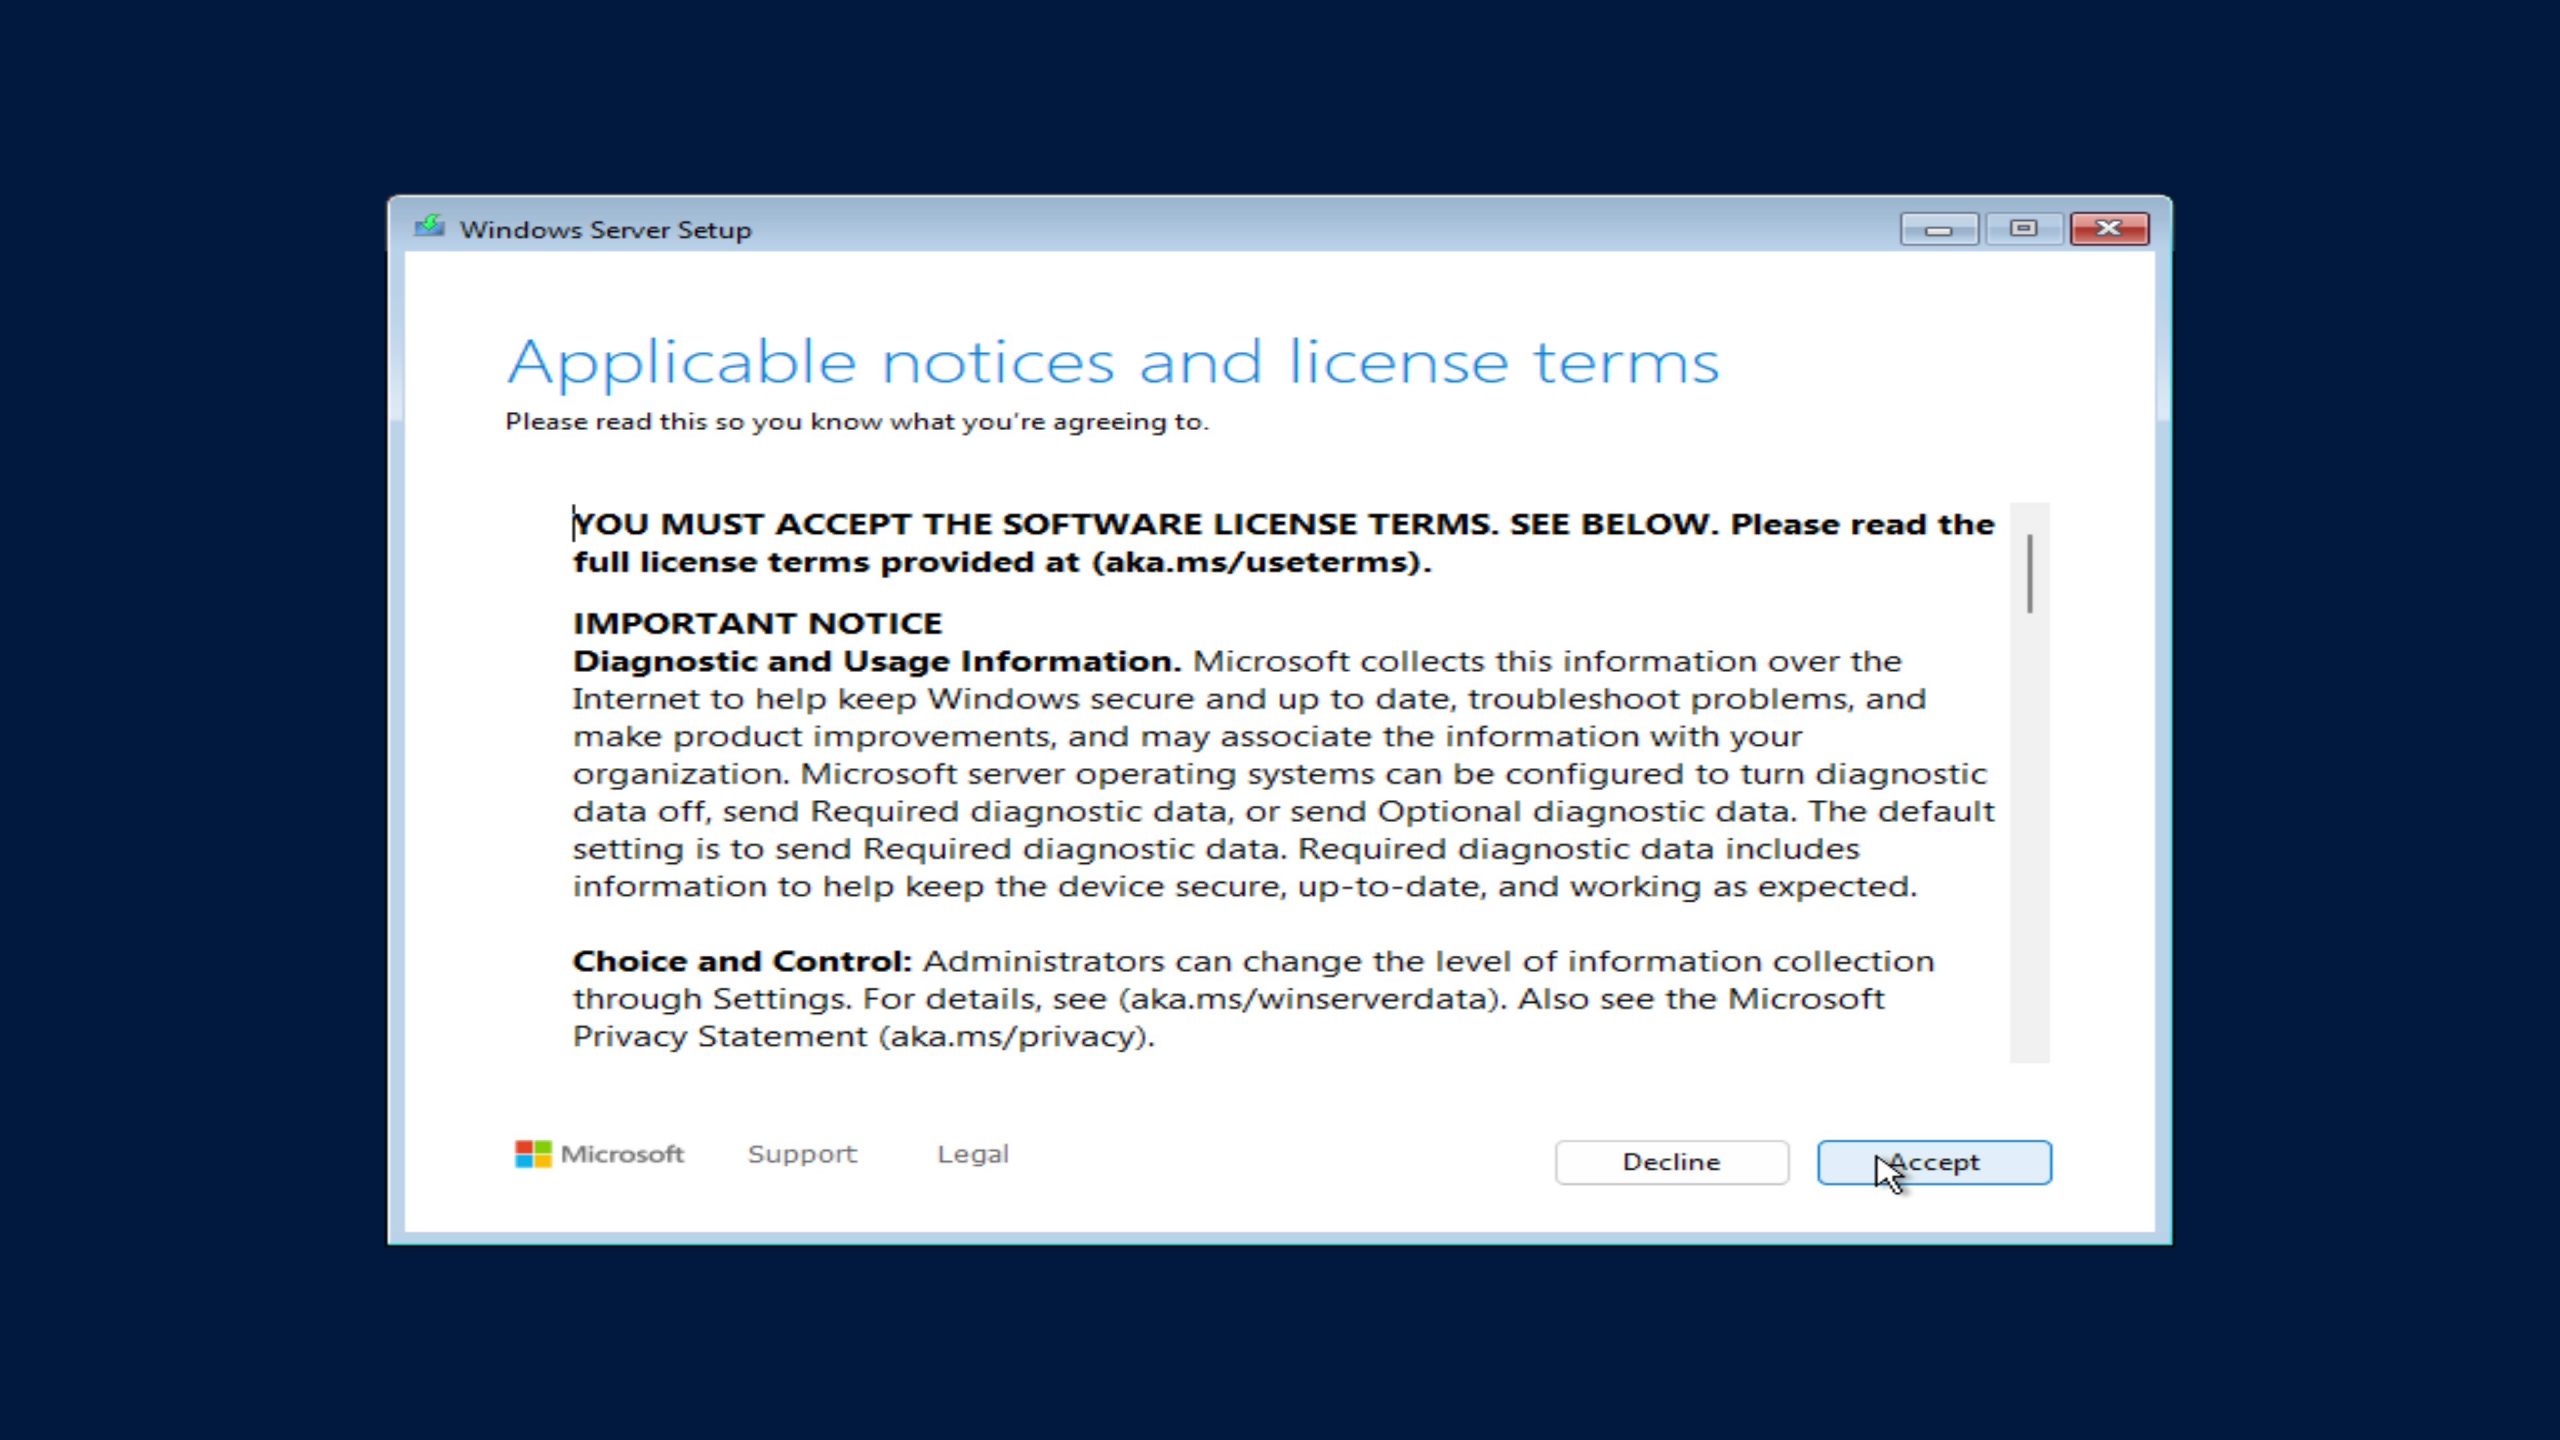
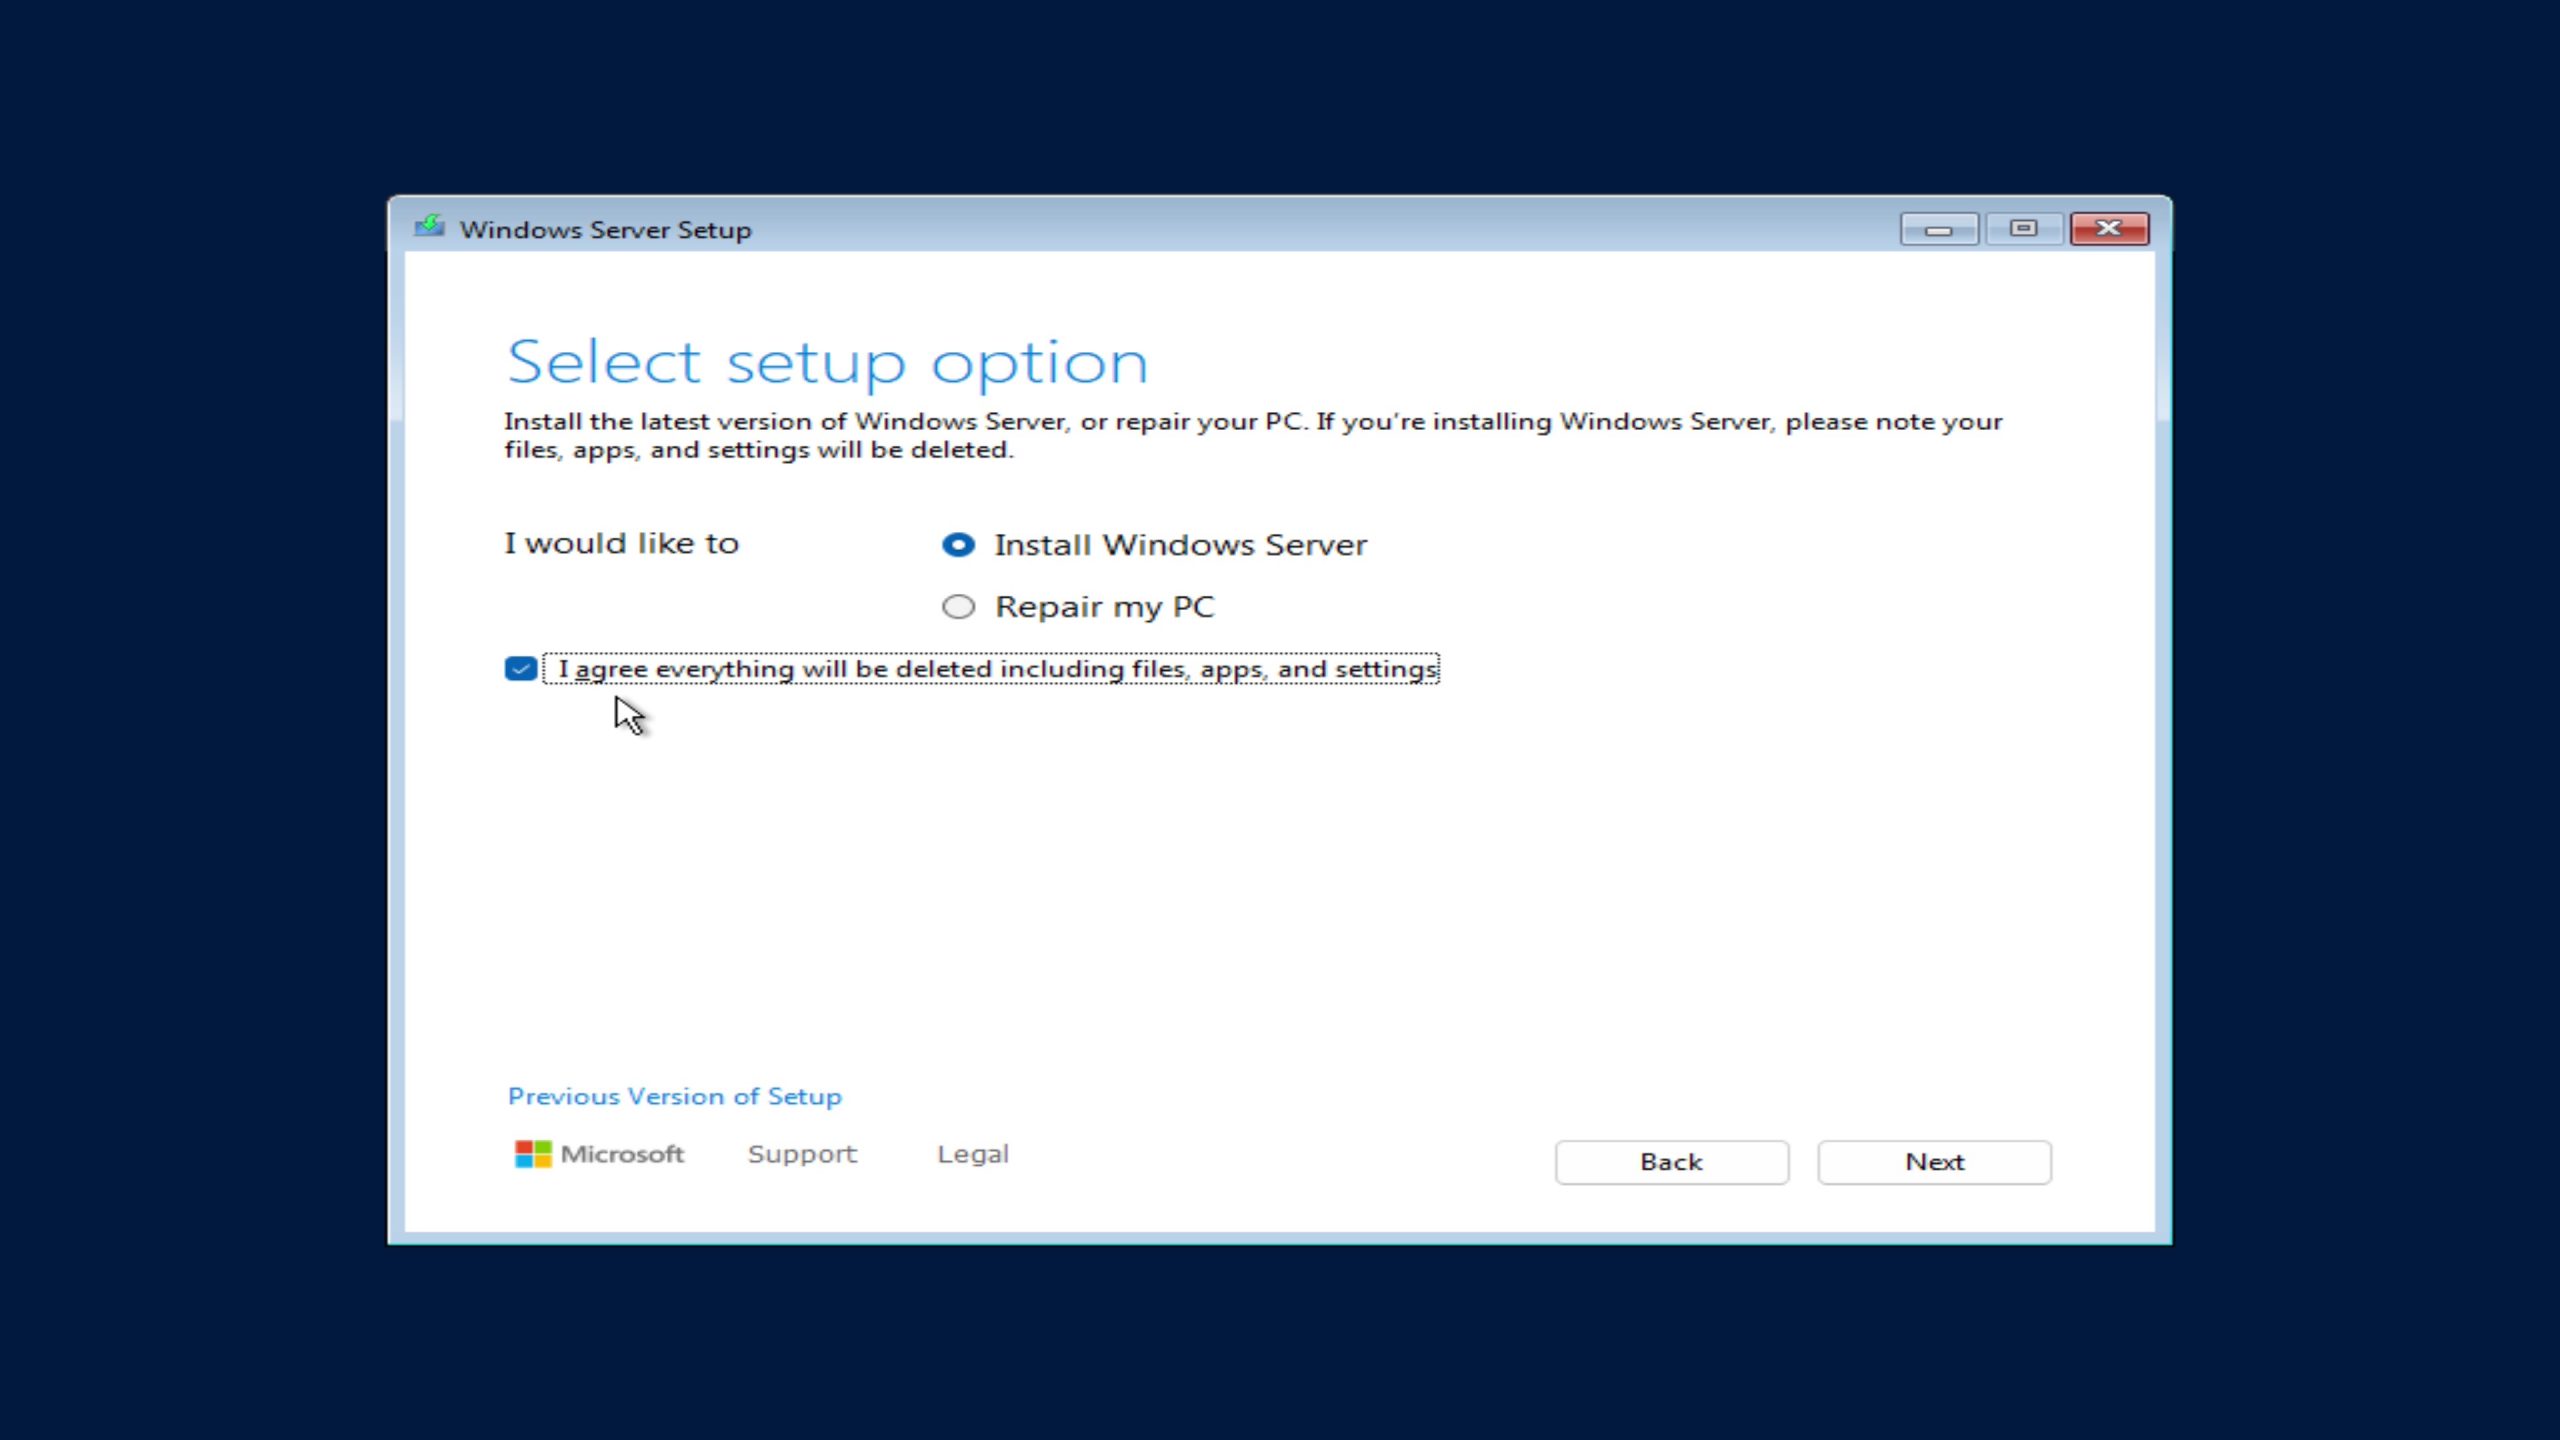
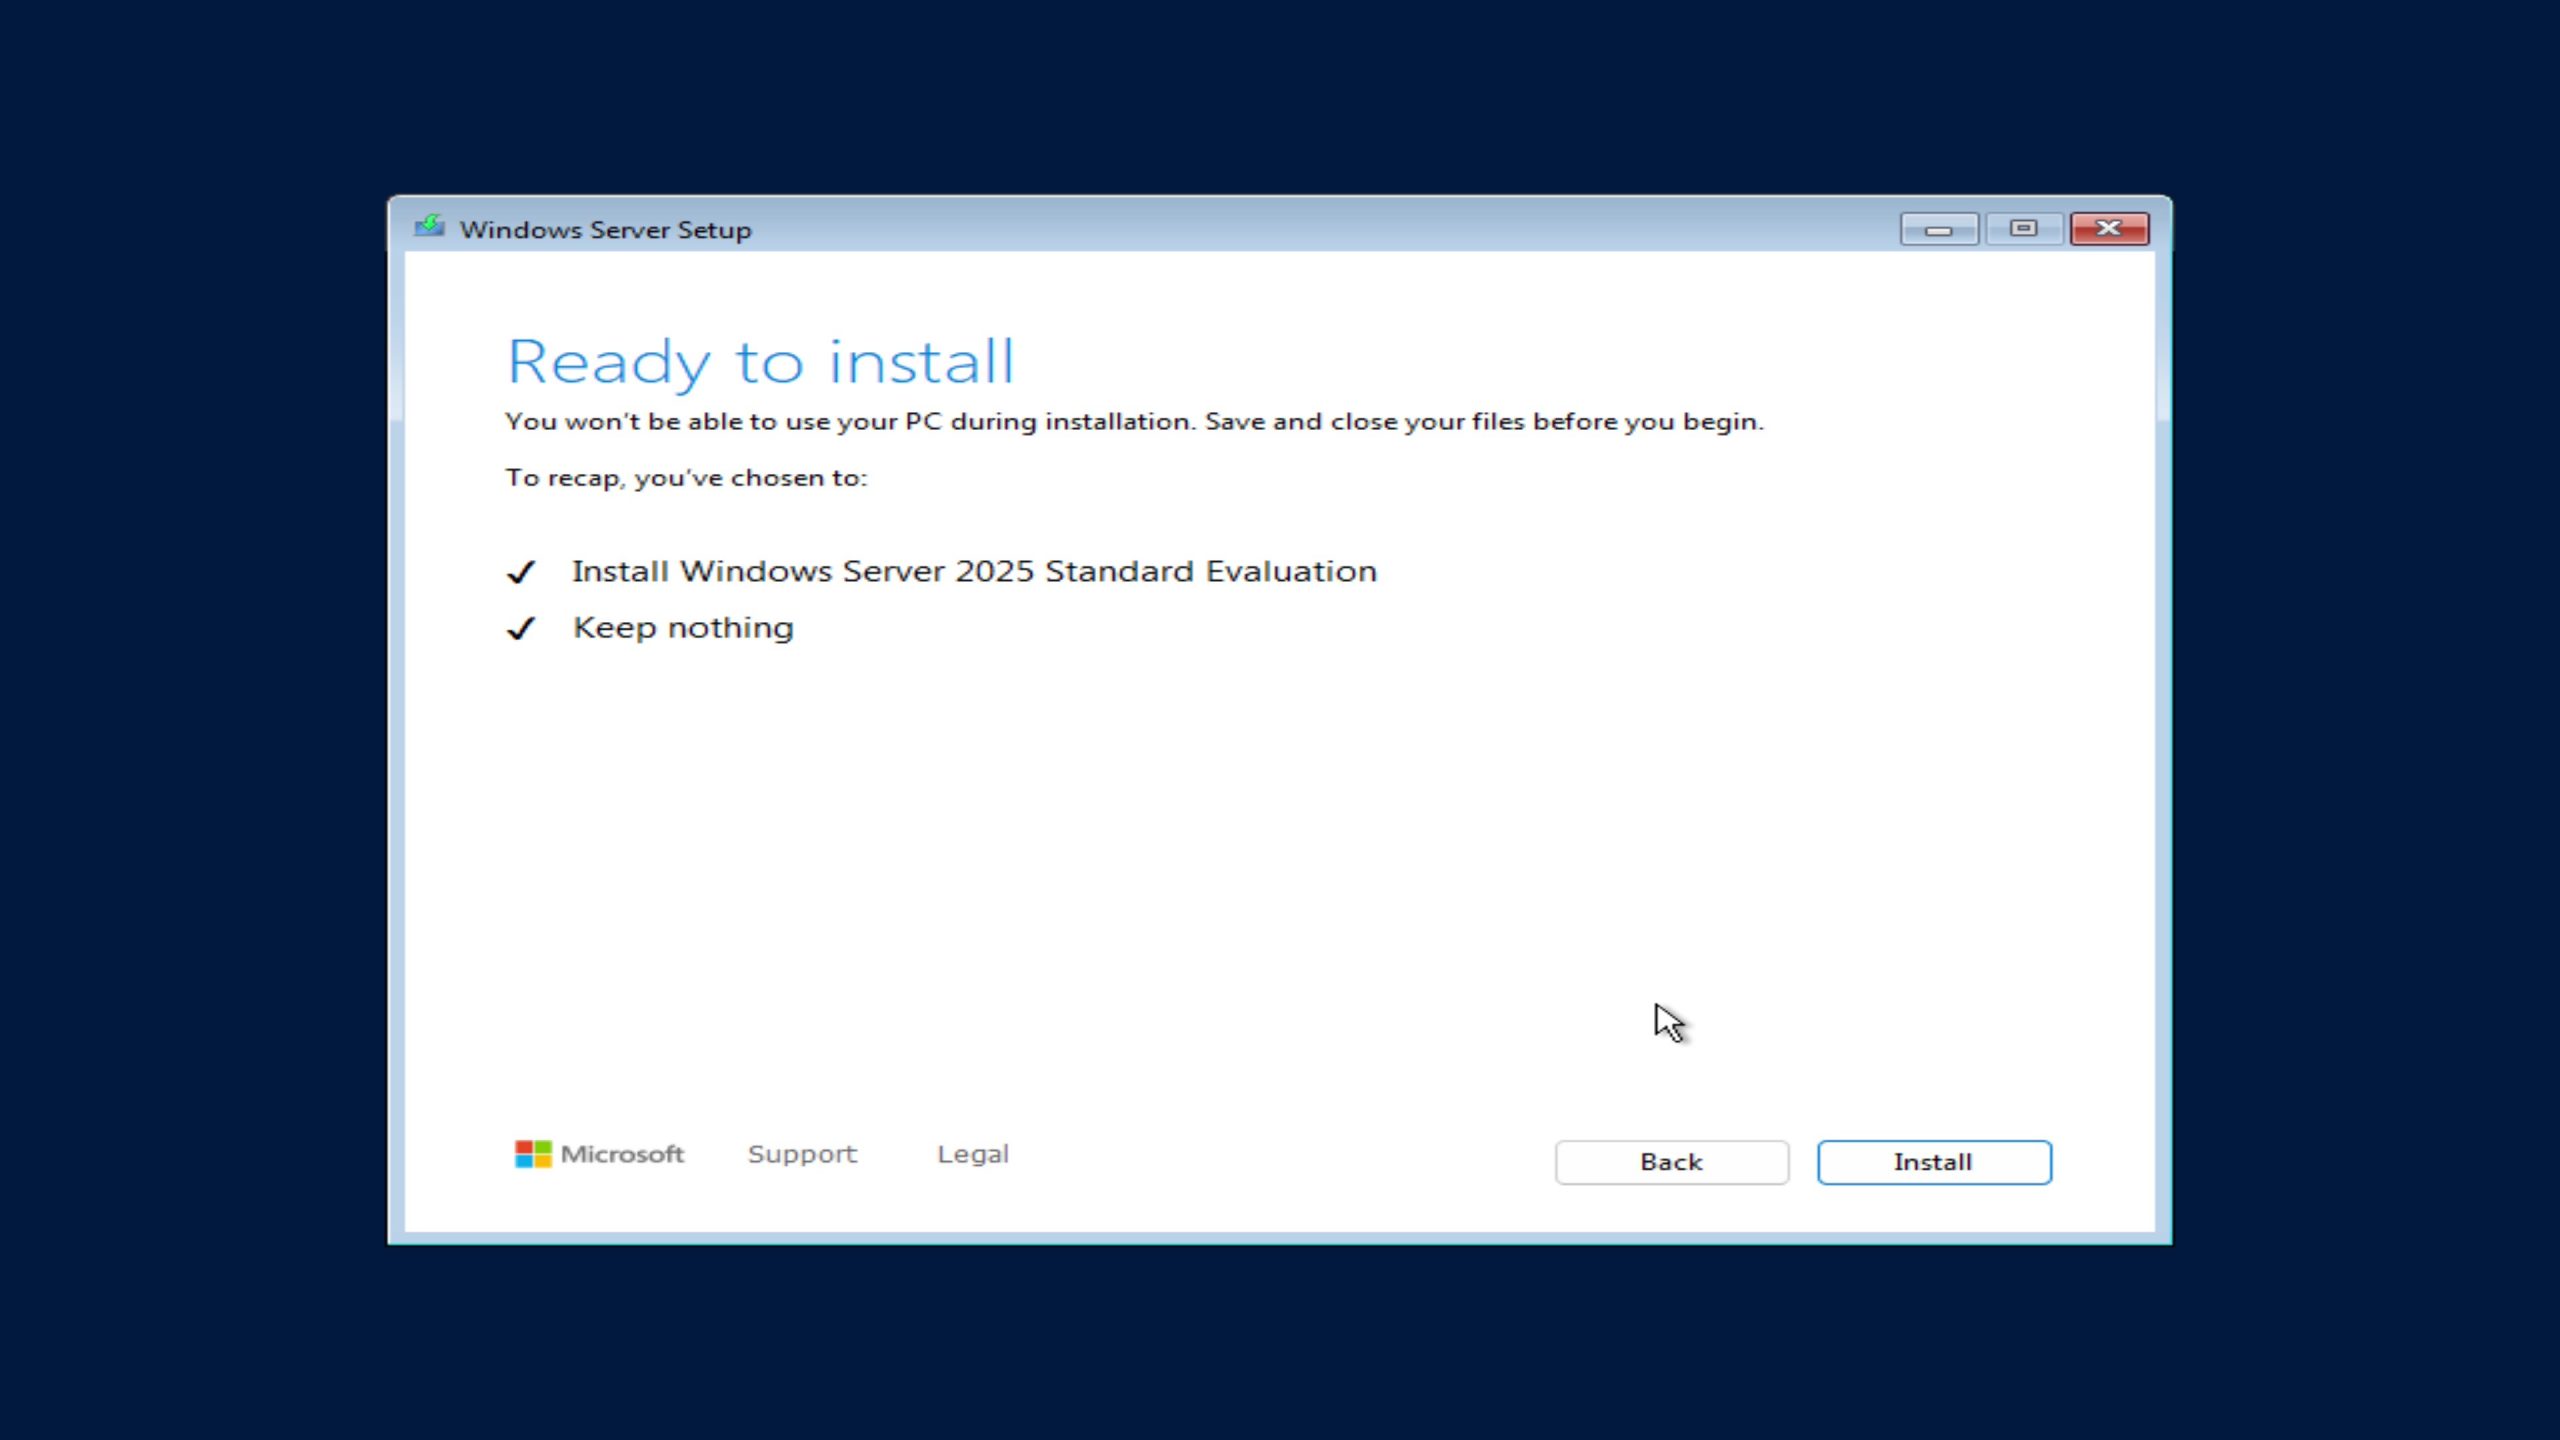
License Agreement & Installation Type
- Accept the license terms.
- Choose Install Windows Server
- Check the Delete everything box for a Clean Installation

System Image
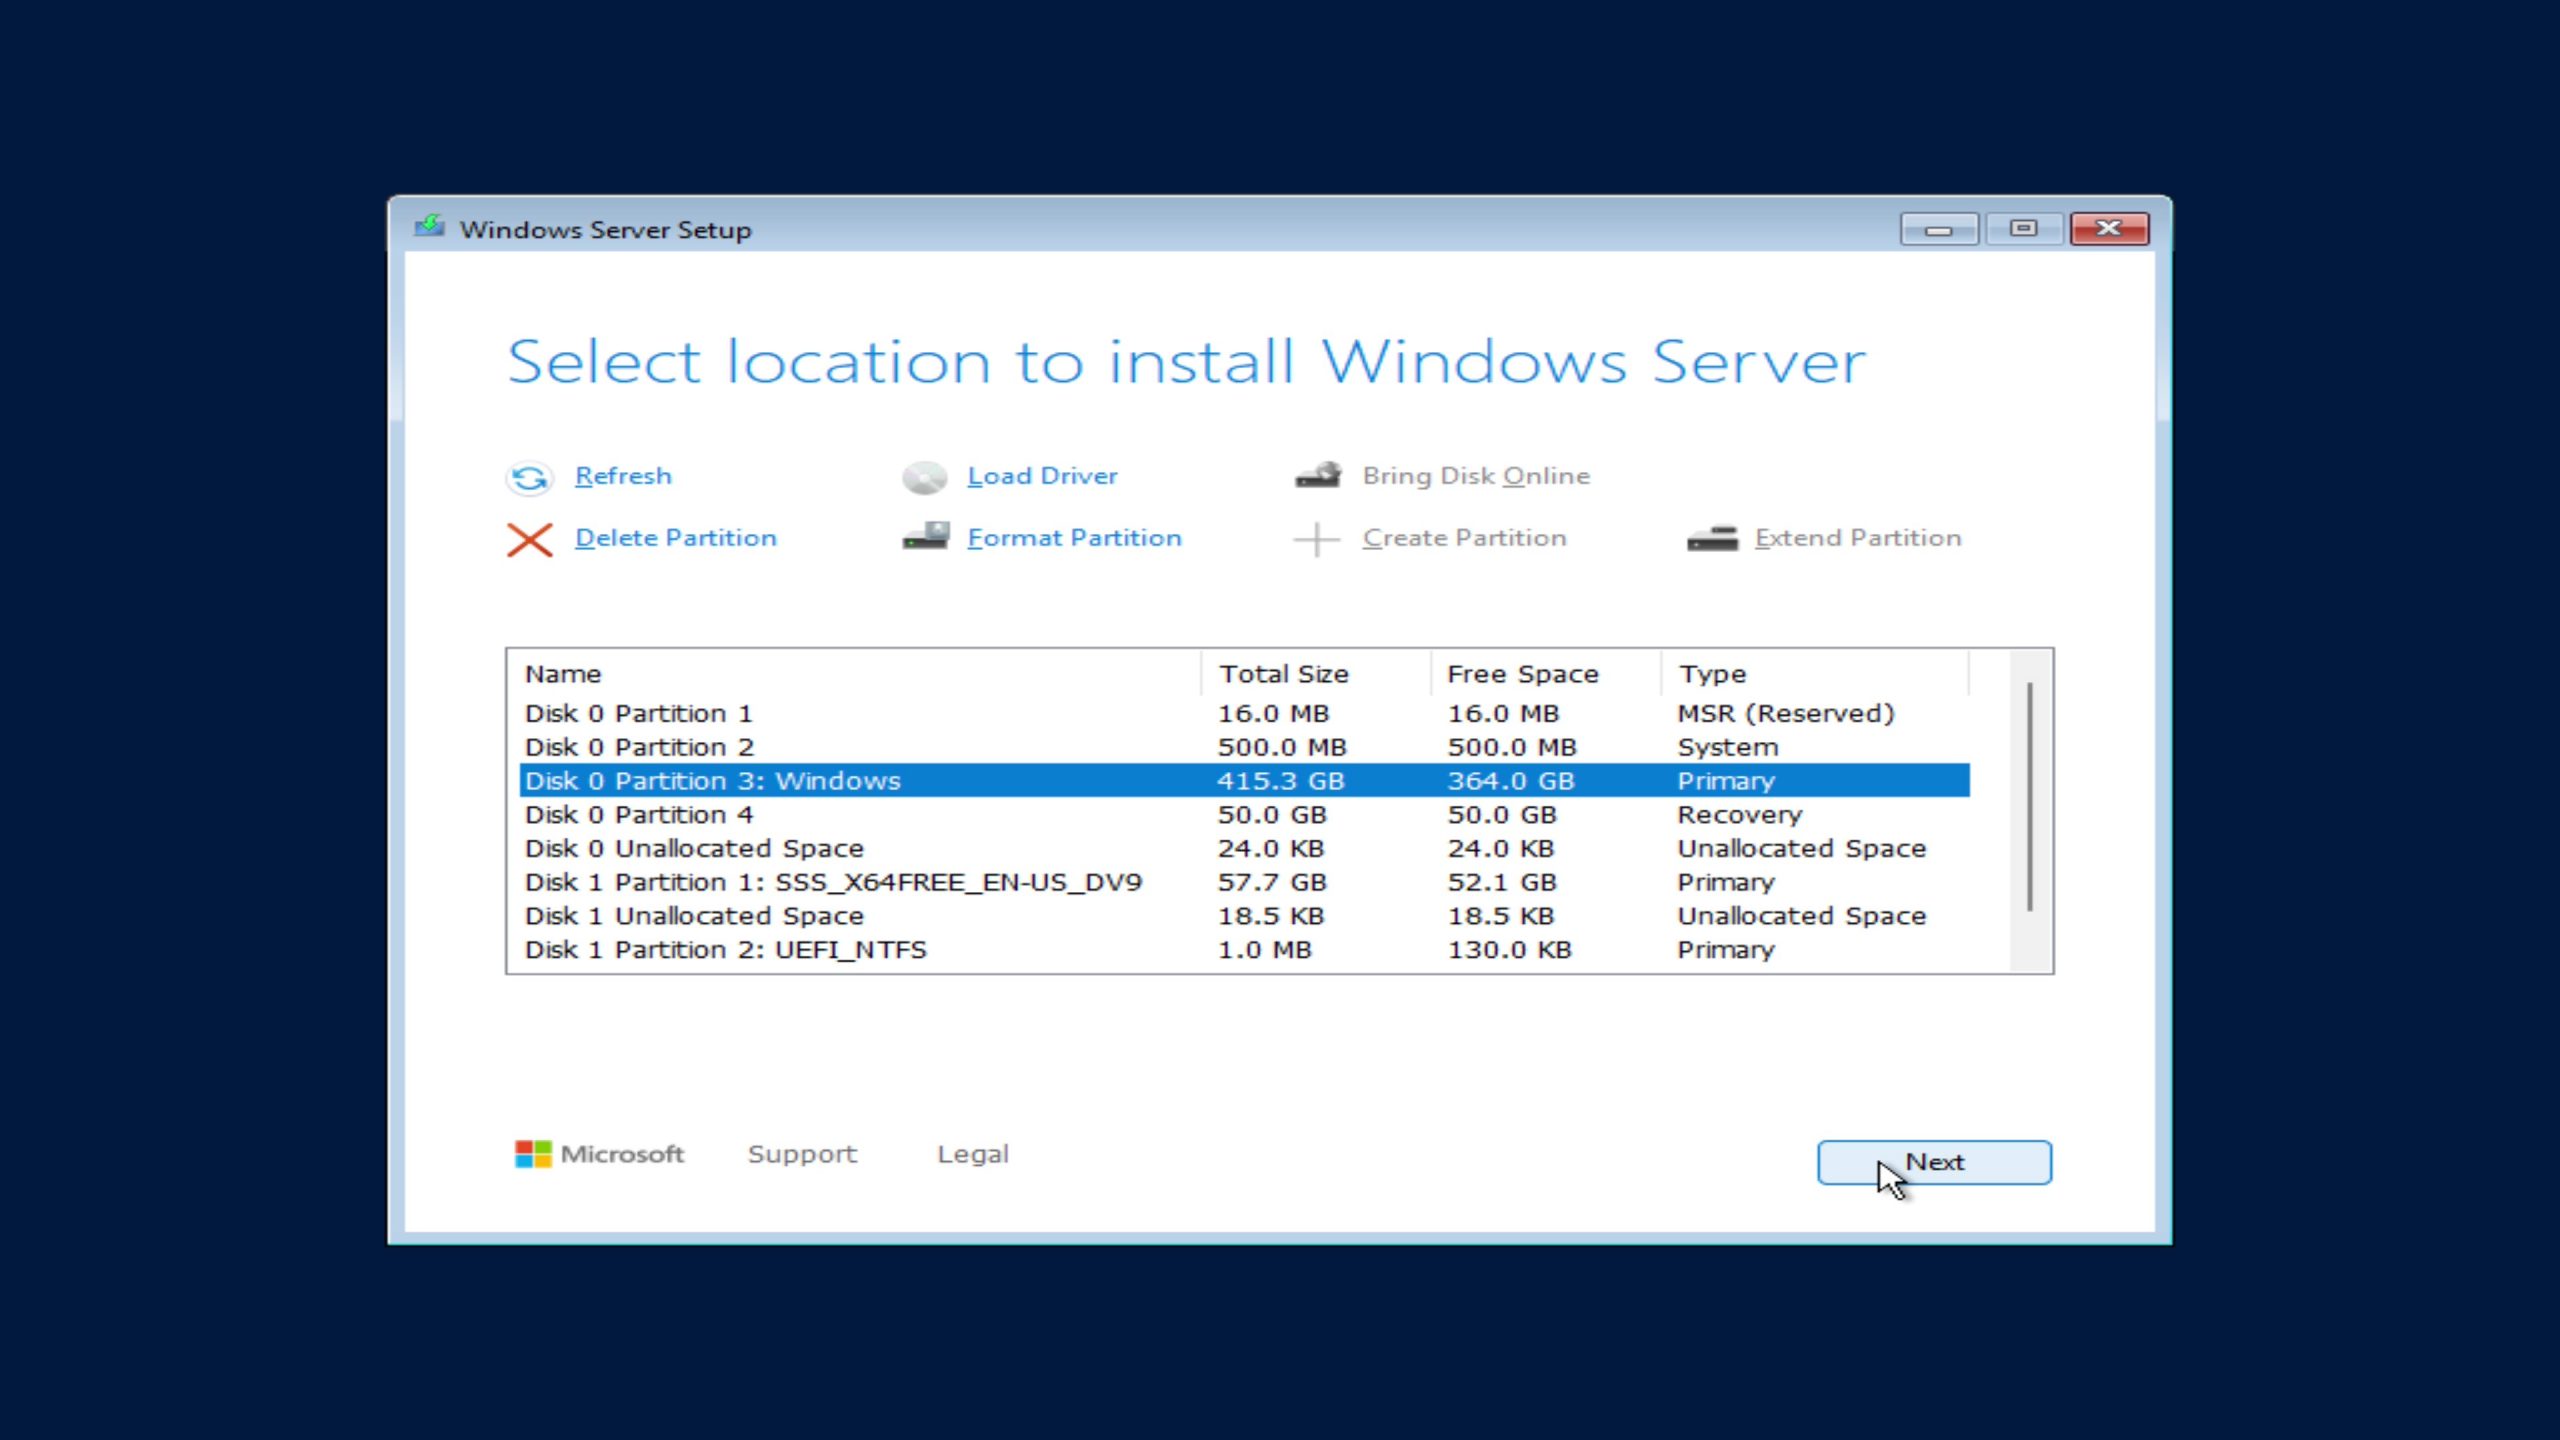
Drive Configuration
You’ll see a list of available drives. To perform a clean install:
Be very careful to delete the correct drive/partition as all disk drives will be listed here, including any data drives.
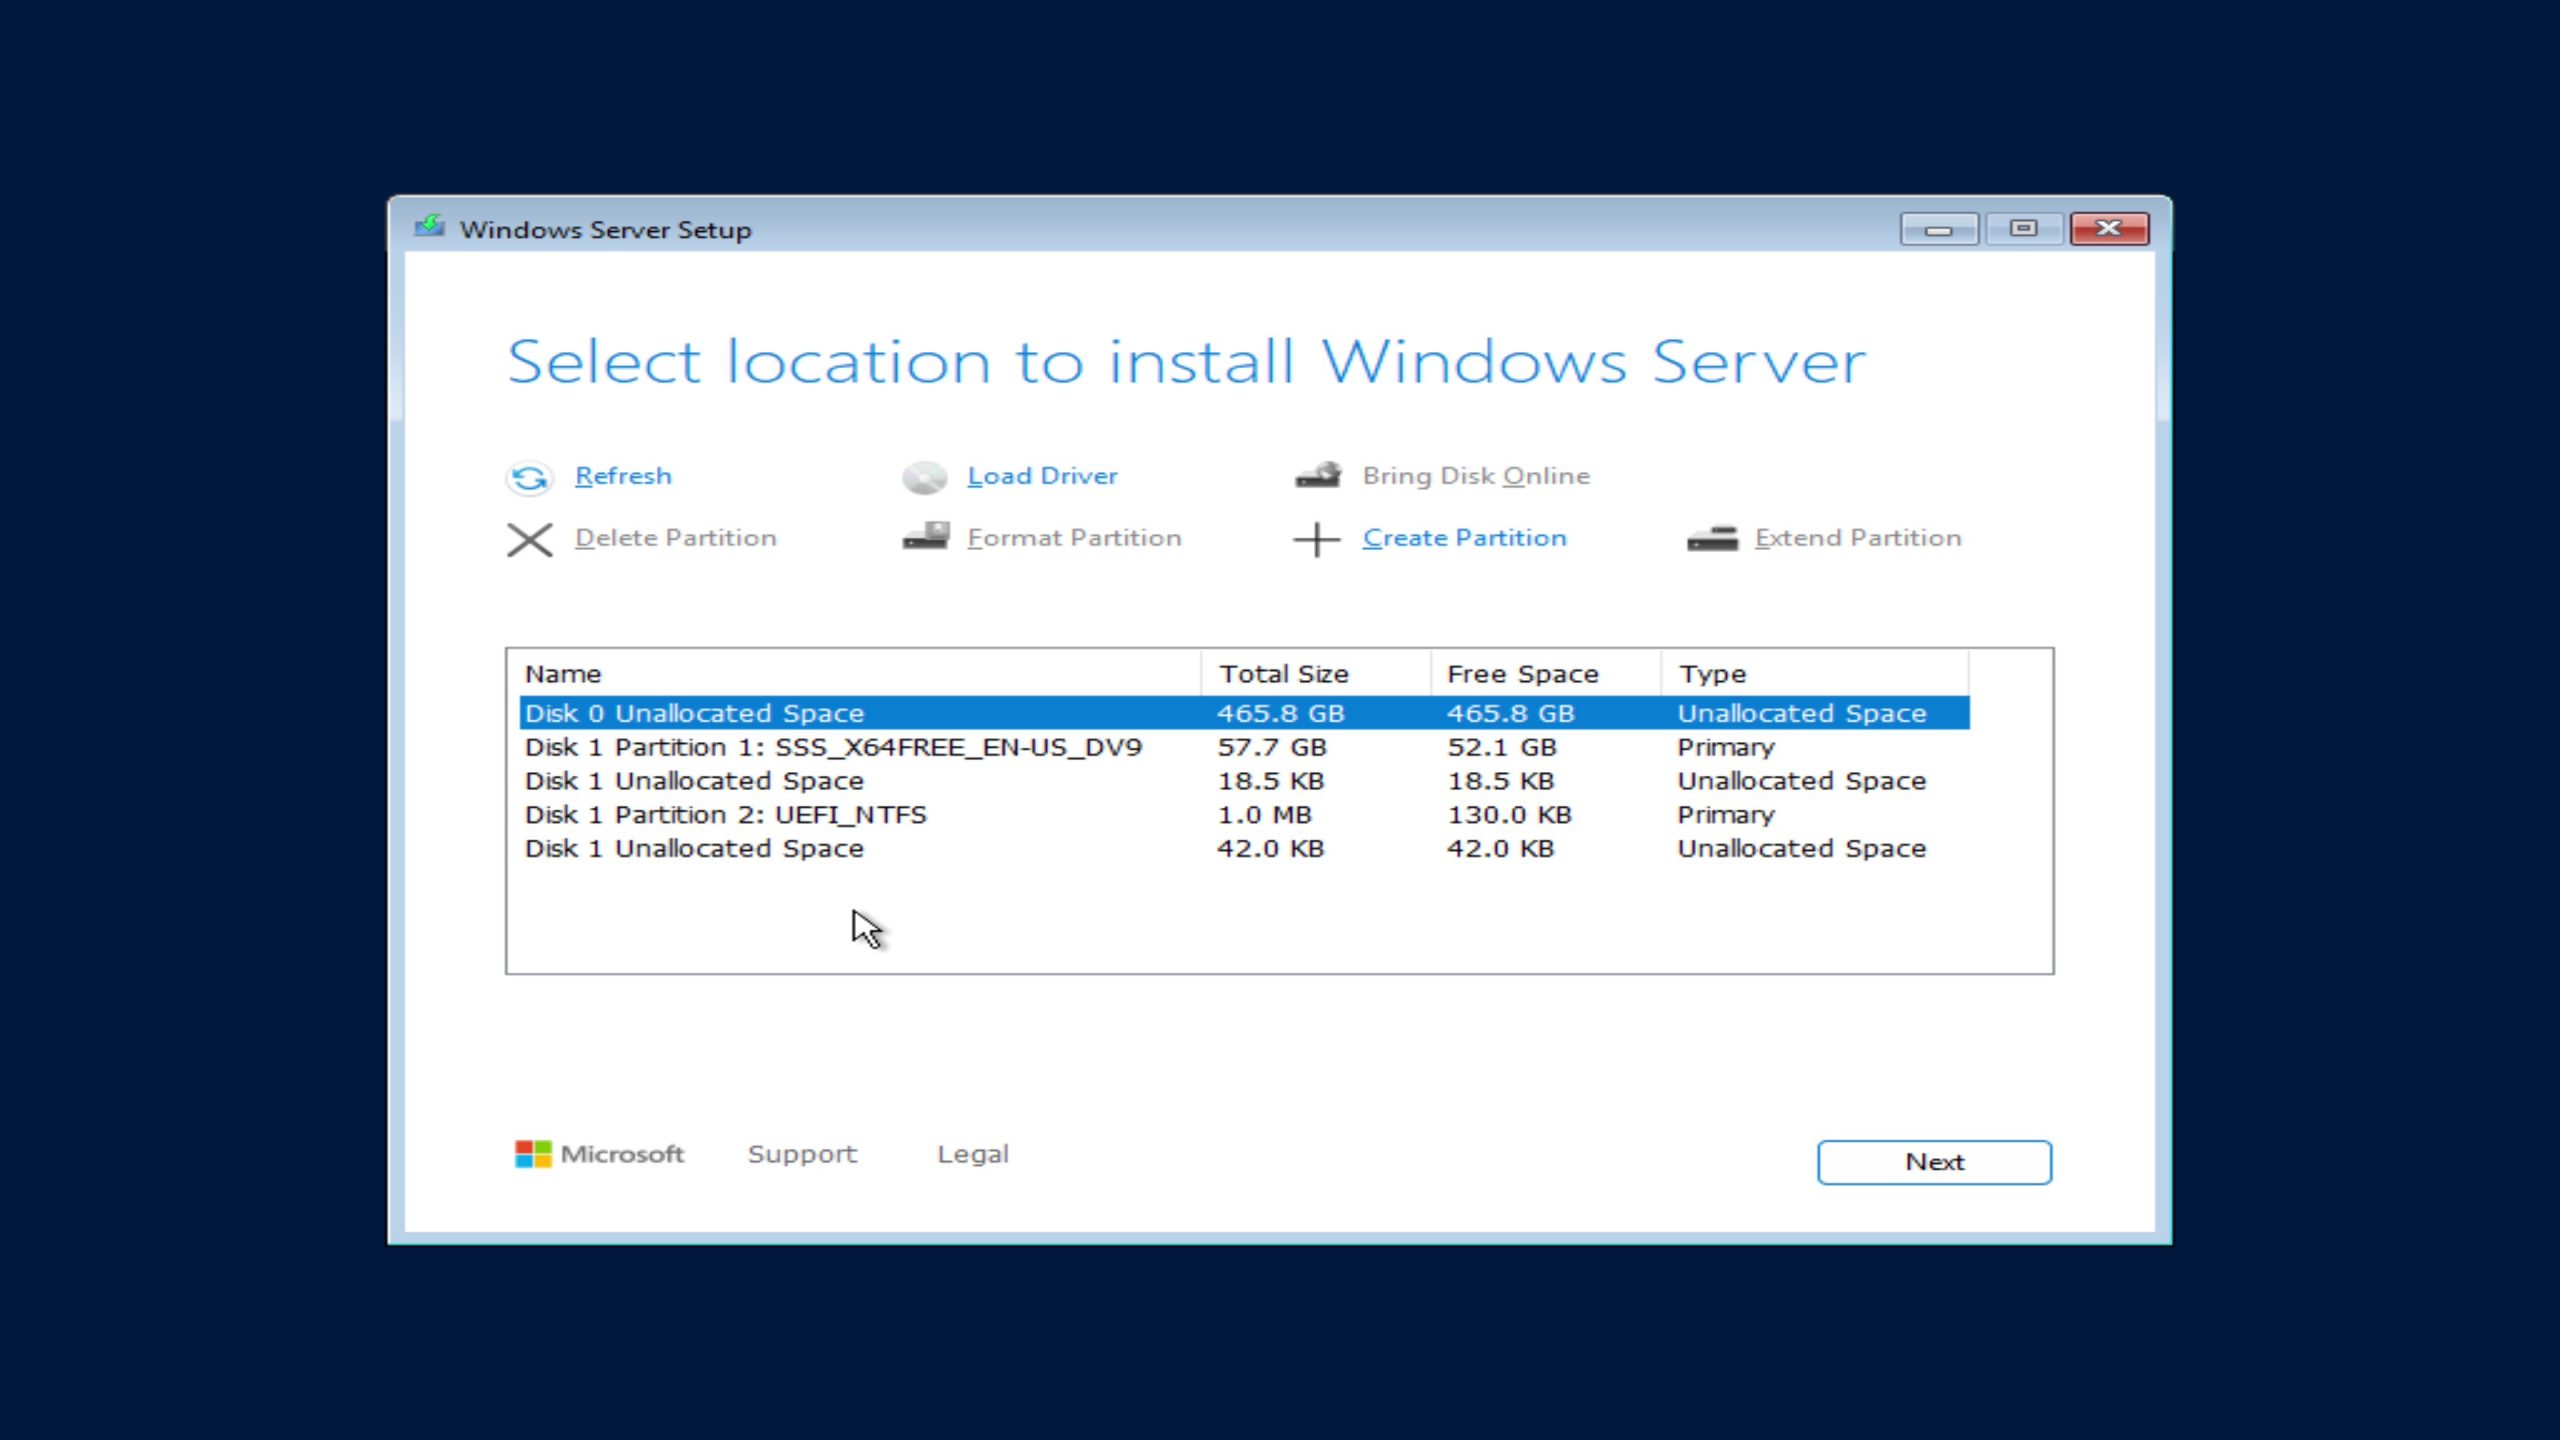
- Delete all existing partitions on the primary drive (make sure you’ve backed up any data first).
- Select the resulting Unallocated Space, then click Next.
System Image
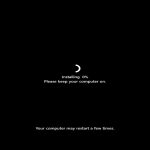
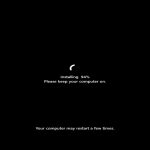
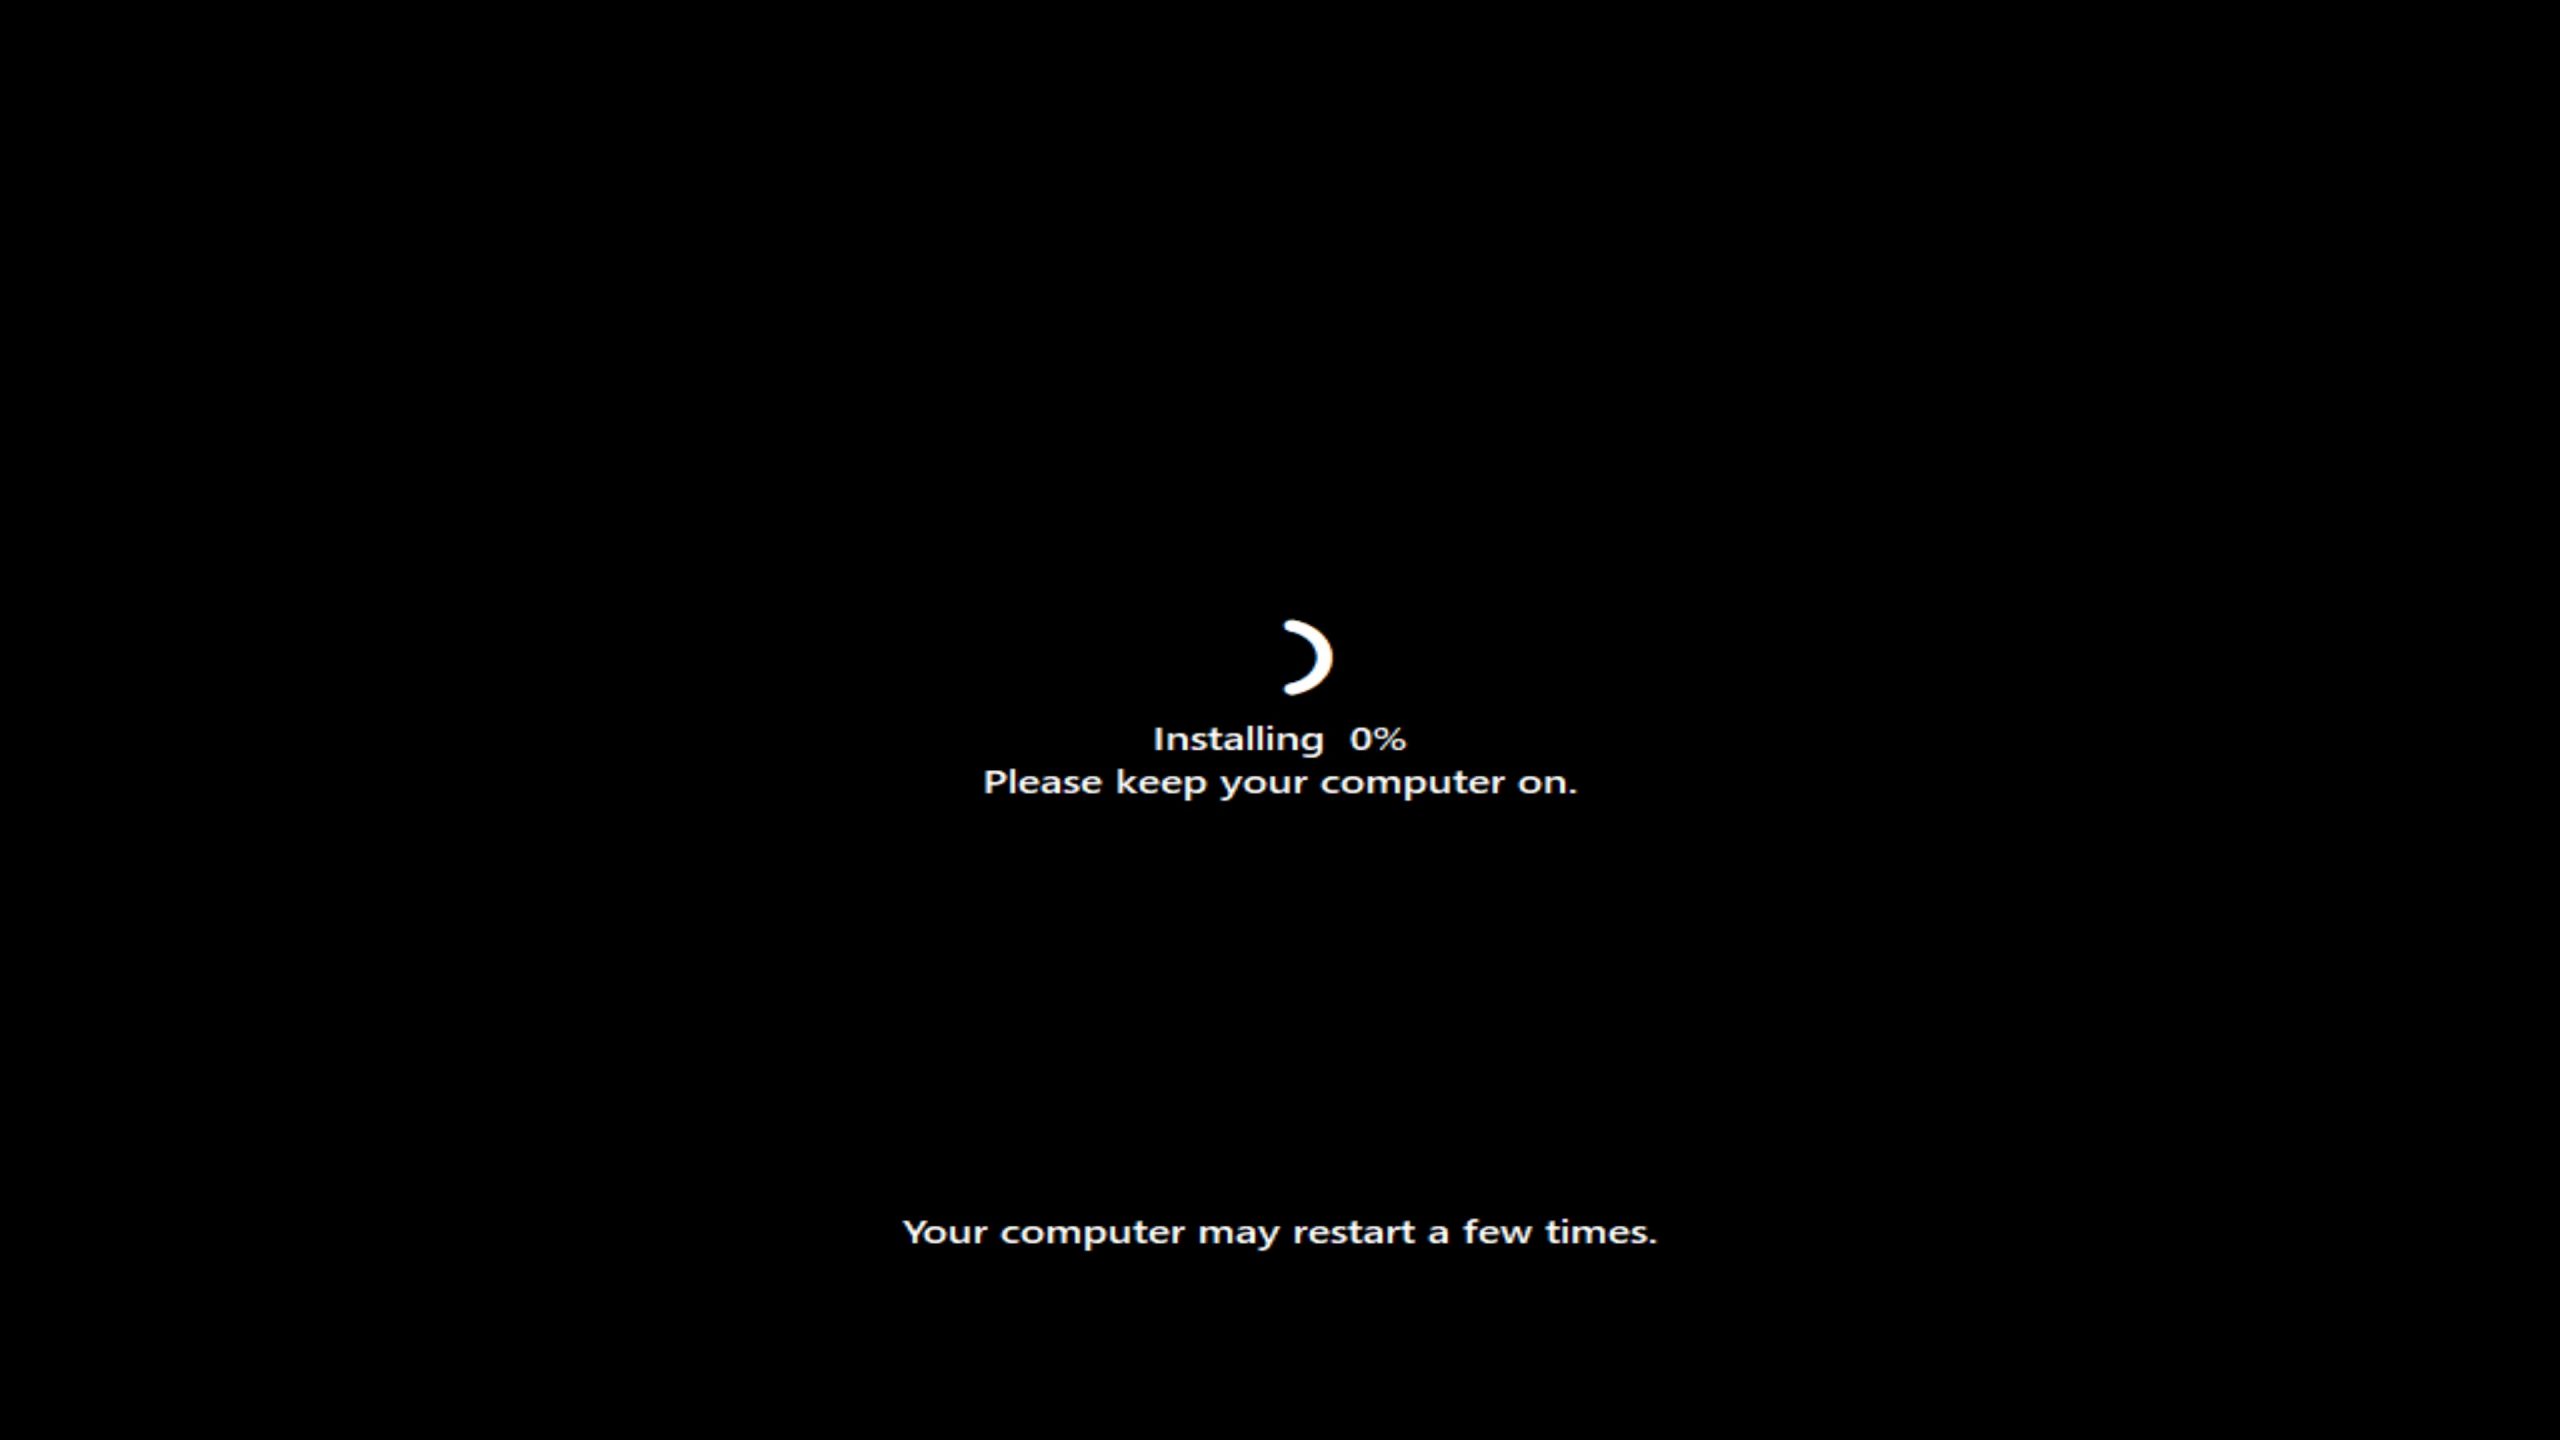
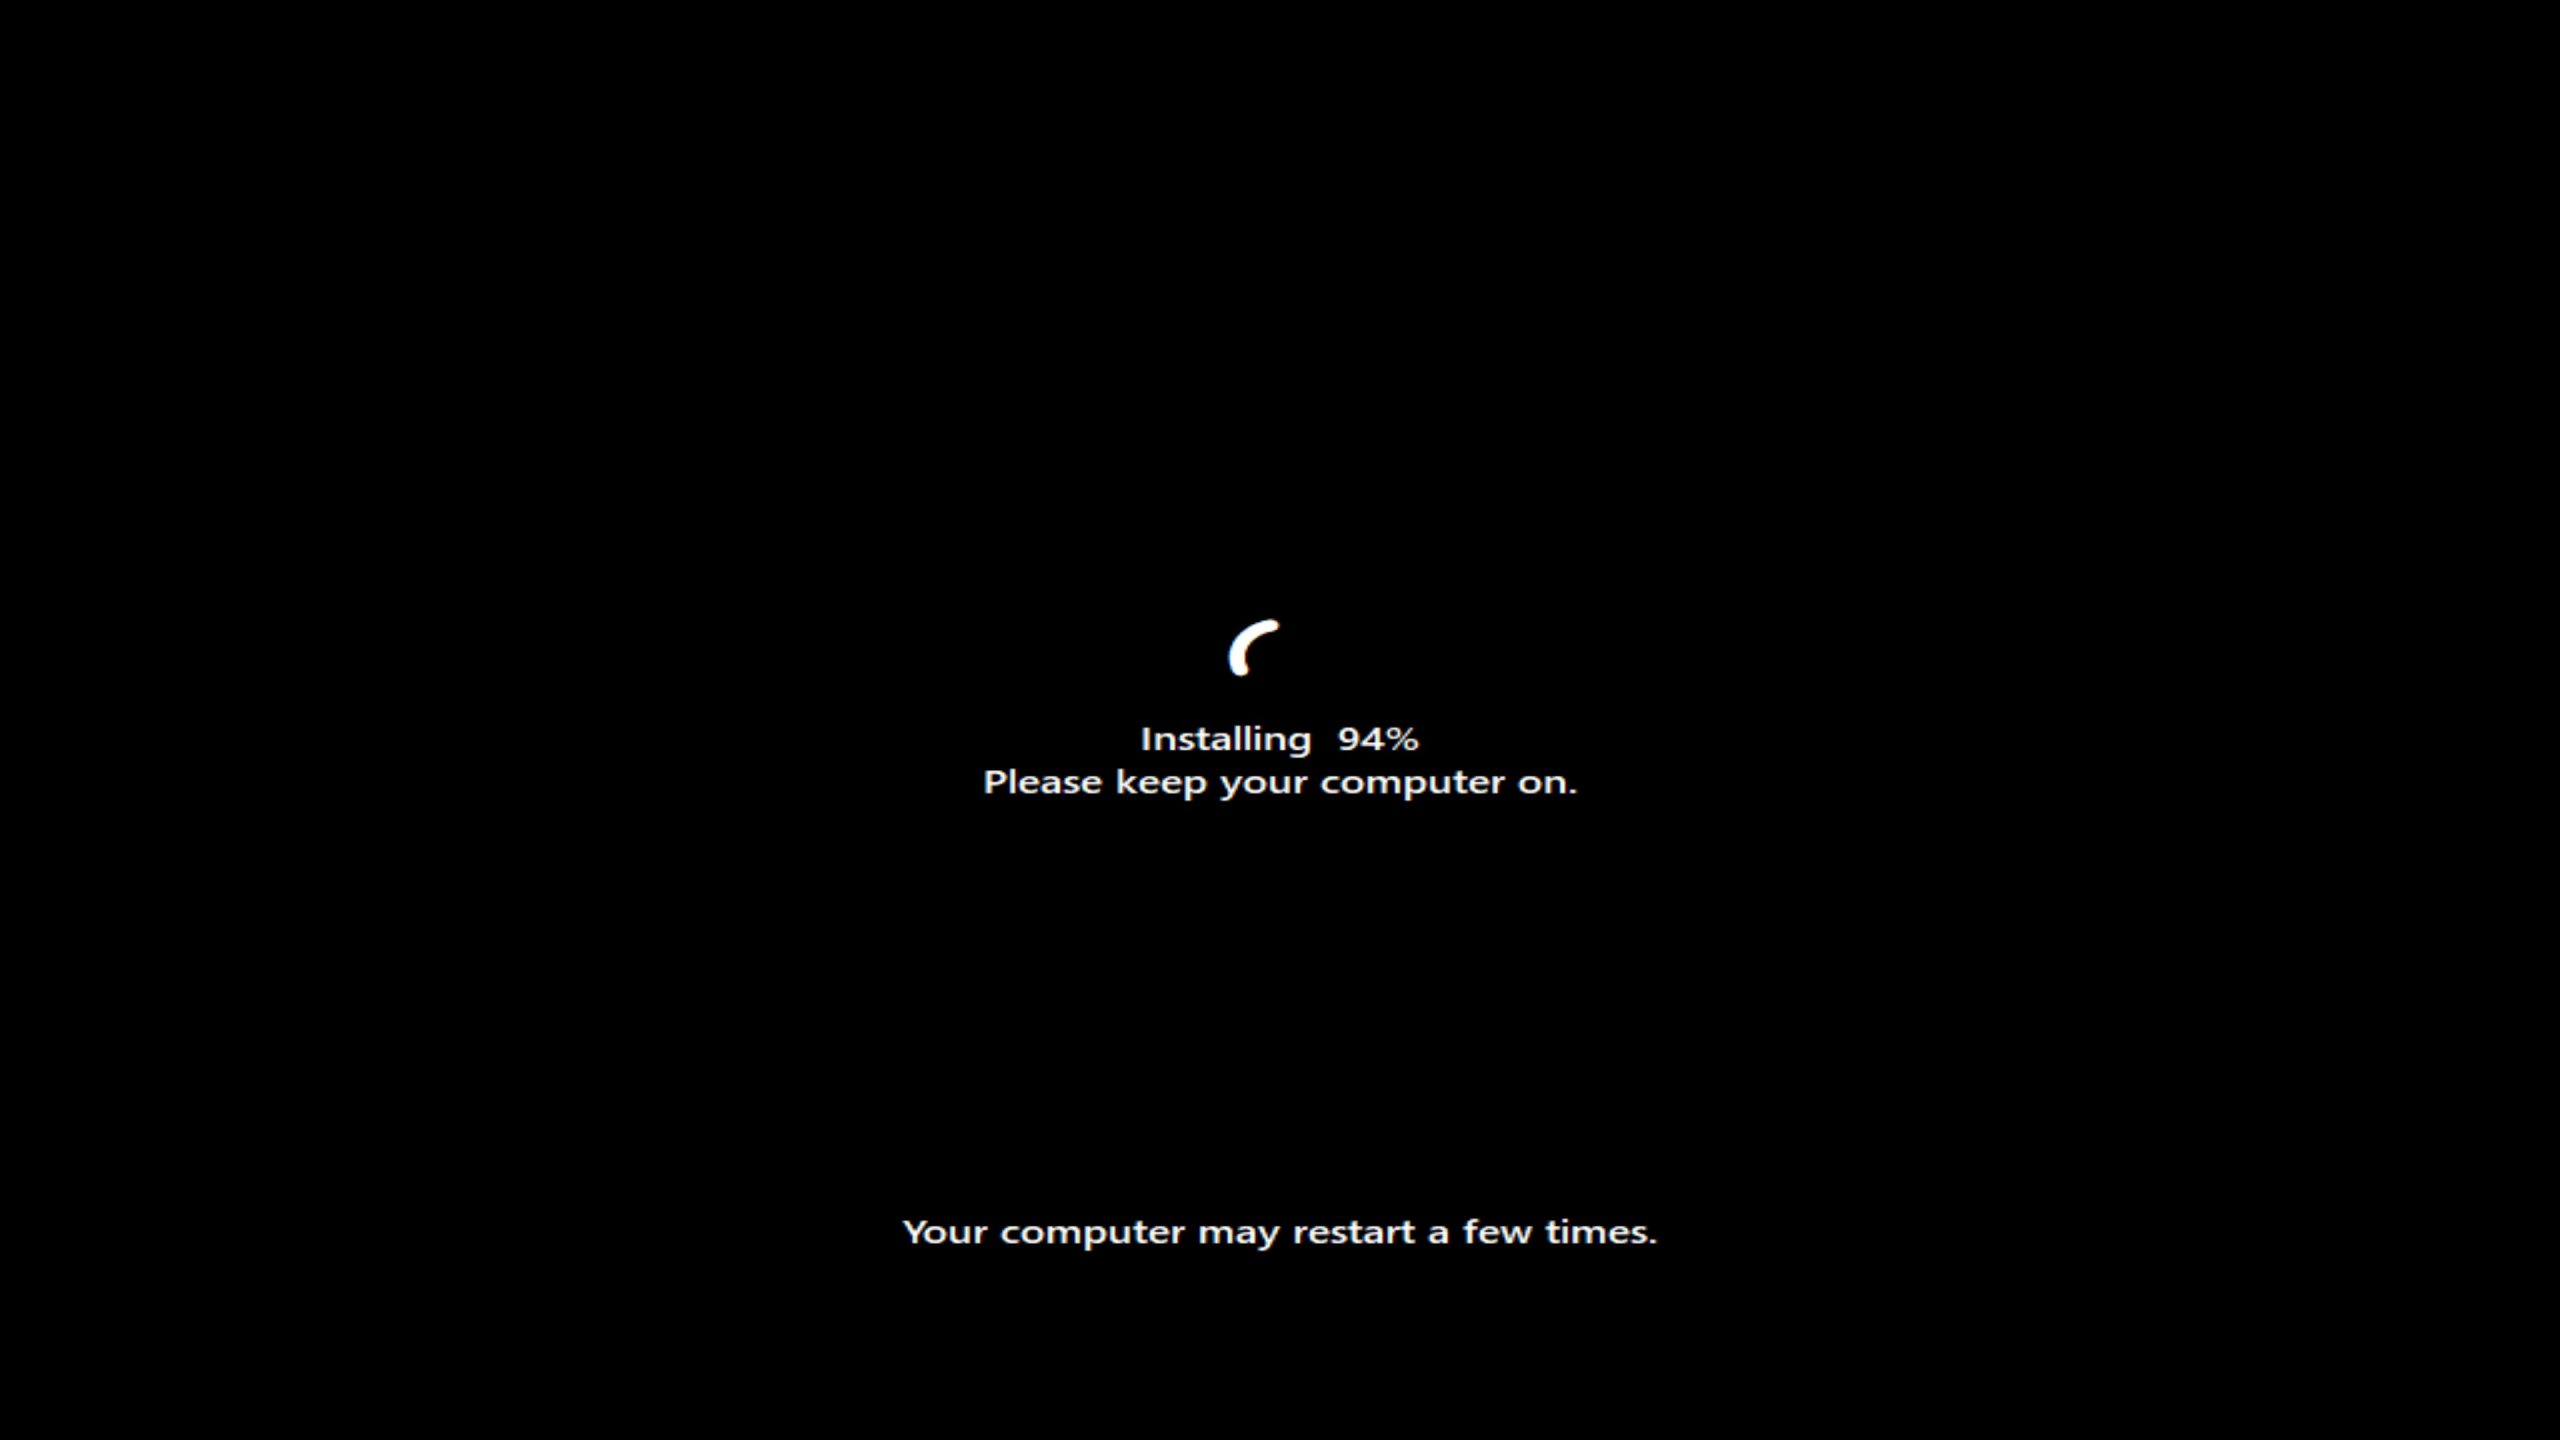
Windows will begin copying files and installing components. This process may take several minutes.
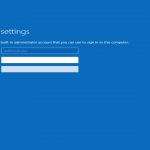
Initial Configuration
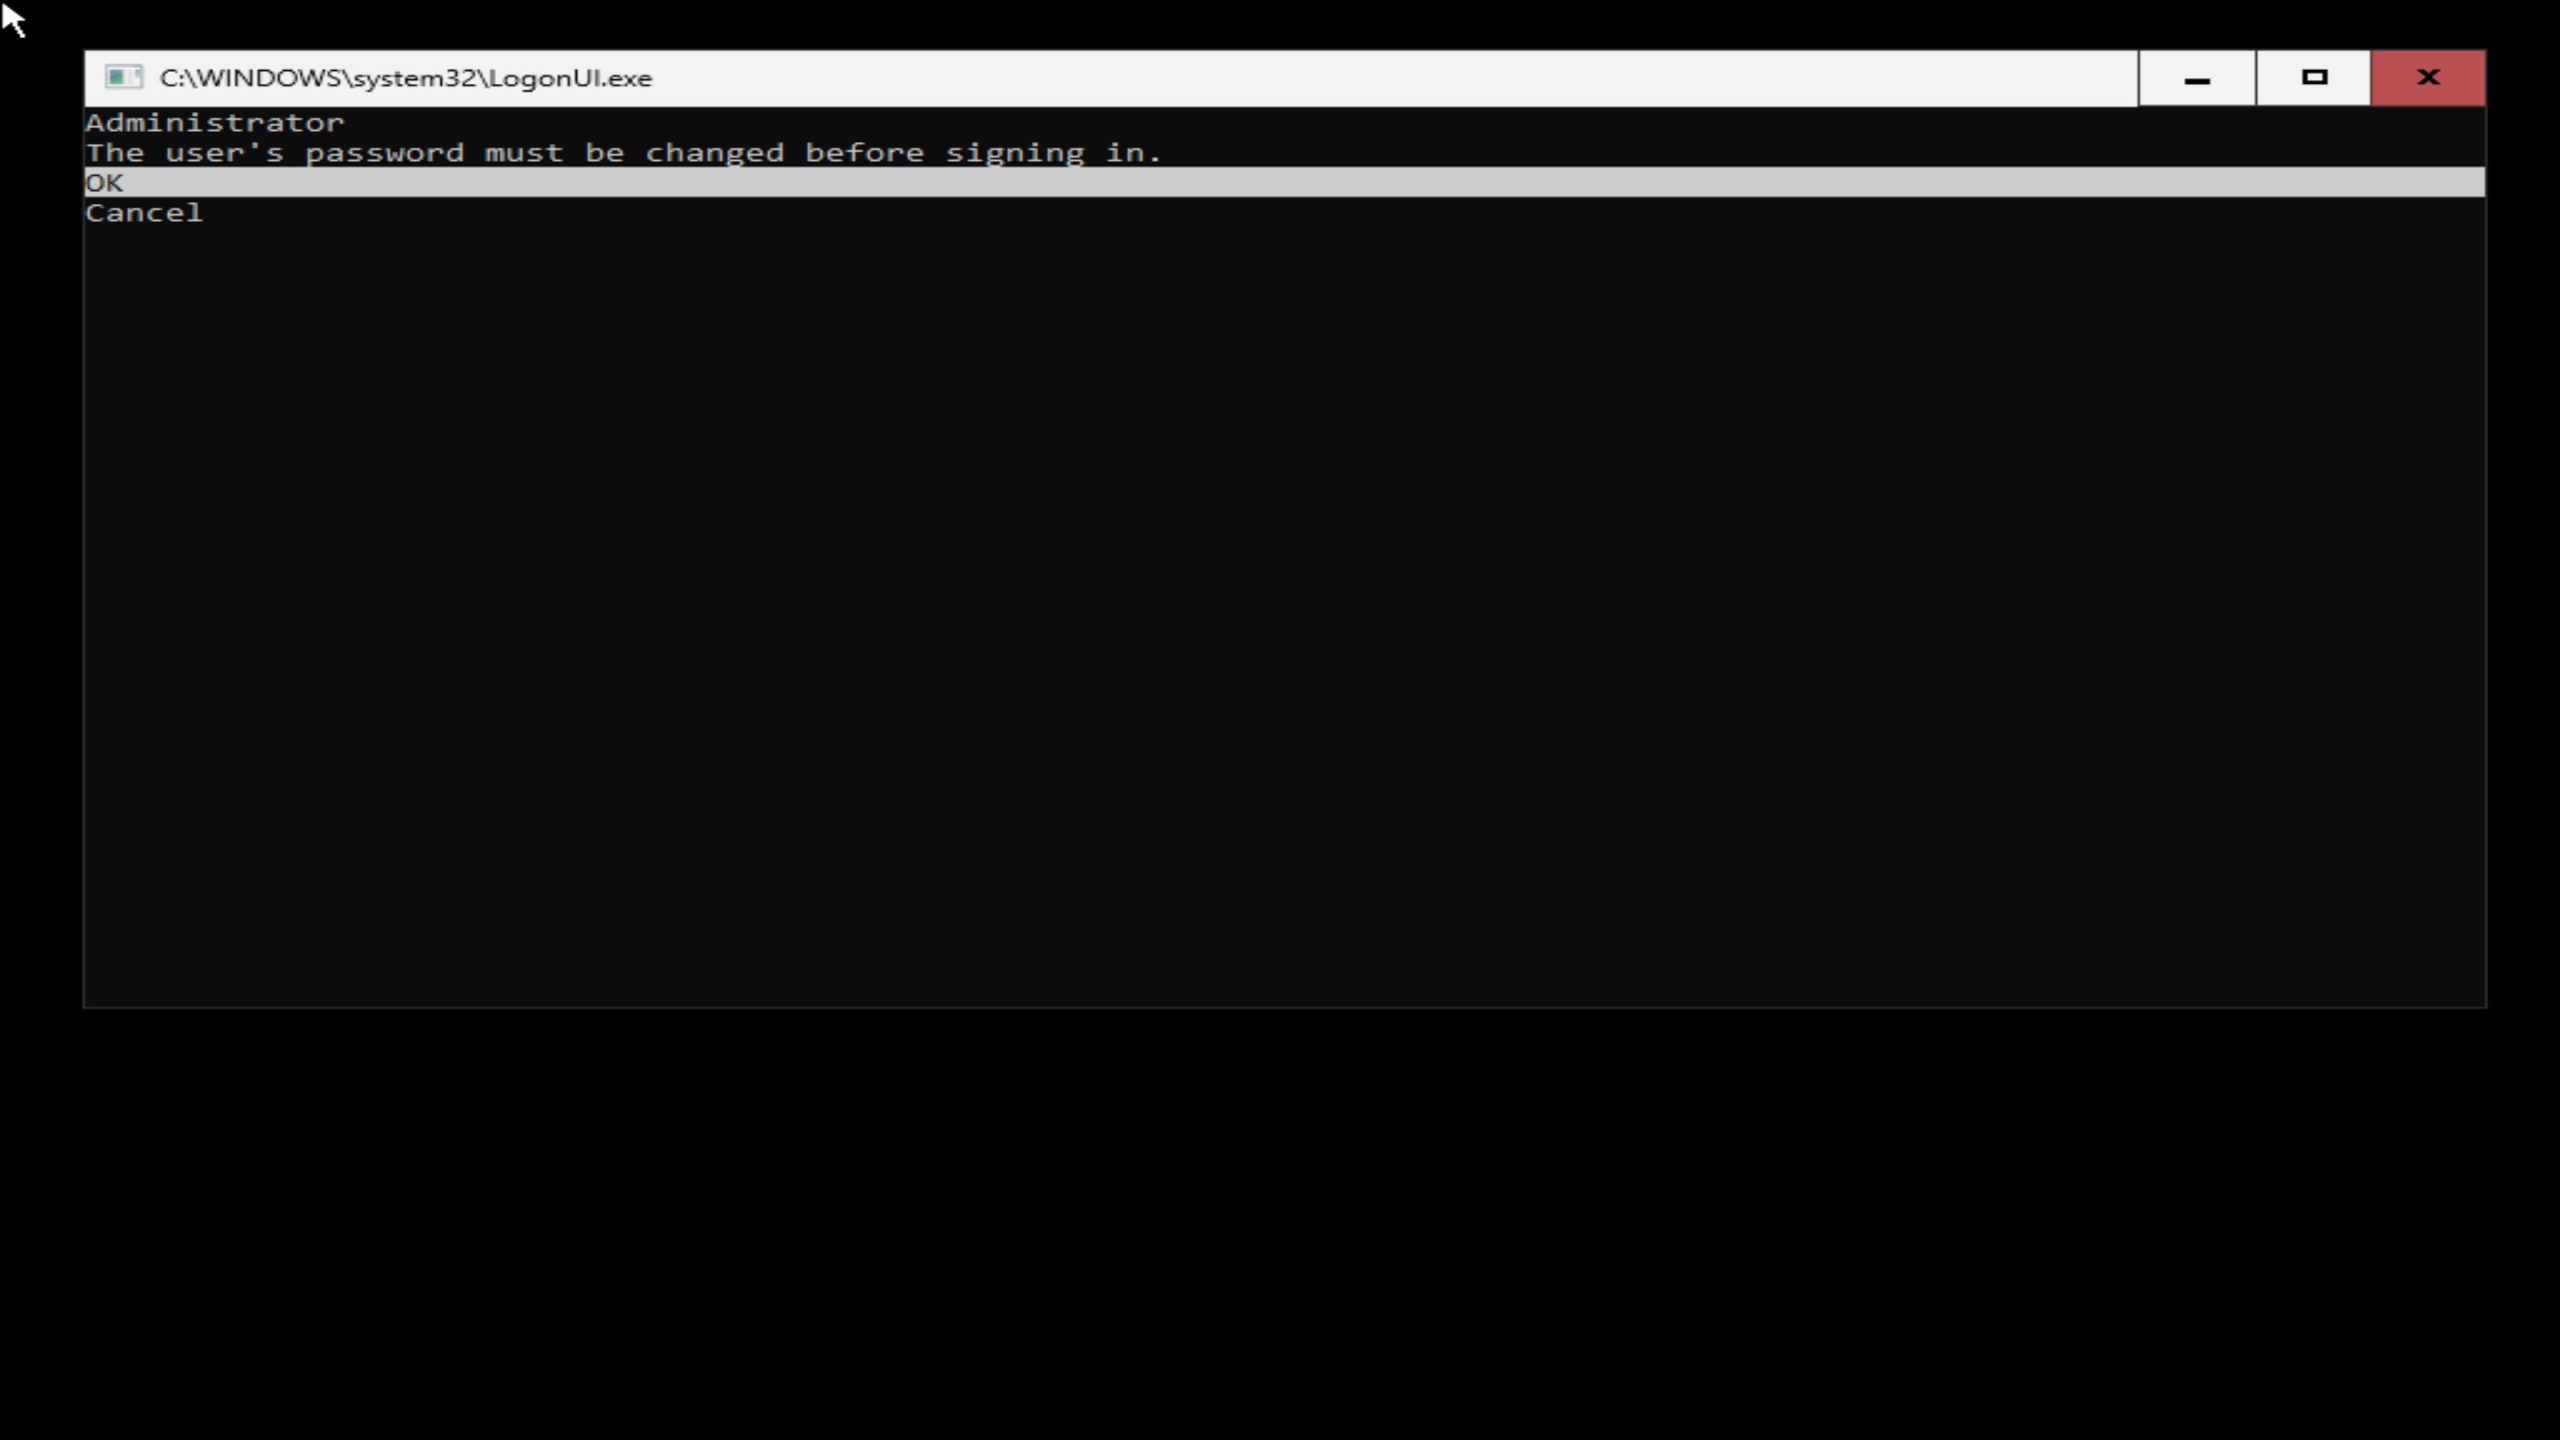
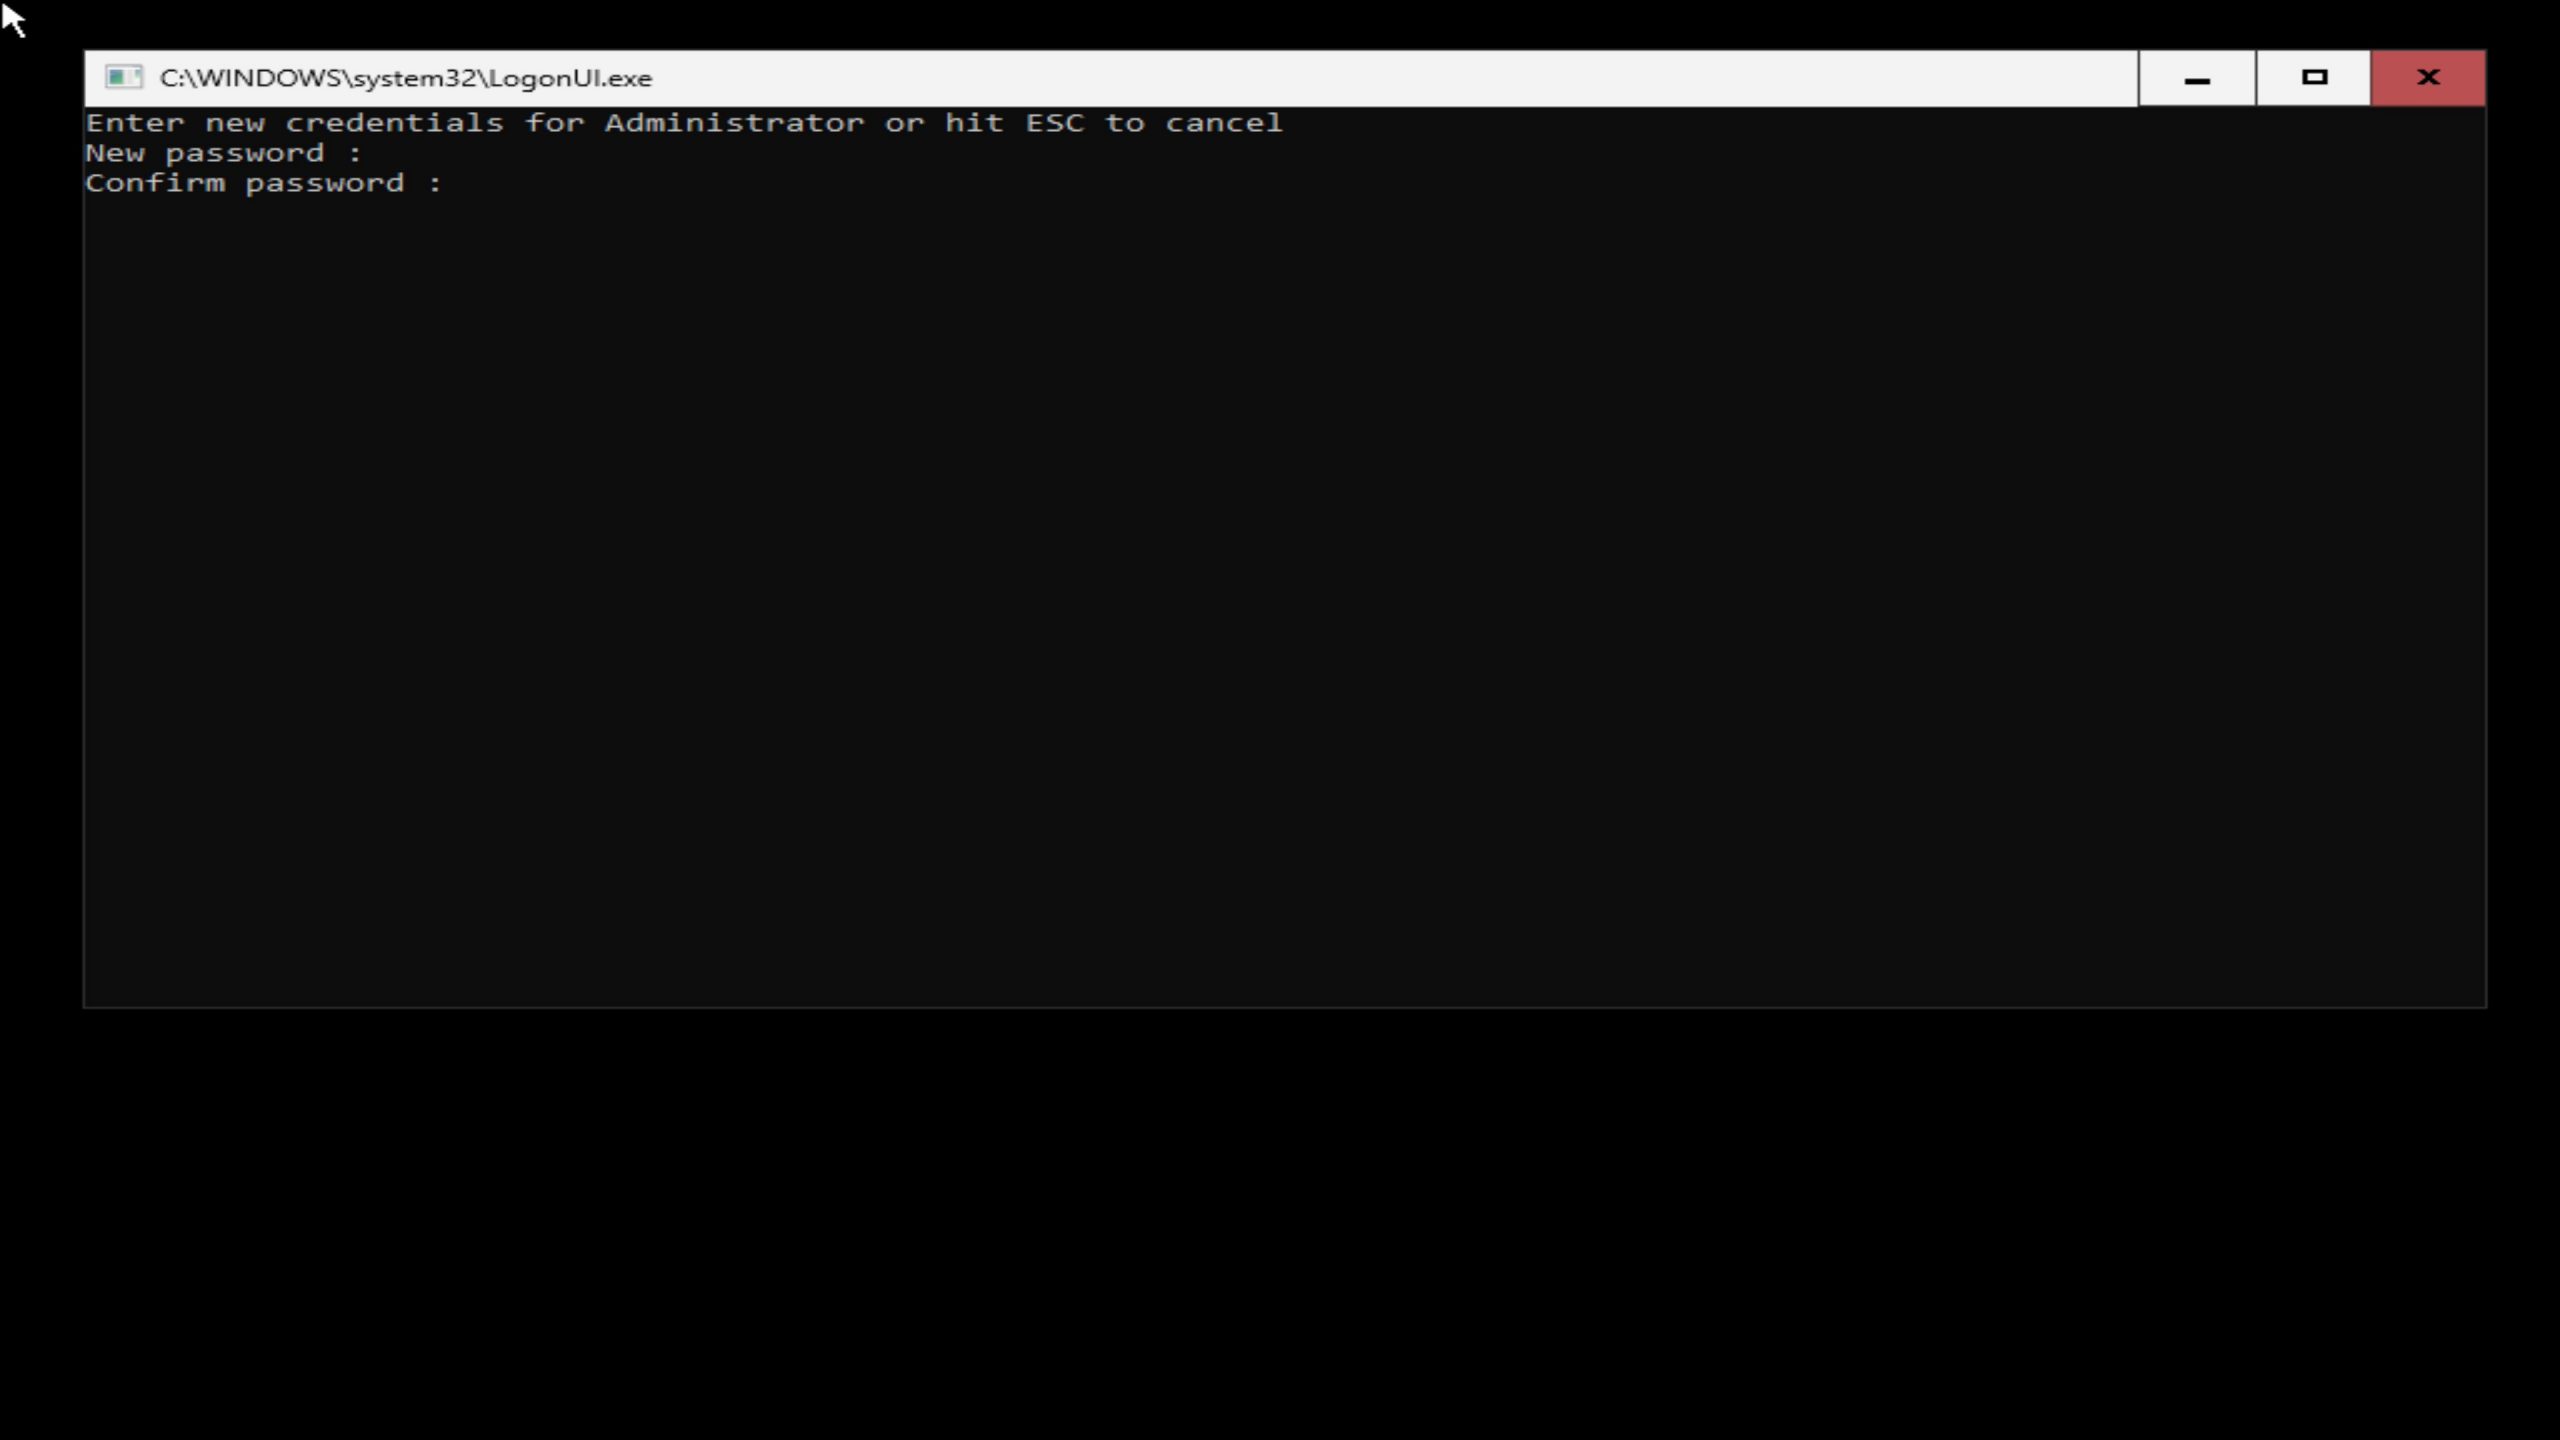
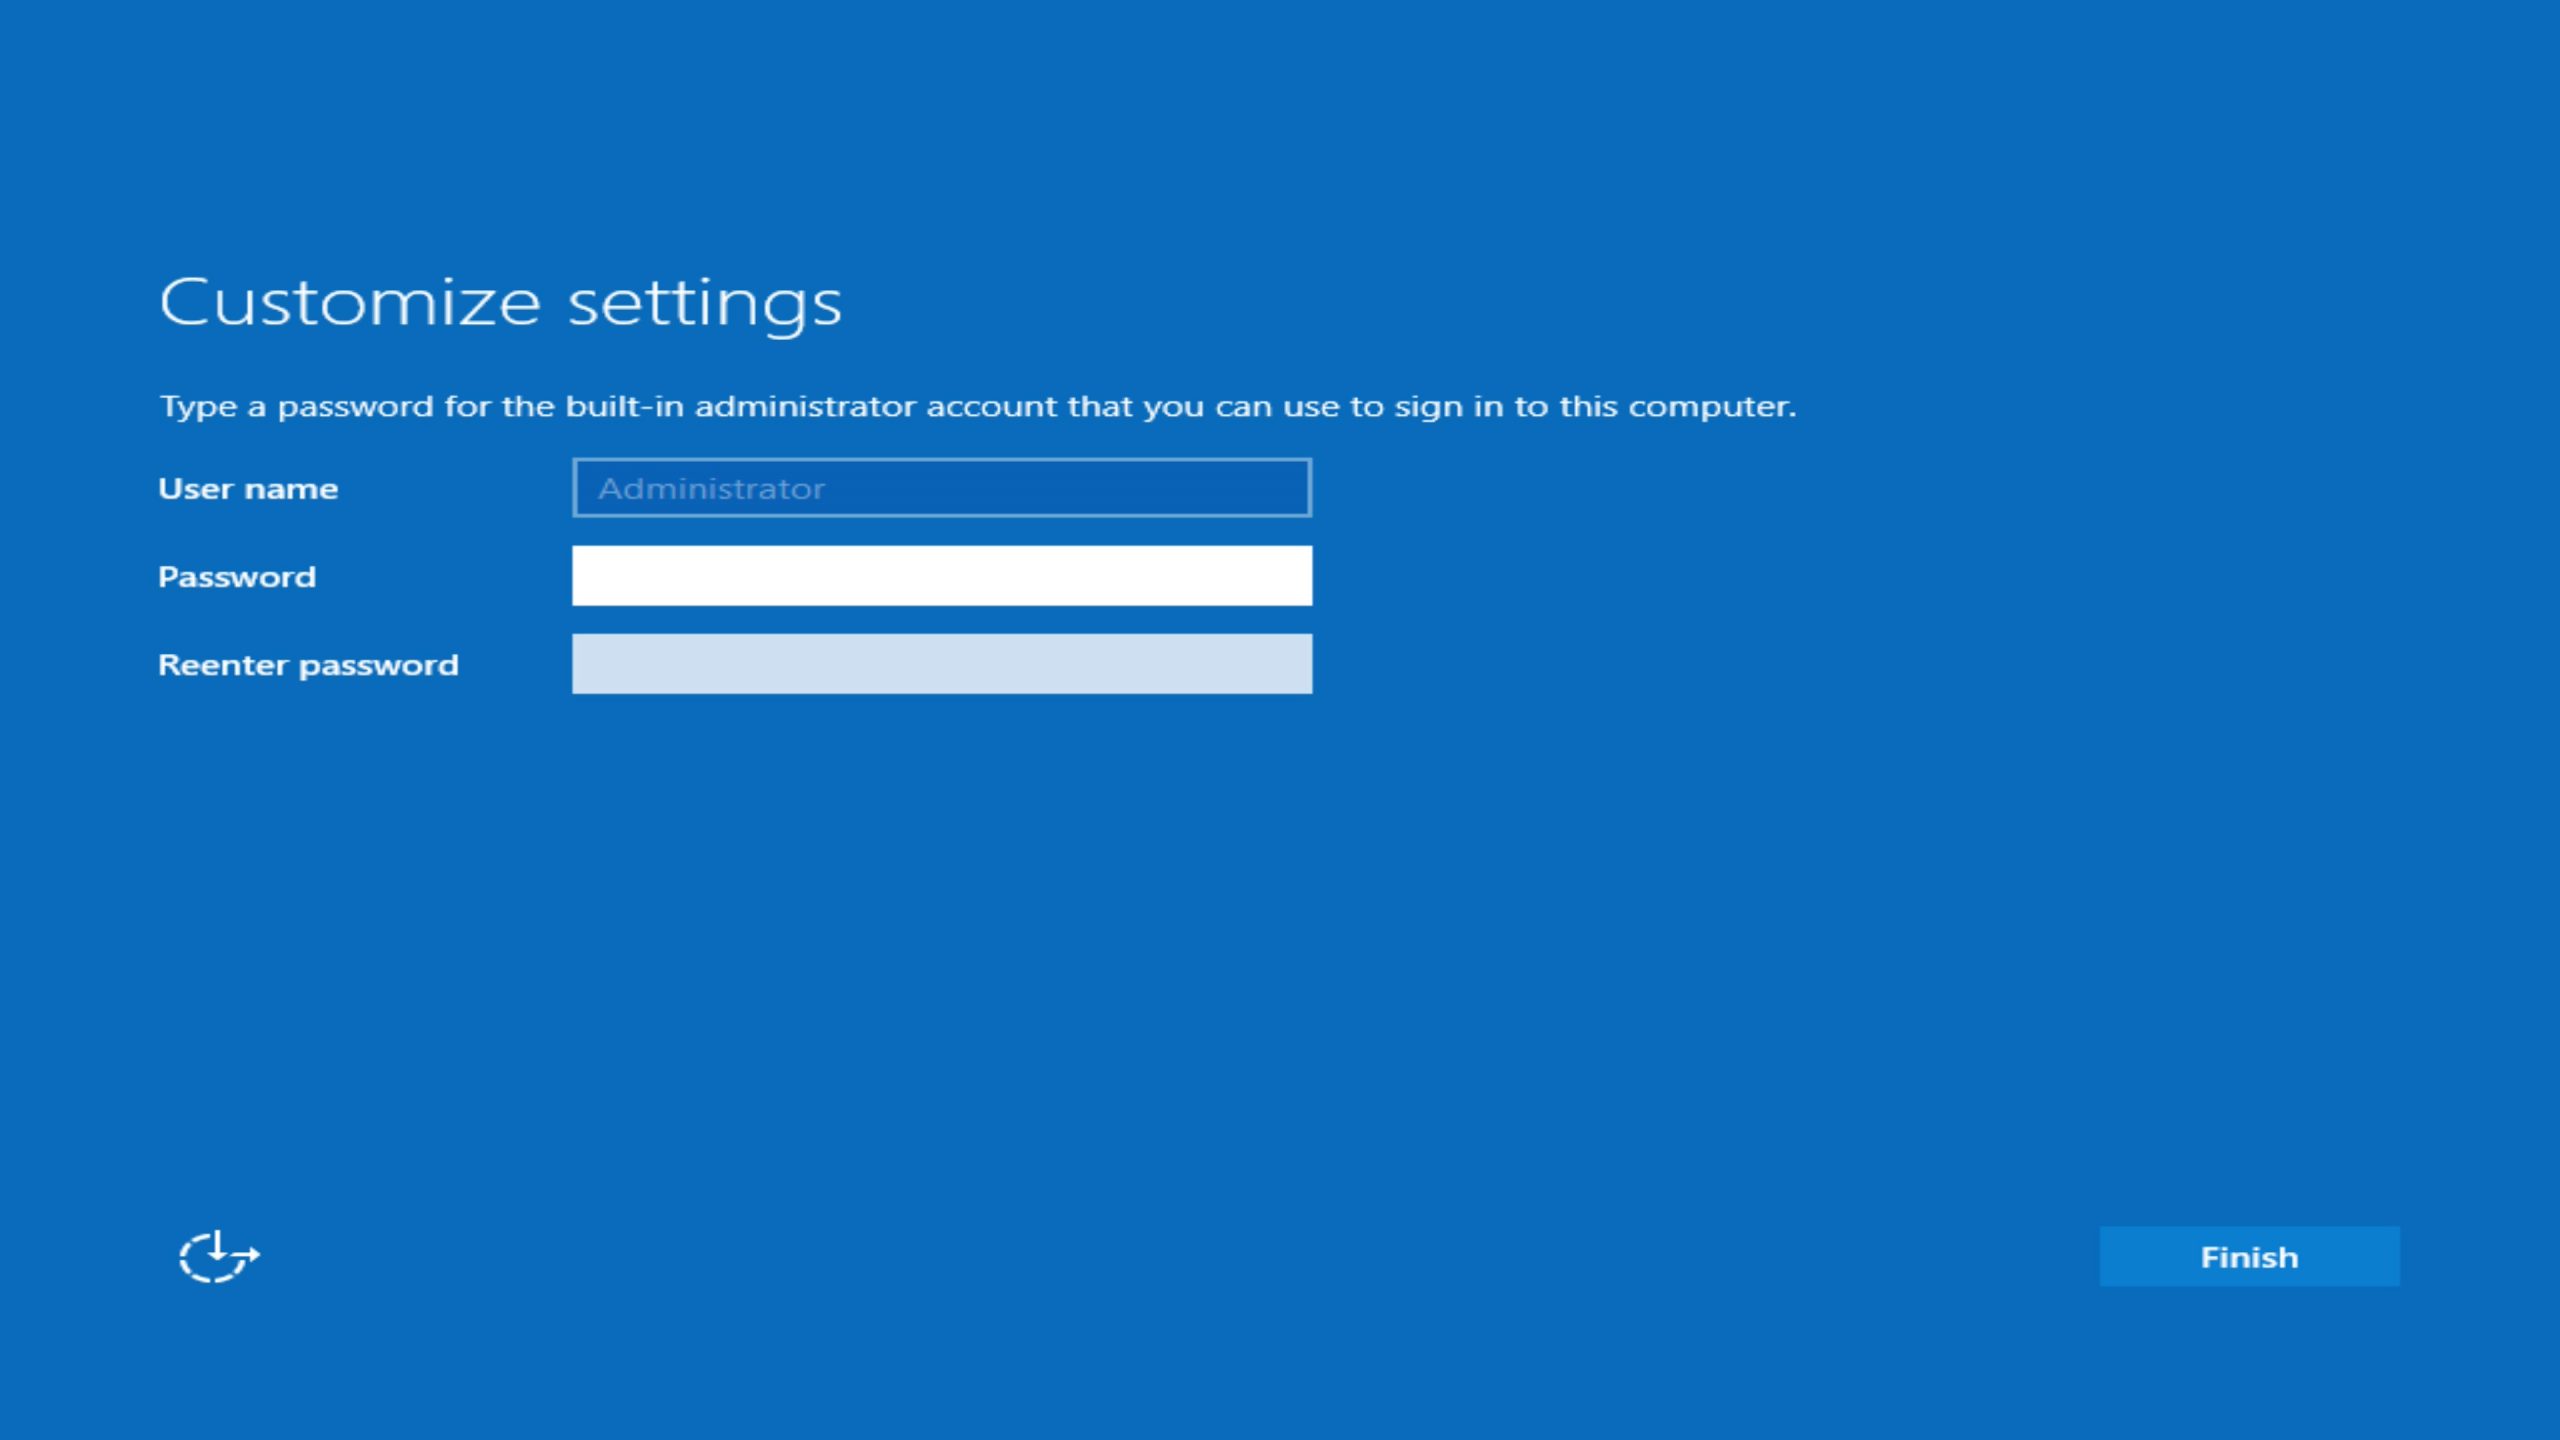
After installation and automatic reboots, you’ll be prompted to:
- Set the Administrator password
- Log in for the first time
- Launch Server Manager (if you opted to install the Desktop Experience)


Post-Installation Tips
Technically the installation is now complete, but we strongly recommend taking some additional steps right away:
- Install the latest Windows Updates
- Use Device Manager to confirm all drivers are installed
- Rename the server and join it to your domain (if applicable)
- Enable desired server roles/features using Server Manager or PowerShell
Optional: Installing Server Roles
You can also see a list of additional, installable features:
Get-WindowsFeatureTo install any of those that you might want, use this command:
Install-WindowsFeature -Name Web-Server -IncludeManagementToolsSummary
You’ve now completed a clean installation of Windows Server 2025! This foundational setup ensures your system is running in a clean, stable state—ready to host roles such as Active Directory, File Services, or Hyper-V. Our goal is to remove barriers so you can focus on what matters most—this clean install gets you there faster, with fewer headaches.
Looking for a server built to run Windows Server 2025 with reliability and performance in mind? Puget Systems offers custom-built servers tailored to your workload, whether you need a virtualization host, file server, or domain controller. Every system is hand-built, thoroughly tested, and backed by lifetime support from our expert technicians.
At Puget Systems, we believe in empowering our customers with clear, reliable guidance. We created this installation guide not only to support our own workstation and server clients but to assist the wider technical community in navigating new platforms like Windows Server 2025. With decades of experience building high-performance, purpose-built systems, our mission is to eliminate frustration and help you get up and running quickly—so you can stay focused on what matters most.
Need help with a Puget System?
All Puget Systems computers come with lifetime technical support. Our support team is readily accessible and comes from a wide range of technological backgrounds to better assist you!

Looking for self-guided help?
Regardless of whether your computer was built by Puget Systems or not, if you are experiencing a problem with your workstation or server we have a large library of public support articles that you may find helpful.