Introduction
Like everything else, your PC will accumulate dust over time. Excessive dust buildup will have a noticeable effect on system performance because the intended pathways for airflow become clogged, often leading to trapping hot air in the chassis. Reduced heat dispersion eventually leads to overheating and thermal throttling, where the system limits power to the CPU to prevent additional heat.
Image
So, what can you do to mitigate and prevent excessive dust buildup in my PC? This post will walk you through a few tips and best practices to limit dust accumulation in your PC chassis.
Environment & Best Practices
First, let’s discuss environmental factors that can contribute to dust buildup and how to deal with them.
- Don’t place your PC directly on the ground.
- Dust, by nature, tends to settle on the ground. With your PC directly on the ground, There’ll be quite a lot more dust circulating around in the air your system intakes.
- Ideally, you’ll want to place your PC on your desk, or any surface off the ground for the slowest overall dust accumulation. If you don’t have enough room to fit your PC on your desk, try to find a platform or stand you can set the PC on to create some layer of separation between the system and the ground. Even a small lift off the ground will have noticeable effects.
- Don’t smoke or vape at your workstation.
- Smoking and vaping play a huge role when it comes to dust buildup. Smoking by your PC doesn’t just cause dust particles to accumulate quicker; it causes the dust to become sticky and adhere to your PC.
- If you smoke near your PC, be sure to open a window if you have access to one and possibly place a fan in the window to exhaust the secondhand smoke or vapors from your PC area before they condense on your PC.
- Promote effective cooling by being mindful of your PC placement.
- Your PC needs room to breathe. More specifically, it needs to be able to intake cool air and exhaust hot air. Often, your PC will intake air in the front and exhaust it through the back. Make sure you have some room where your PC intakes and exhausts air for effective cooling. Better ventilation will allow the fans to spin slower for adequate cooling. This will slow the rate at which dust builds up in your PC, and reduce your system’s overall noise level.
- Use dust filters to cover intake fans.
- Most chassis include removable dust filters in all spots where air should flow into the system. For the purposes of this article, I will be talking about the Fractal Define 7 Chassis, however the information here also applies to the D7 Xl and D7 Mini variants in our product line. These are the primary desktop chassis we use at Puget Systems.
- In the Fractal Design Define 7, there is a removable dust filter behind the front door, under the bottom of the chassis, and on top of the chassis under the top panel. These are the standard locations where you find dust filters regardless of your chassis.
- Dust filters are not a perfect solution to prevent dust buildup in your PC, but they will catch more dust than they allow into the system.
- As a general rule, you should clean your PC’s dust filters every six months, but the cadence should be adjusted to fit the needs of your environment.
- If you are unsure whether your system has dust filters, take a look at the front intake fans, which should be covered by a mesh filter. If you find that your PC does not have dust filters, you can find generic magnetic PC dust filters at most online retailers. Any thin magnetic filter will do.
Beyond Prevention – Cleaning out the Dust
Now that we’ve established some preventative measures to slow dust accumulation in your PC, let’s discuss how to clean a dusty system properly. Our process is extensive, so feel free to follow along as far as you’d like.
From here, I will primarily focus on my process for cleaning the Define 7, but the steps equally apply to the XL and mini variants. This general process will still apply to most desktop chassis. Throughout this process, the only tools used are compressed air (optional), a microfiber cloth dampened with Windex, and a small screwdriver to wrap around the cloth to reach tight spaces.
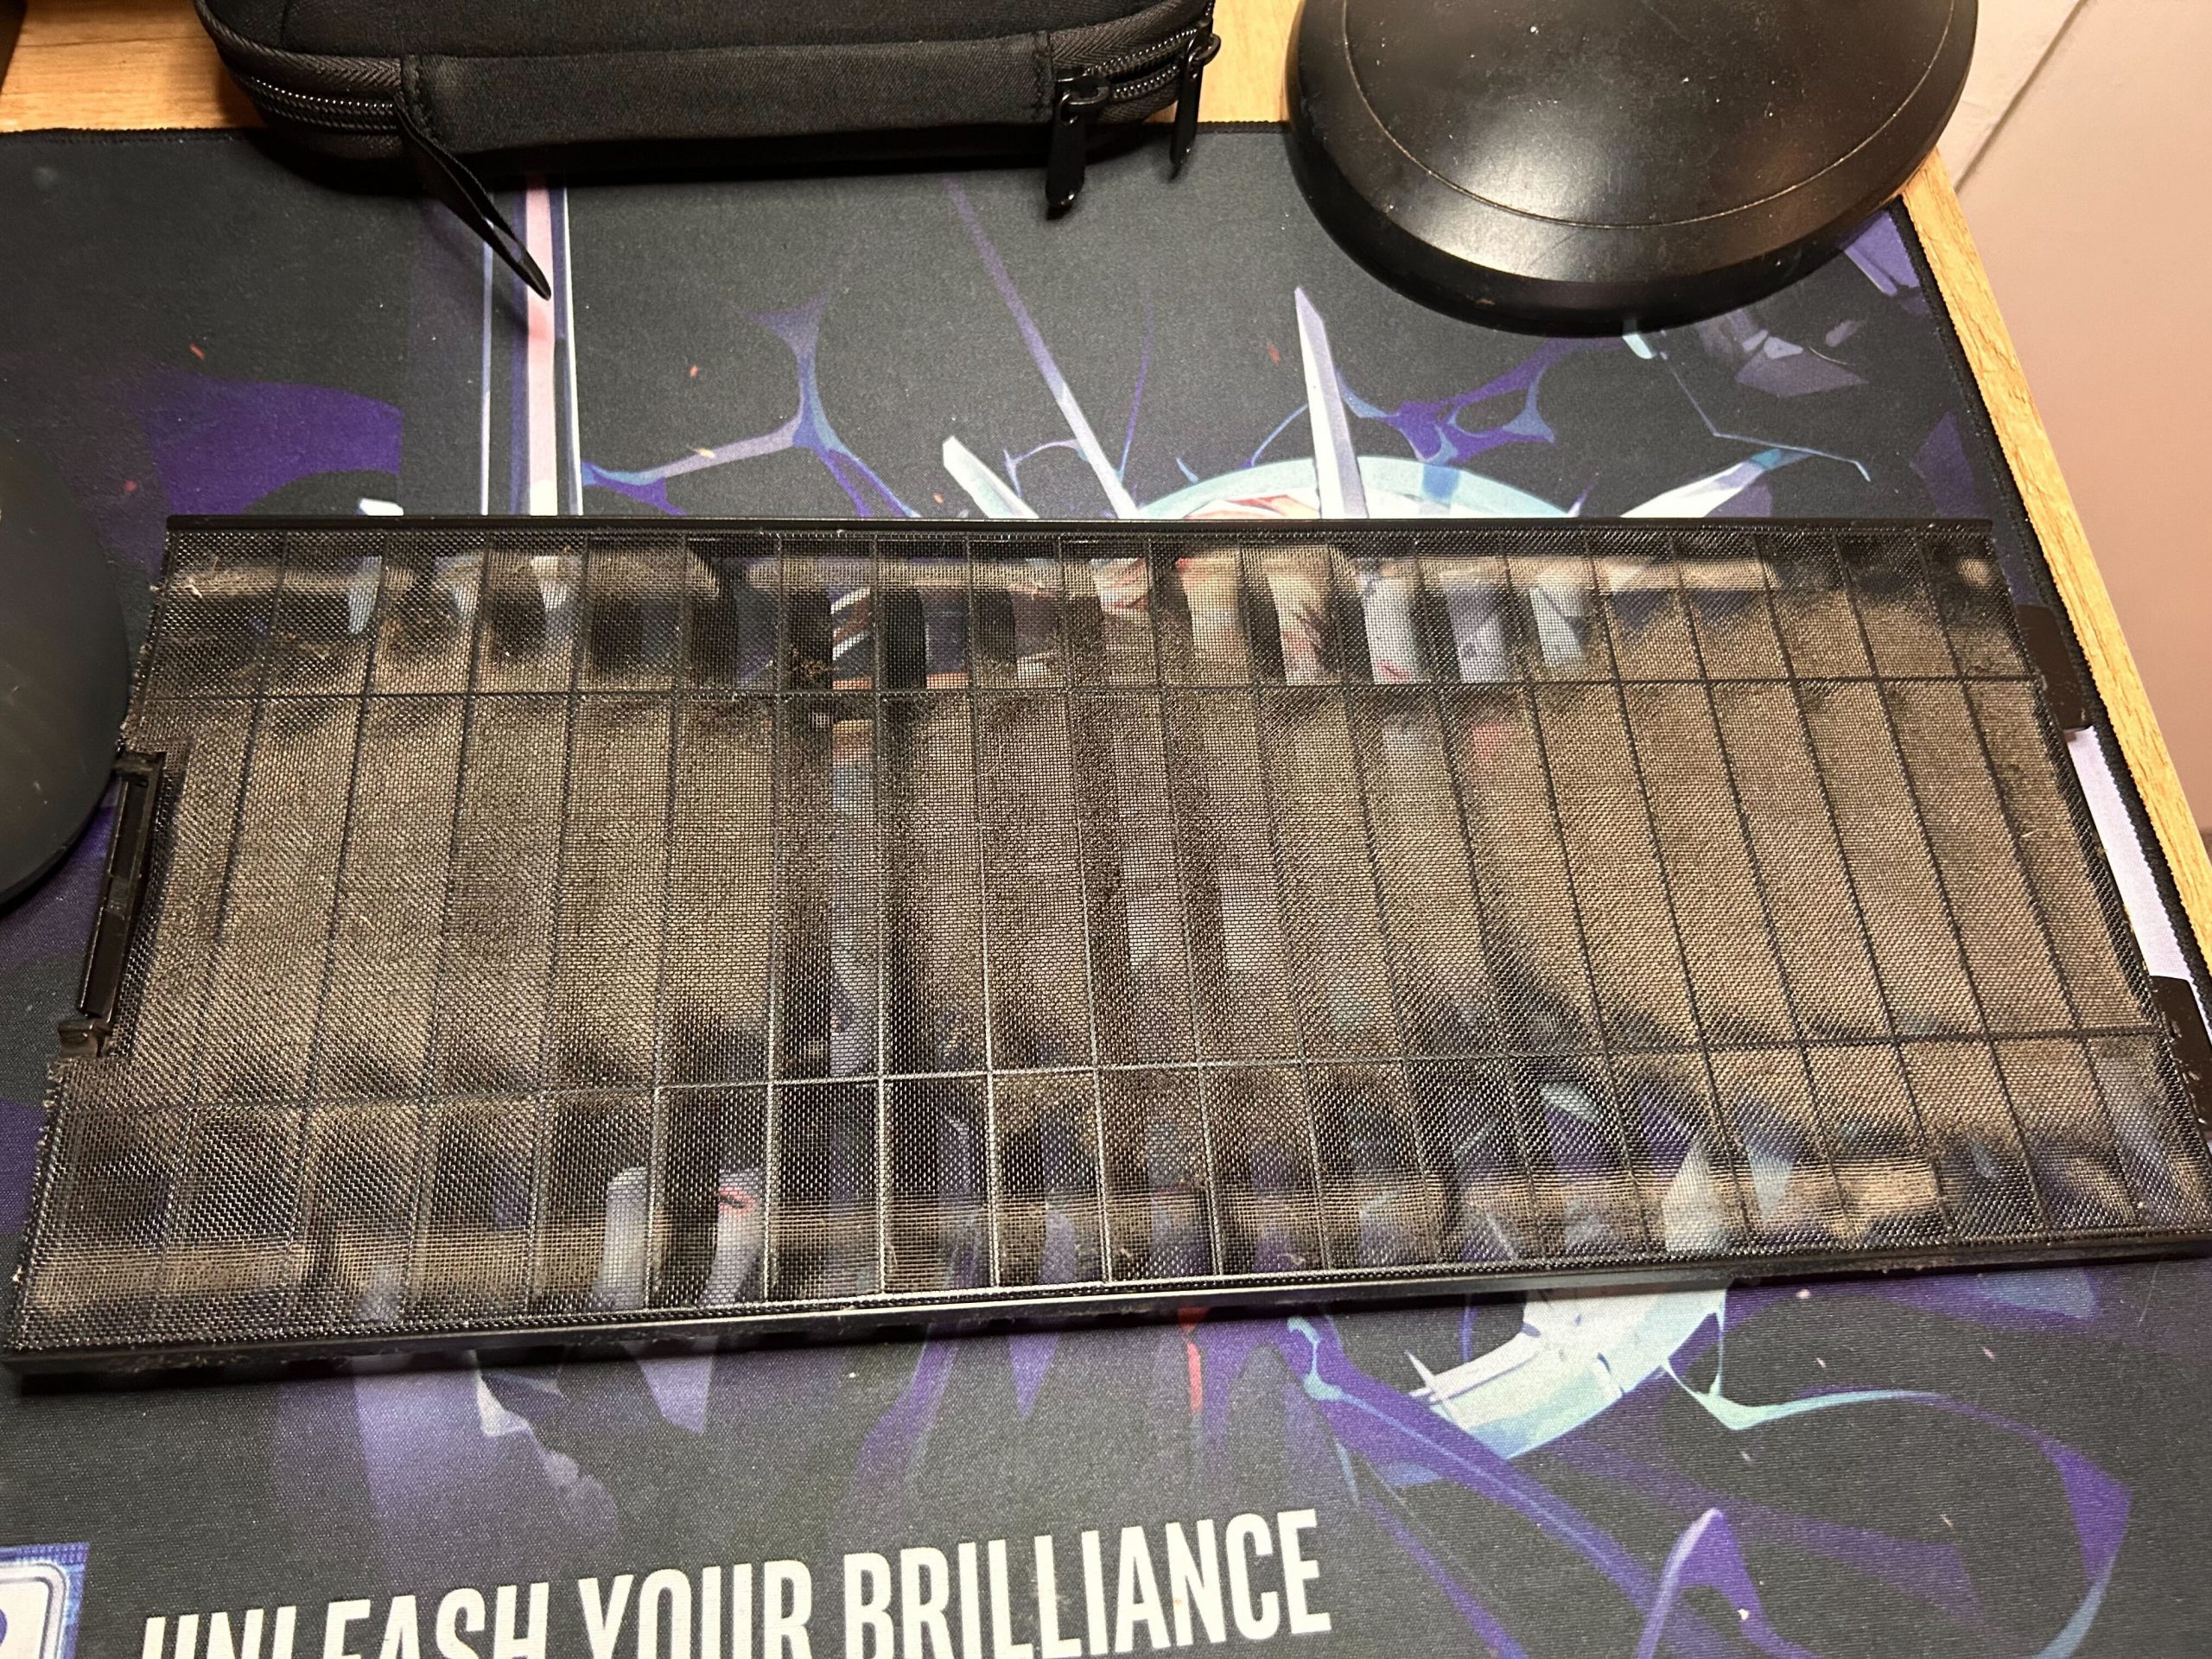
Let’s start with the dust filters. If nothing else, these should be removed and cleaned out. Nearly all the air flowing into the system passes through these filters, and leaving them clogged will have the most significant impact on your system’s performance. Start by removing all removable filters. For the Define 7, these will be located on the front, top, and bottom of the chassis.
What I’m about to say might raise a few eyebrows, but the best way to clean your filters out is to put them under the sink and thoroughly wash them with water. This is the only way I have been able to restore the filters to like-new condition and it is significantly easier than trying to clean them with a cloth or compressed air. Once the filters have been washed, pat the excess water off with a rag and leave them out to dry. Once they’ve dried out, you can reinstall them into your system. Once cleaned, the filters will look almost brand new.
Moving on to the chassis. First, wipe down the exterior of the chassis, then remove the front side panel, rear side panel, top, and front panels. Wipe down the inside of the panels and set them aside so you’re left with the chassis frame. If there is a thick layer of dust across the entire system, I recommend taking it outside and blasting it with compressed air. If you use compressed air to clean your system, be sure to blow directly into the system’s heatsink, as dust often accumulates between the heatsink fins. Typically, compressed air will only remove the top layers of dust, but is still a worthwhile endeavor.
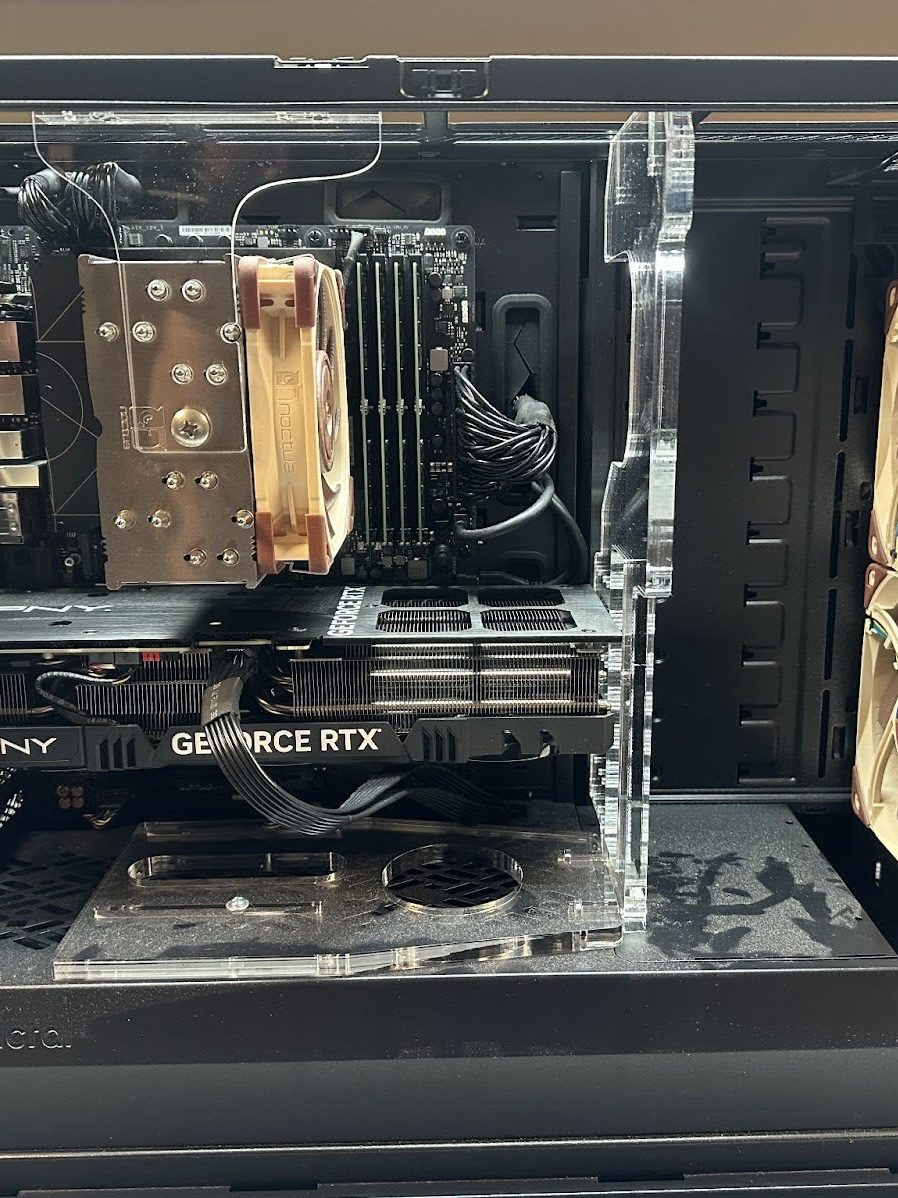
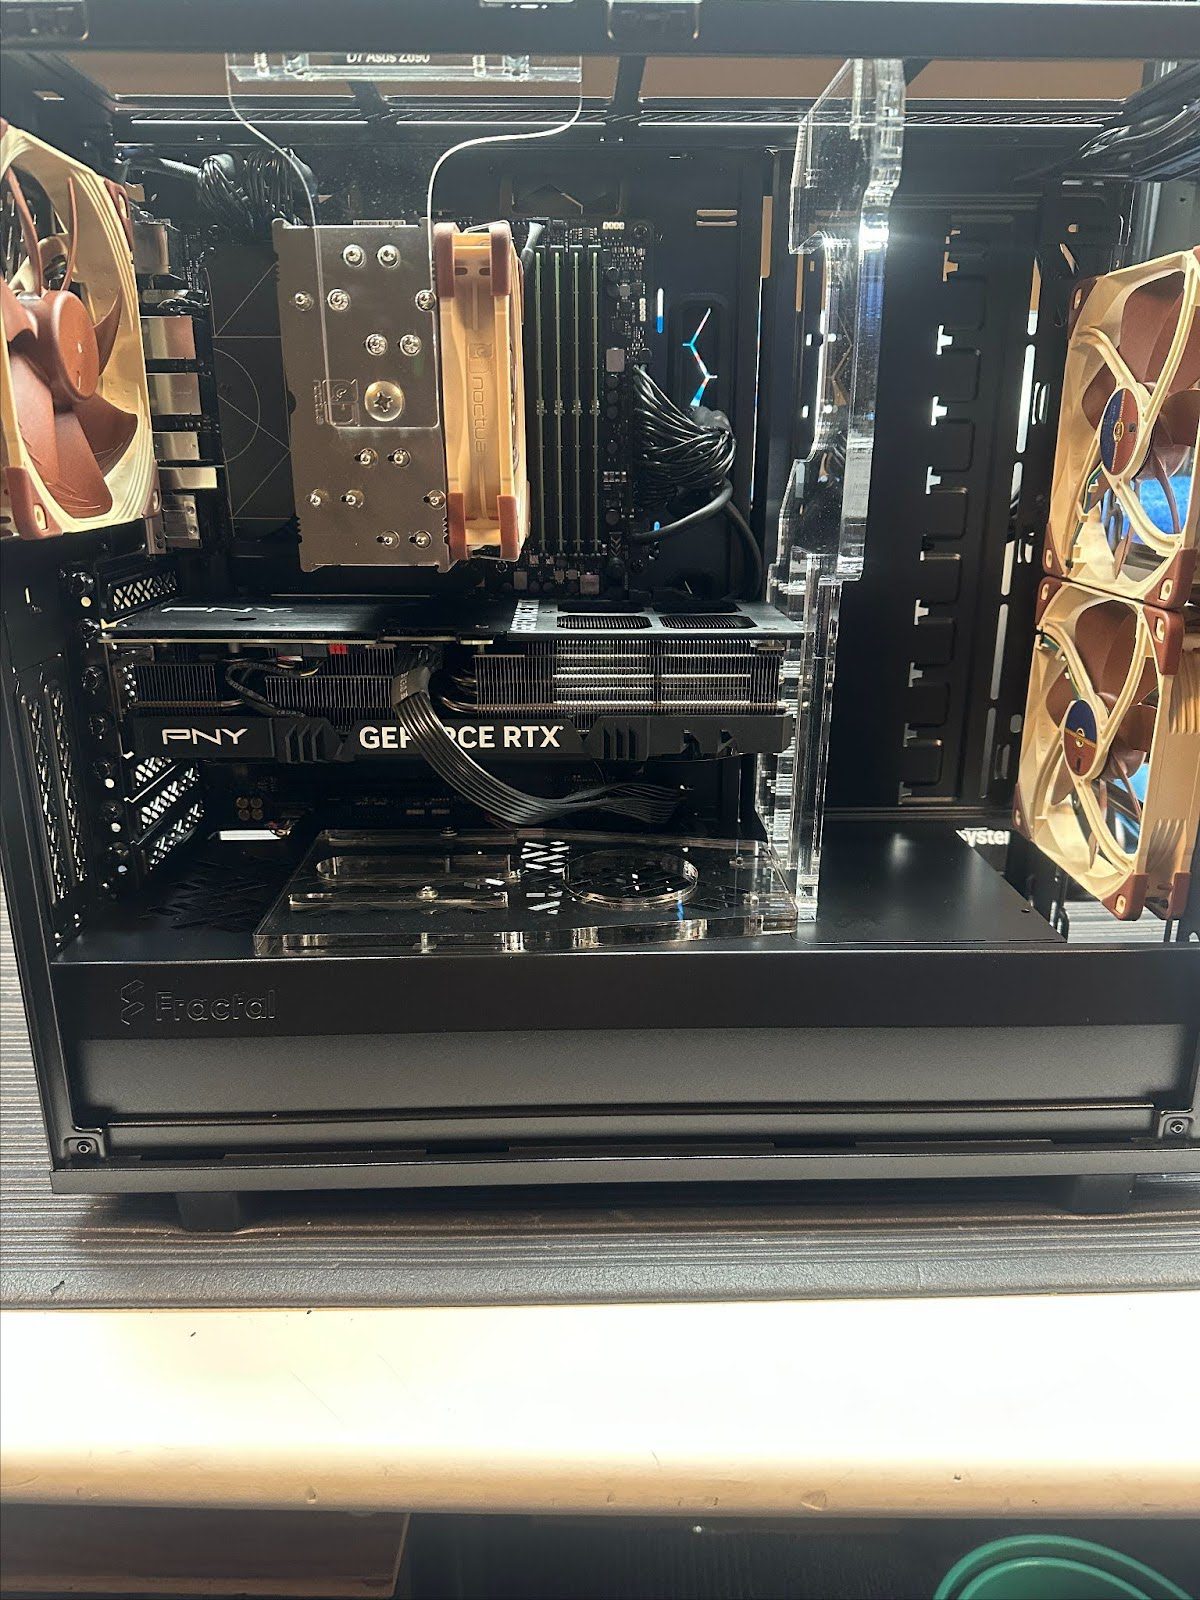
From here, dampen a microfiber cloth with your preferred soft cleaning agent. We typically use Windex as it works great and is not so harsh that the chassis paint will strip during cleaning. Facing the front side, wipe down the power supply shroud, the large plate to the right of the Motherboard, the rear of the intake fans as well as the rims of the fans. You can also wrap the cloth in a screwdriver & slide it underneath the motherboard to wipe it out. It tends to be a tight squeeze, and you won’t be able to reach everything with just your hands. If your system has acrylic bracing securing the heatsink and/or the GPU wipe these down as well. It is okay to apply harsher cleaning agents, such as Isopropyl Alcohol, to the microfiber cloth to clean the acrylic. You can also wipe down the top of the system while cleaning the front side.
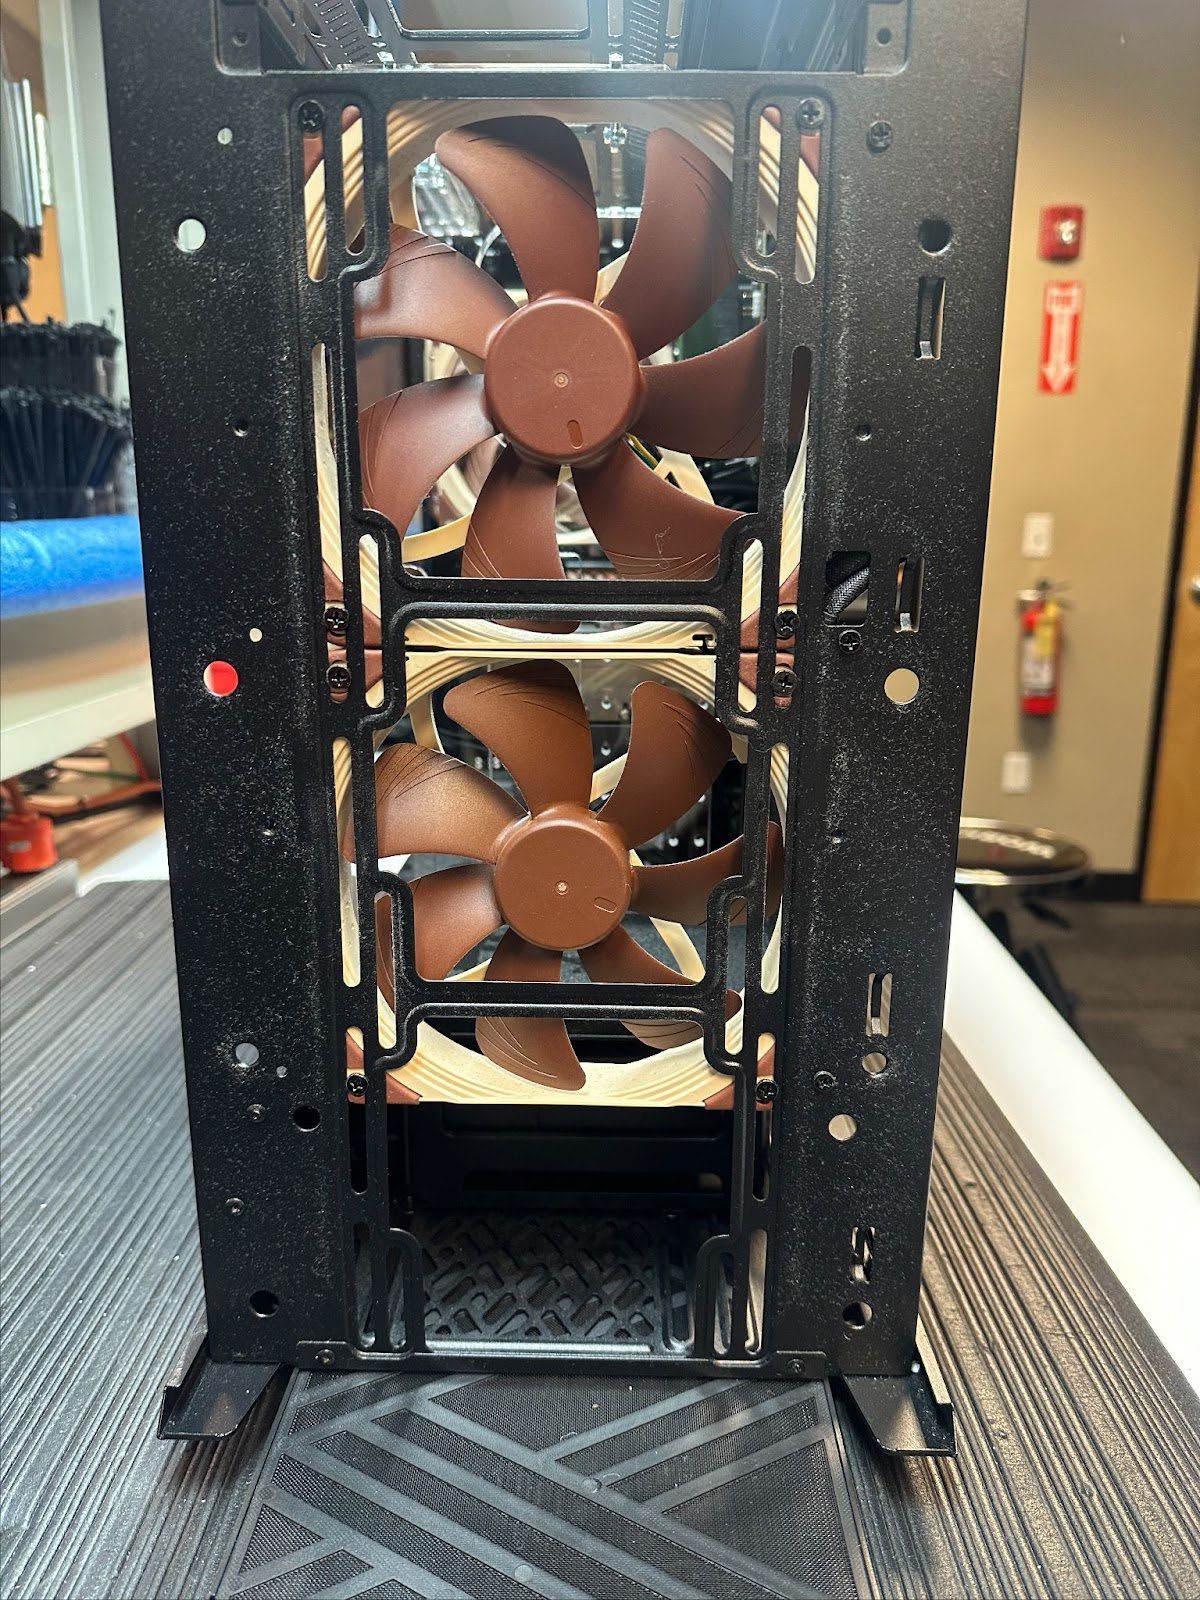
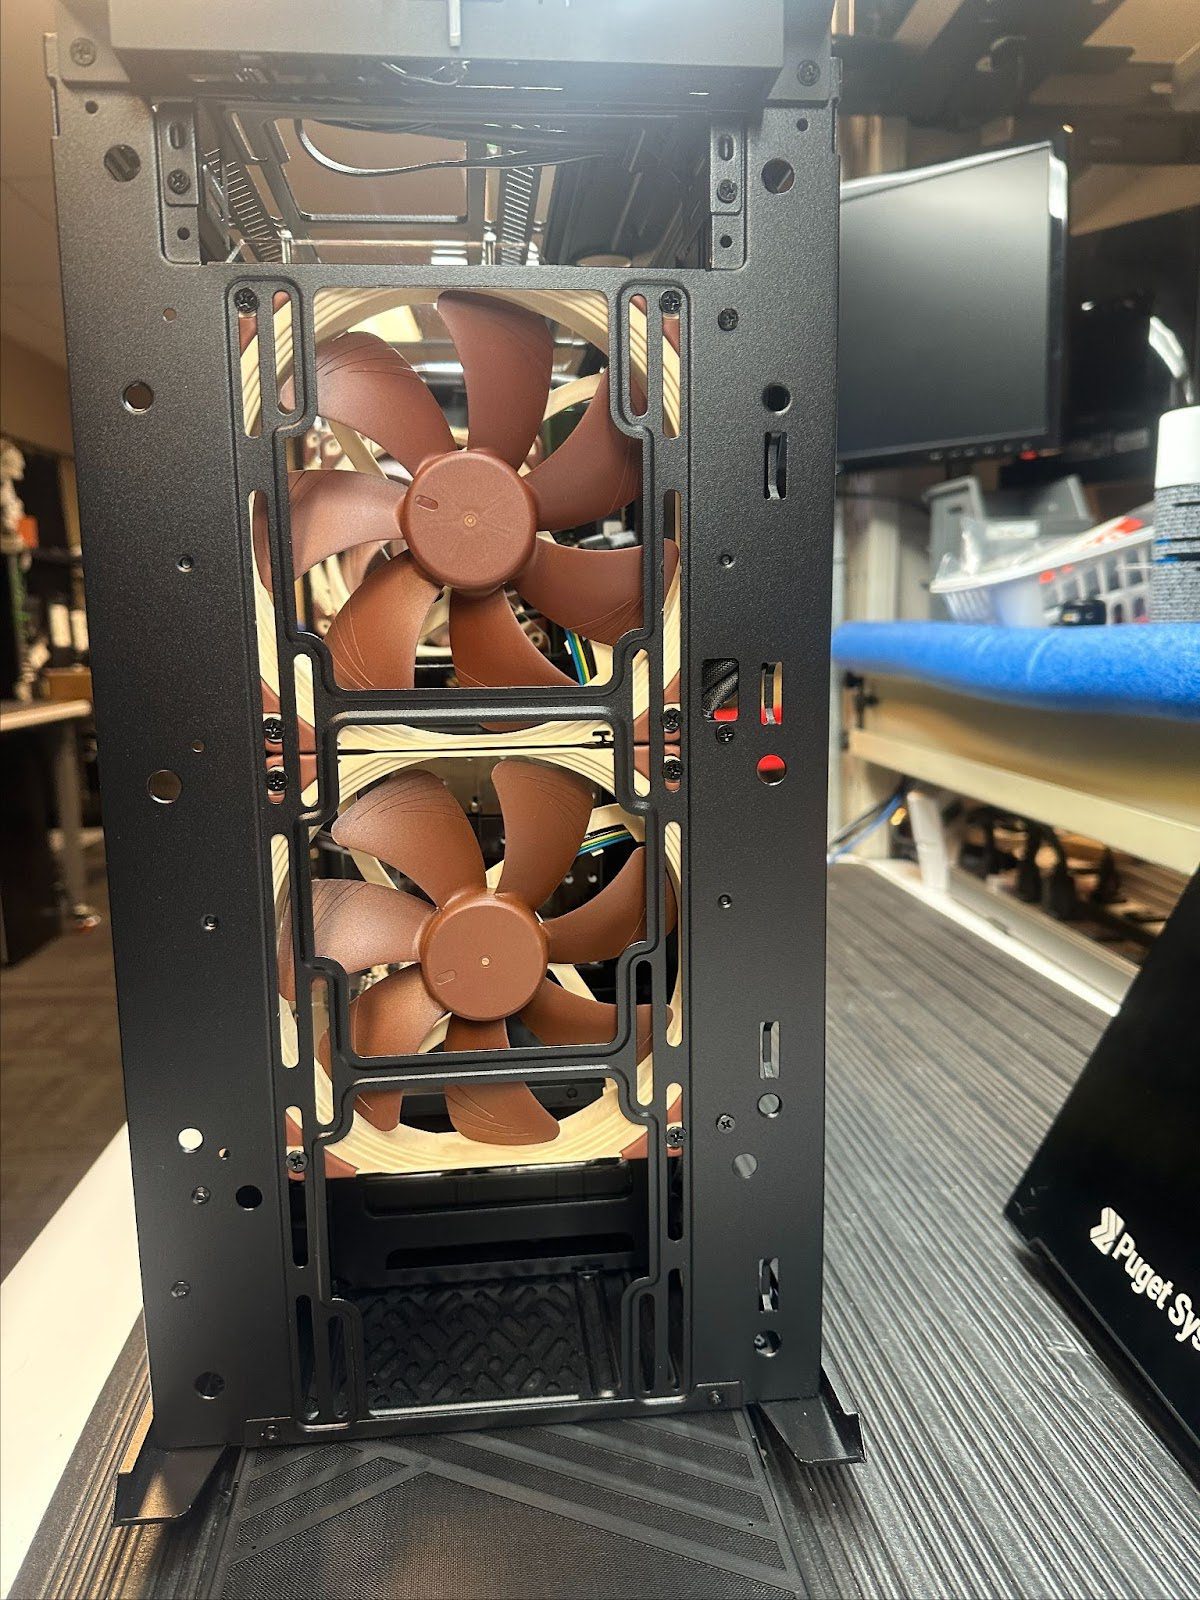
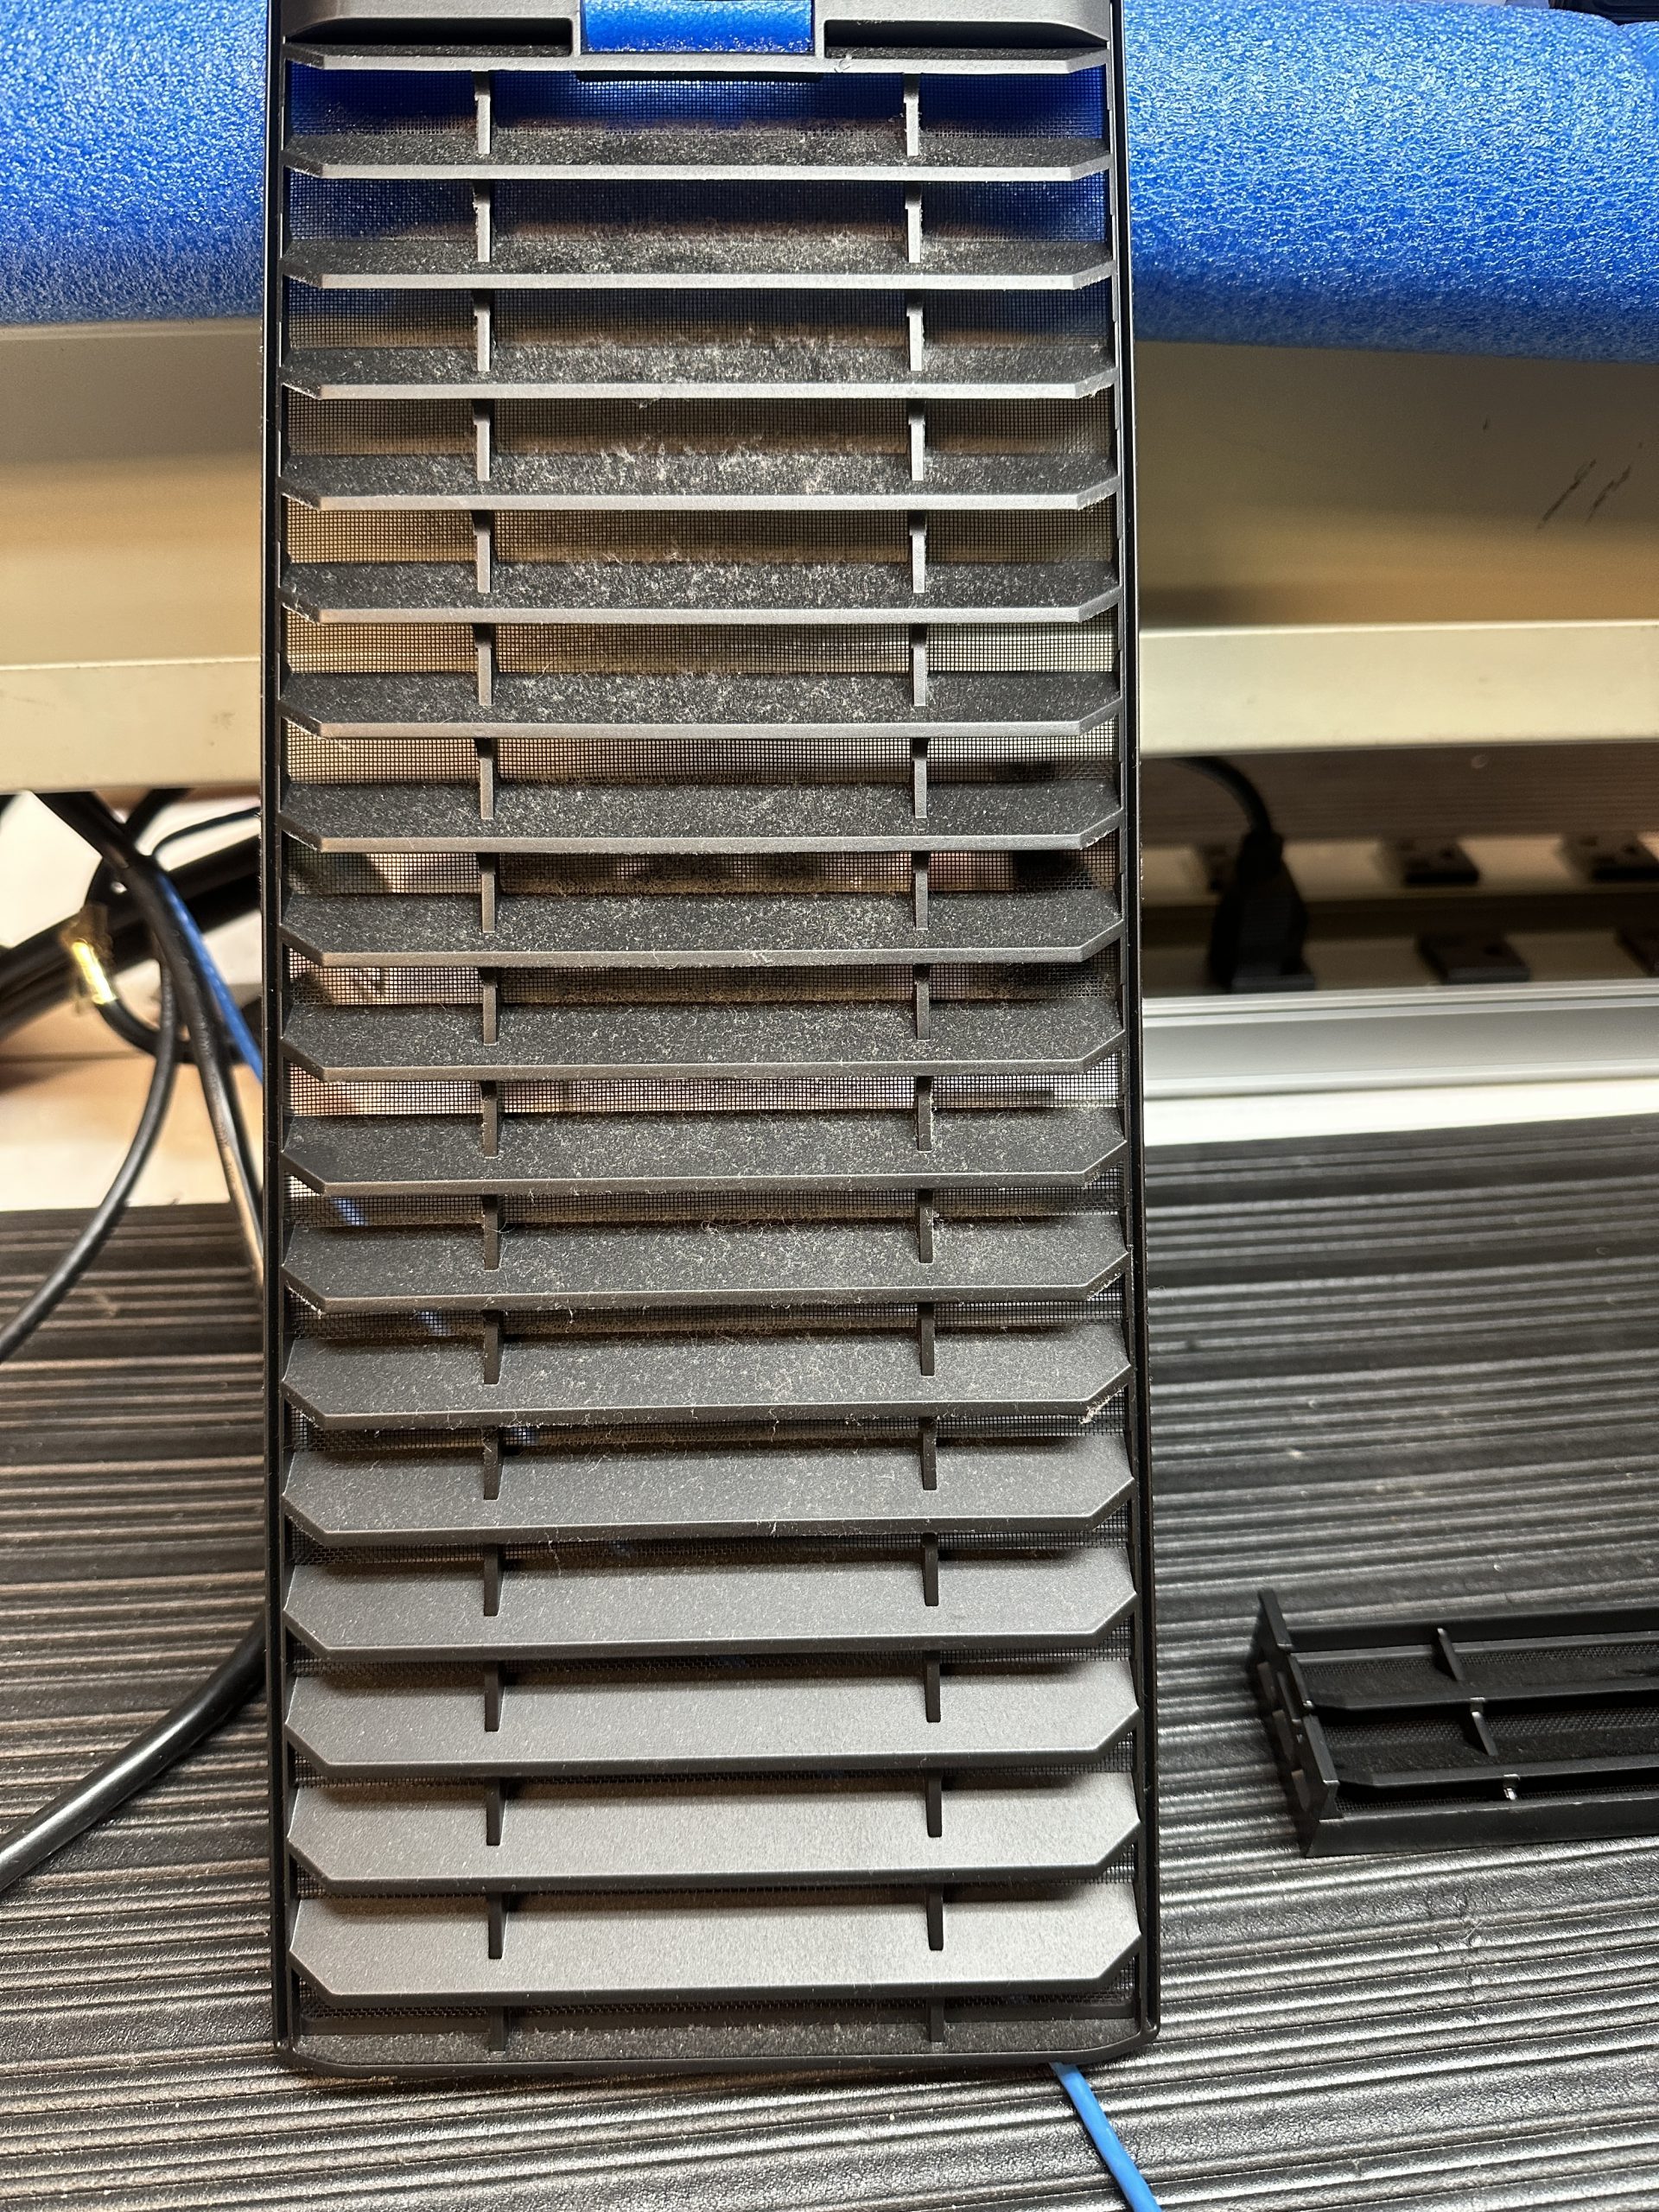
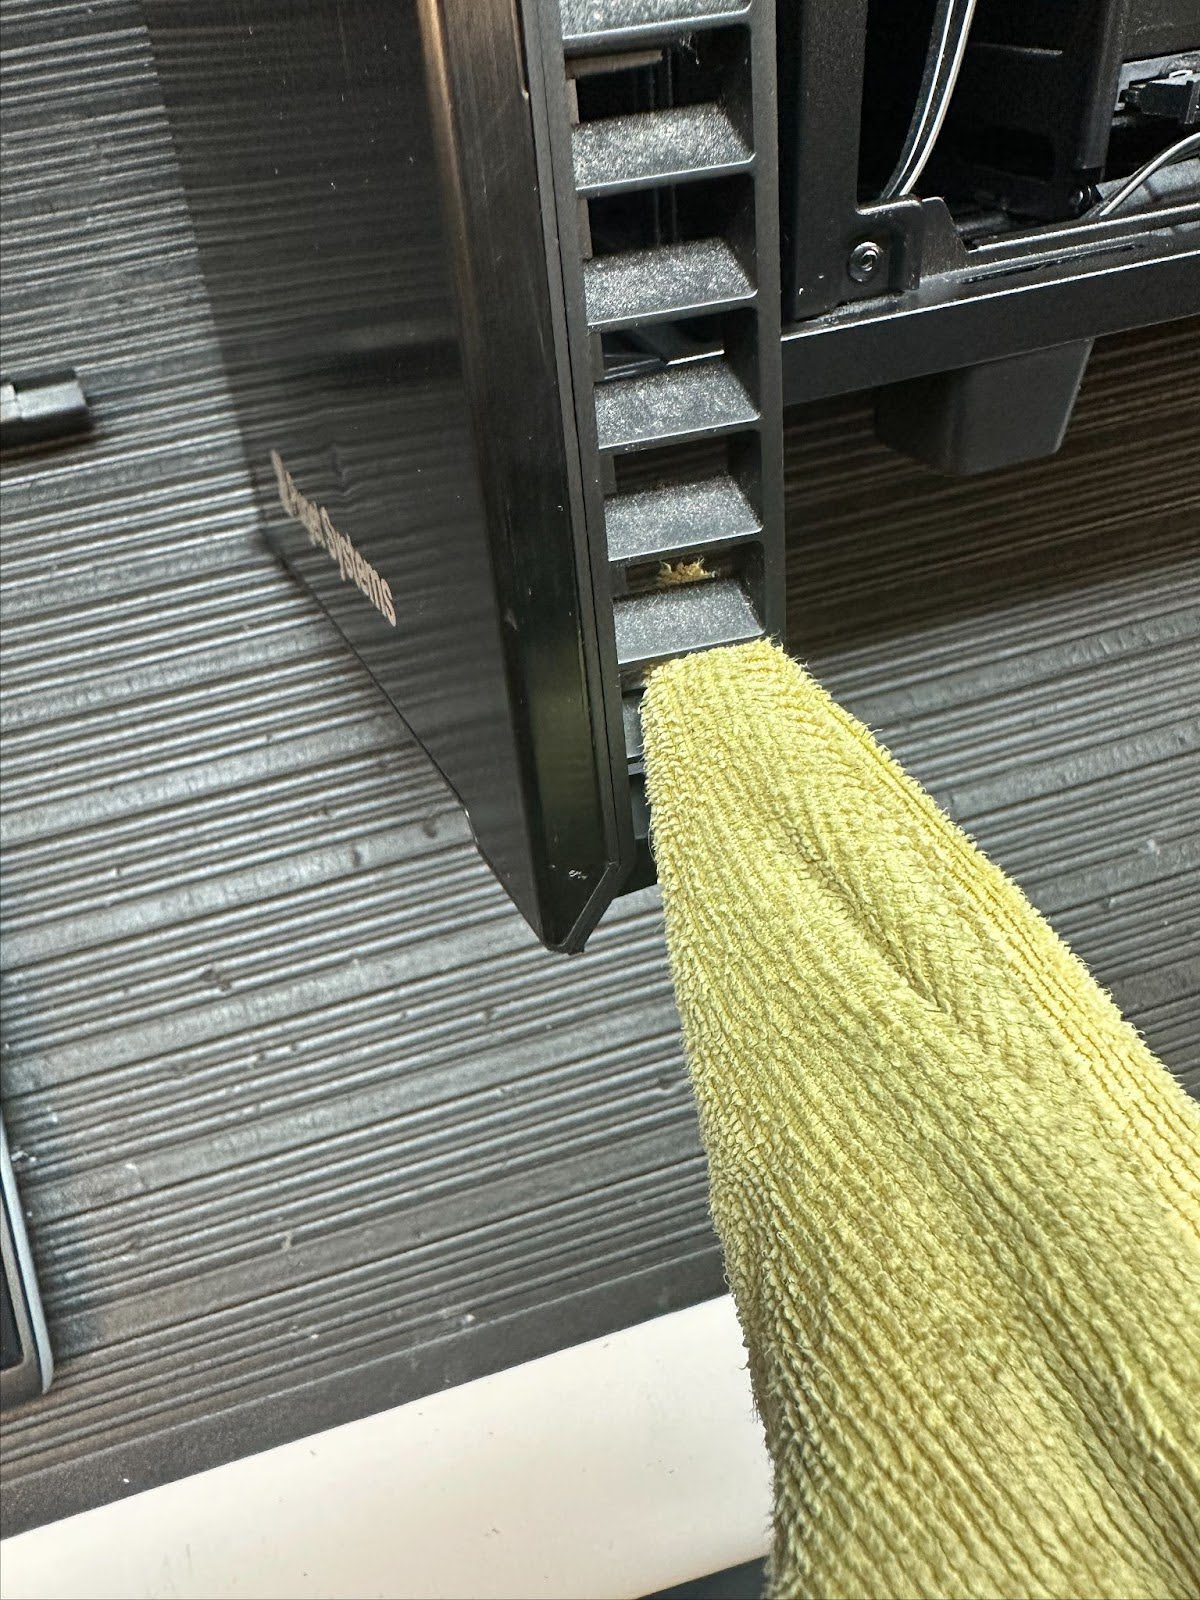
Next, move on to the front of the system with the front panel removed. Wipe down the entire front of the chassis and the front of the intake fans. Additionally, wrap the tip of a screwdriver with your cloth and slide it between the slots on the front door. This portion of the chassis is frequently the dustiest part of the system, and I highly recommend cleaning this area.
Cleaning slots on front door example
Image
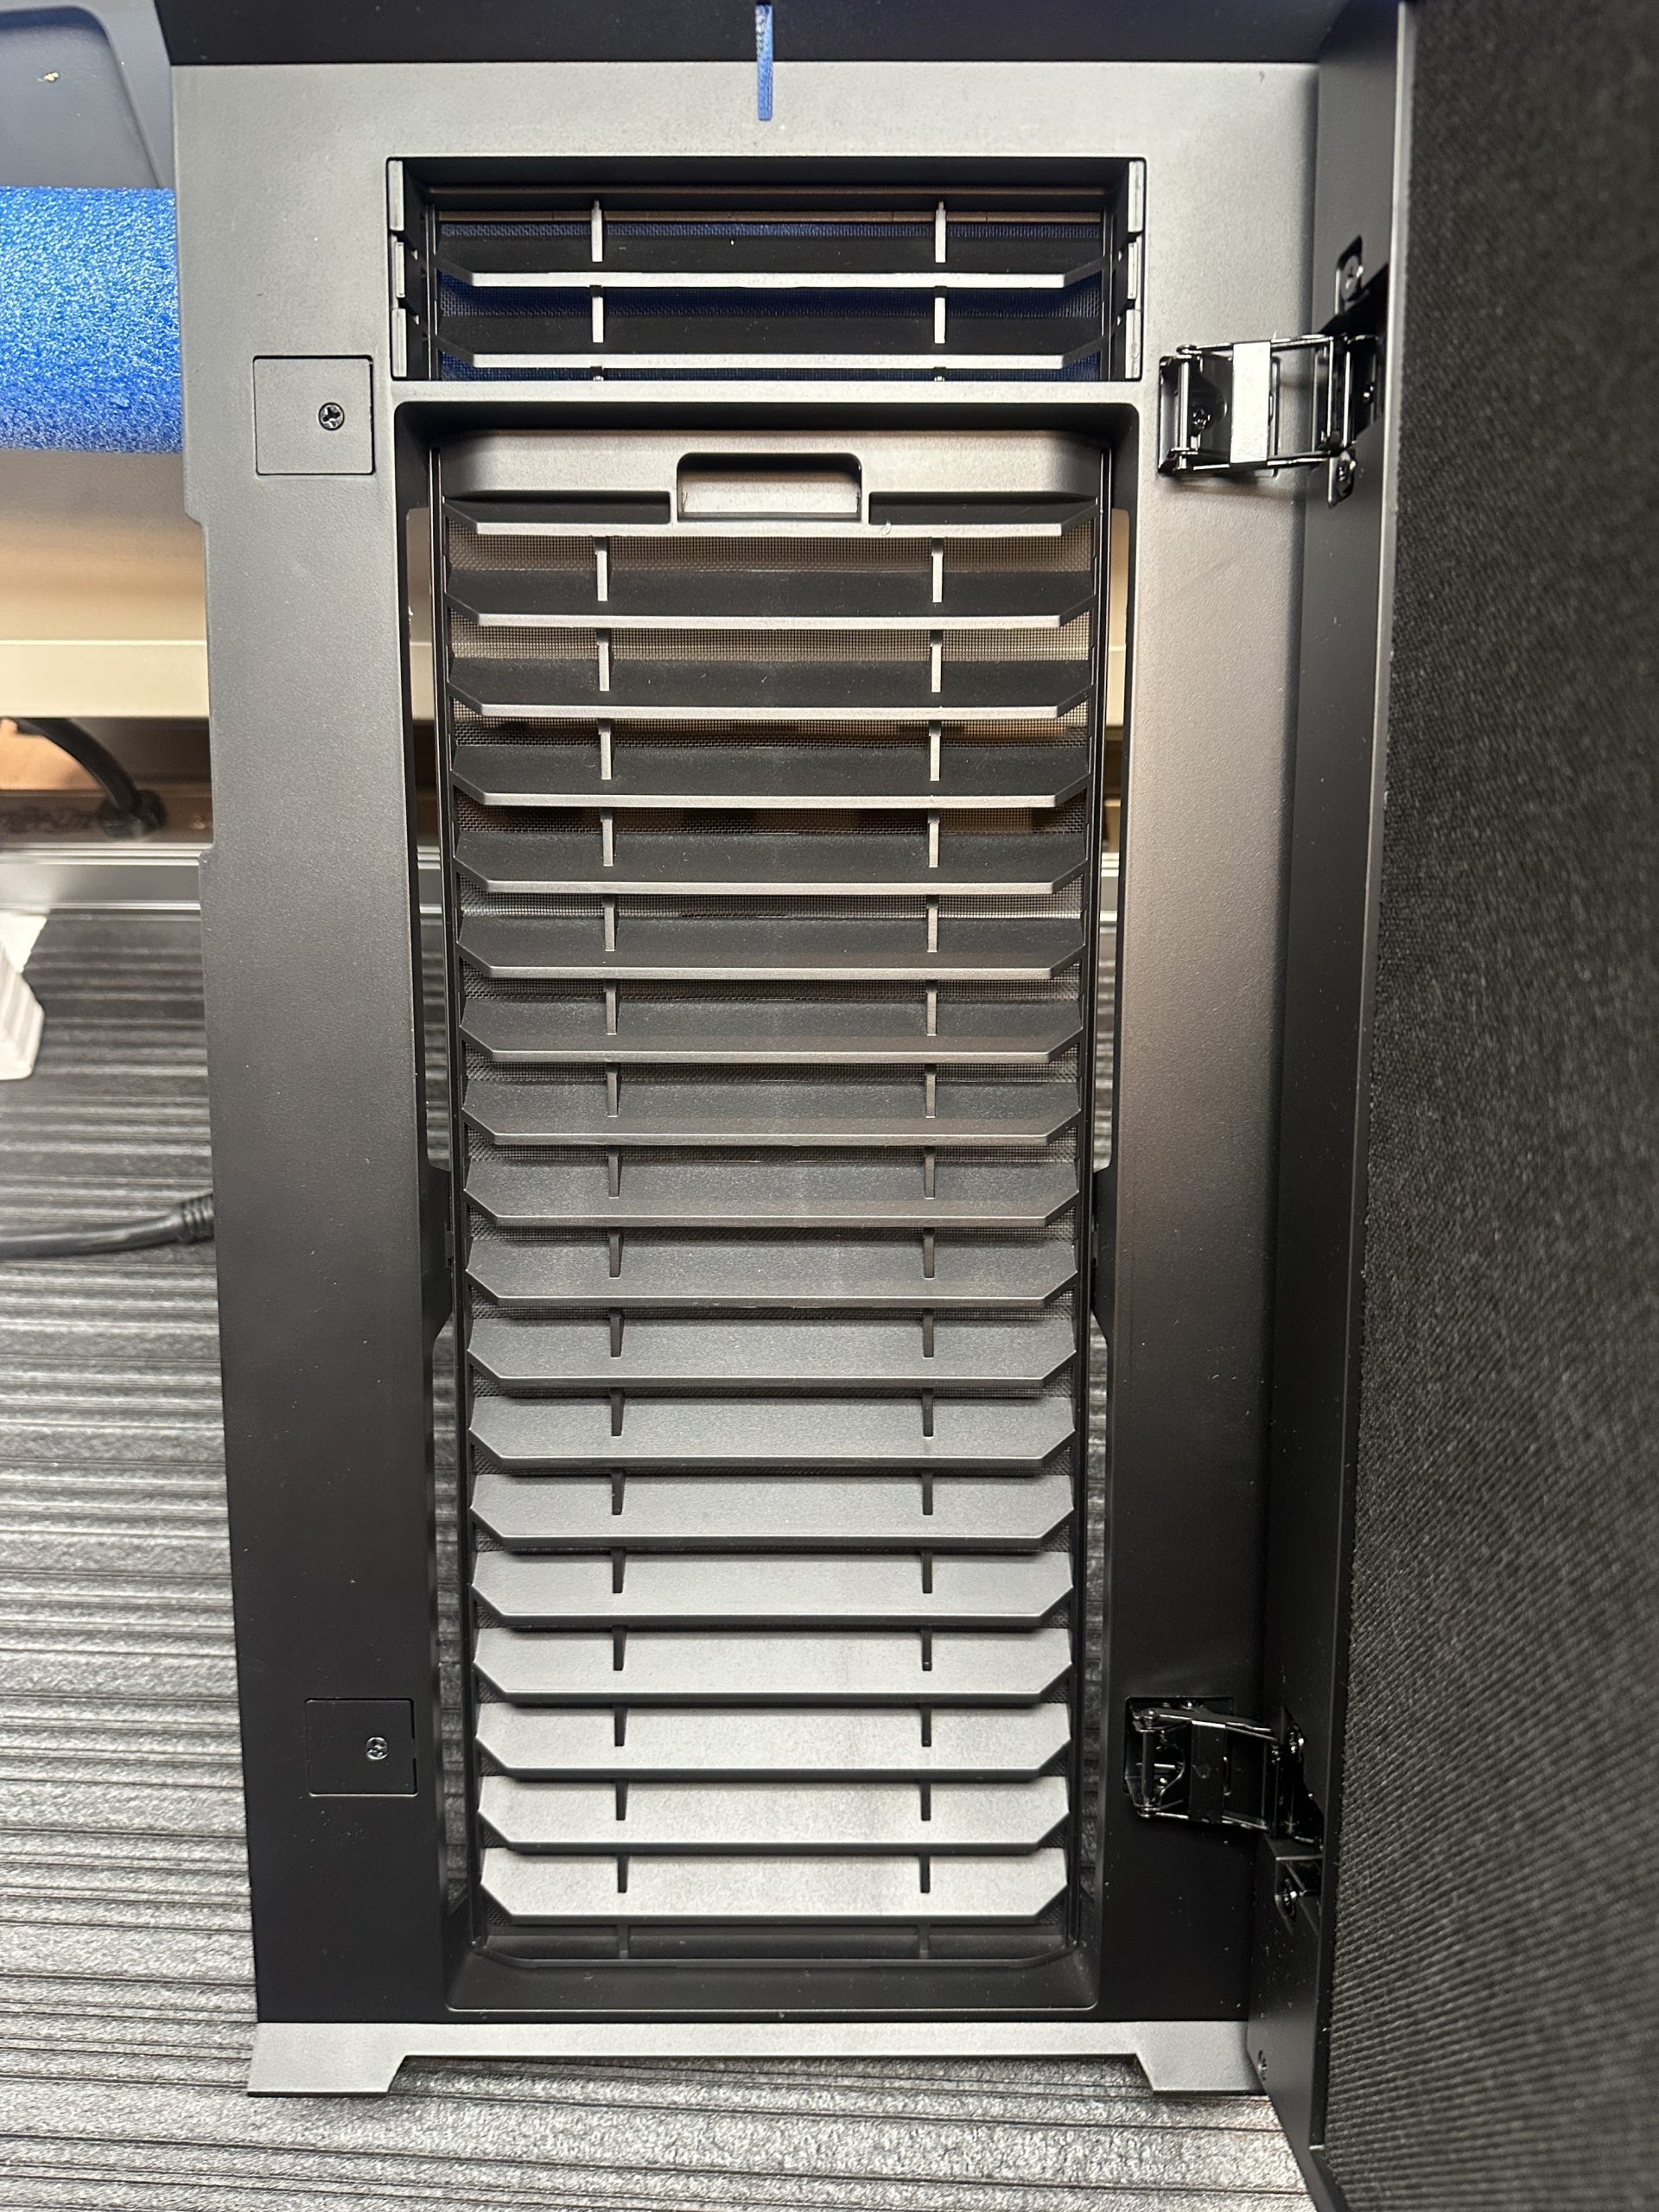
Now that the front of the chassis is clean, move to the rear side of the chassis, where all SATA drives will be mounted. Run the cloth across the entire backplate of the chassis and along the cables. I also remove the hard drive bays and wipe each of them down, and clean out the hard drive cage itself while the drive bays are removed. Next, I wipe the area to both sides of the drive cage and finish the rear side by running the cloth along all four edges and the small gap between the edge of the chassis and the power supply.
Cleaned rear side
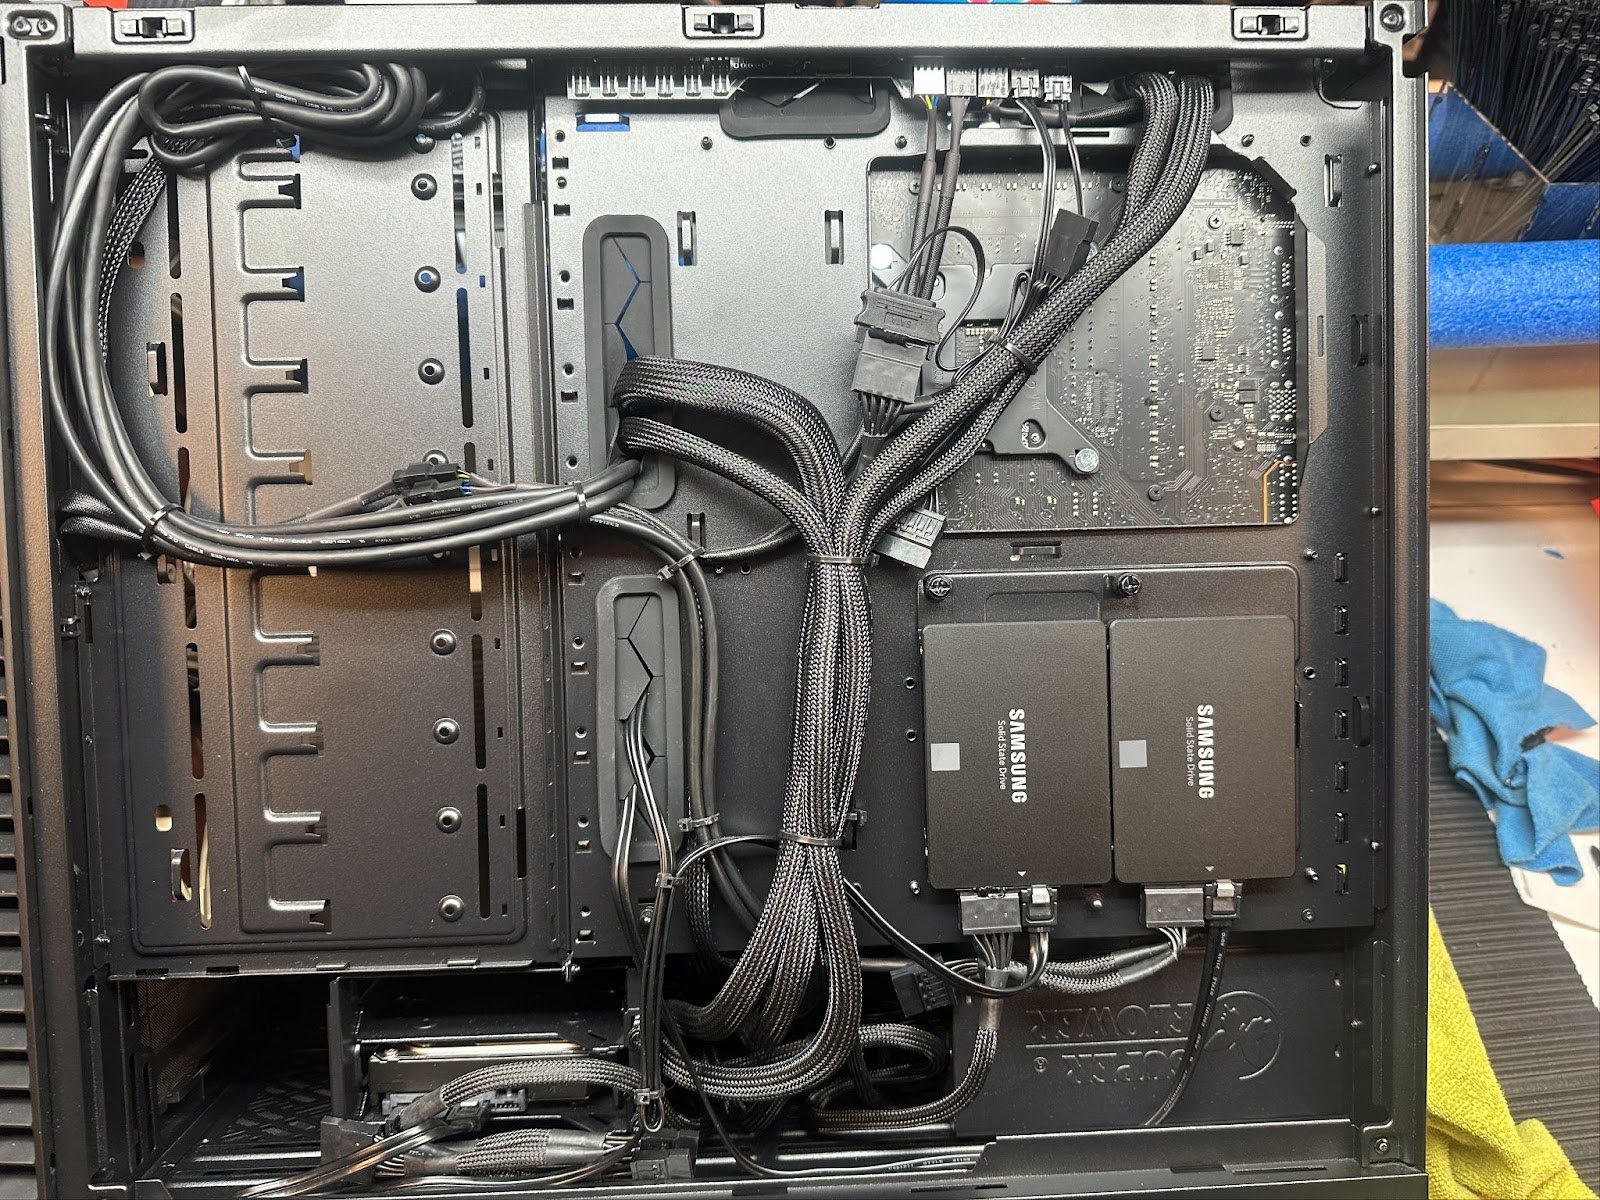
Image
Alright, we’re almost done! Just the back of the chassis is left and it’s the quickest part. Wipe the rear of the chassis from top to bottom, then along the indent where the chassis meets the motherboard I/O shield and PCI devices. By now, all of the filters should be dry and can be reinstalled in the system unless you still notice residual water on them. Once the filters are installed, pop on all the filters, and ta-da, your computer is as clean as it was on day one.
Cleaned rear
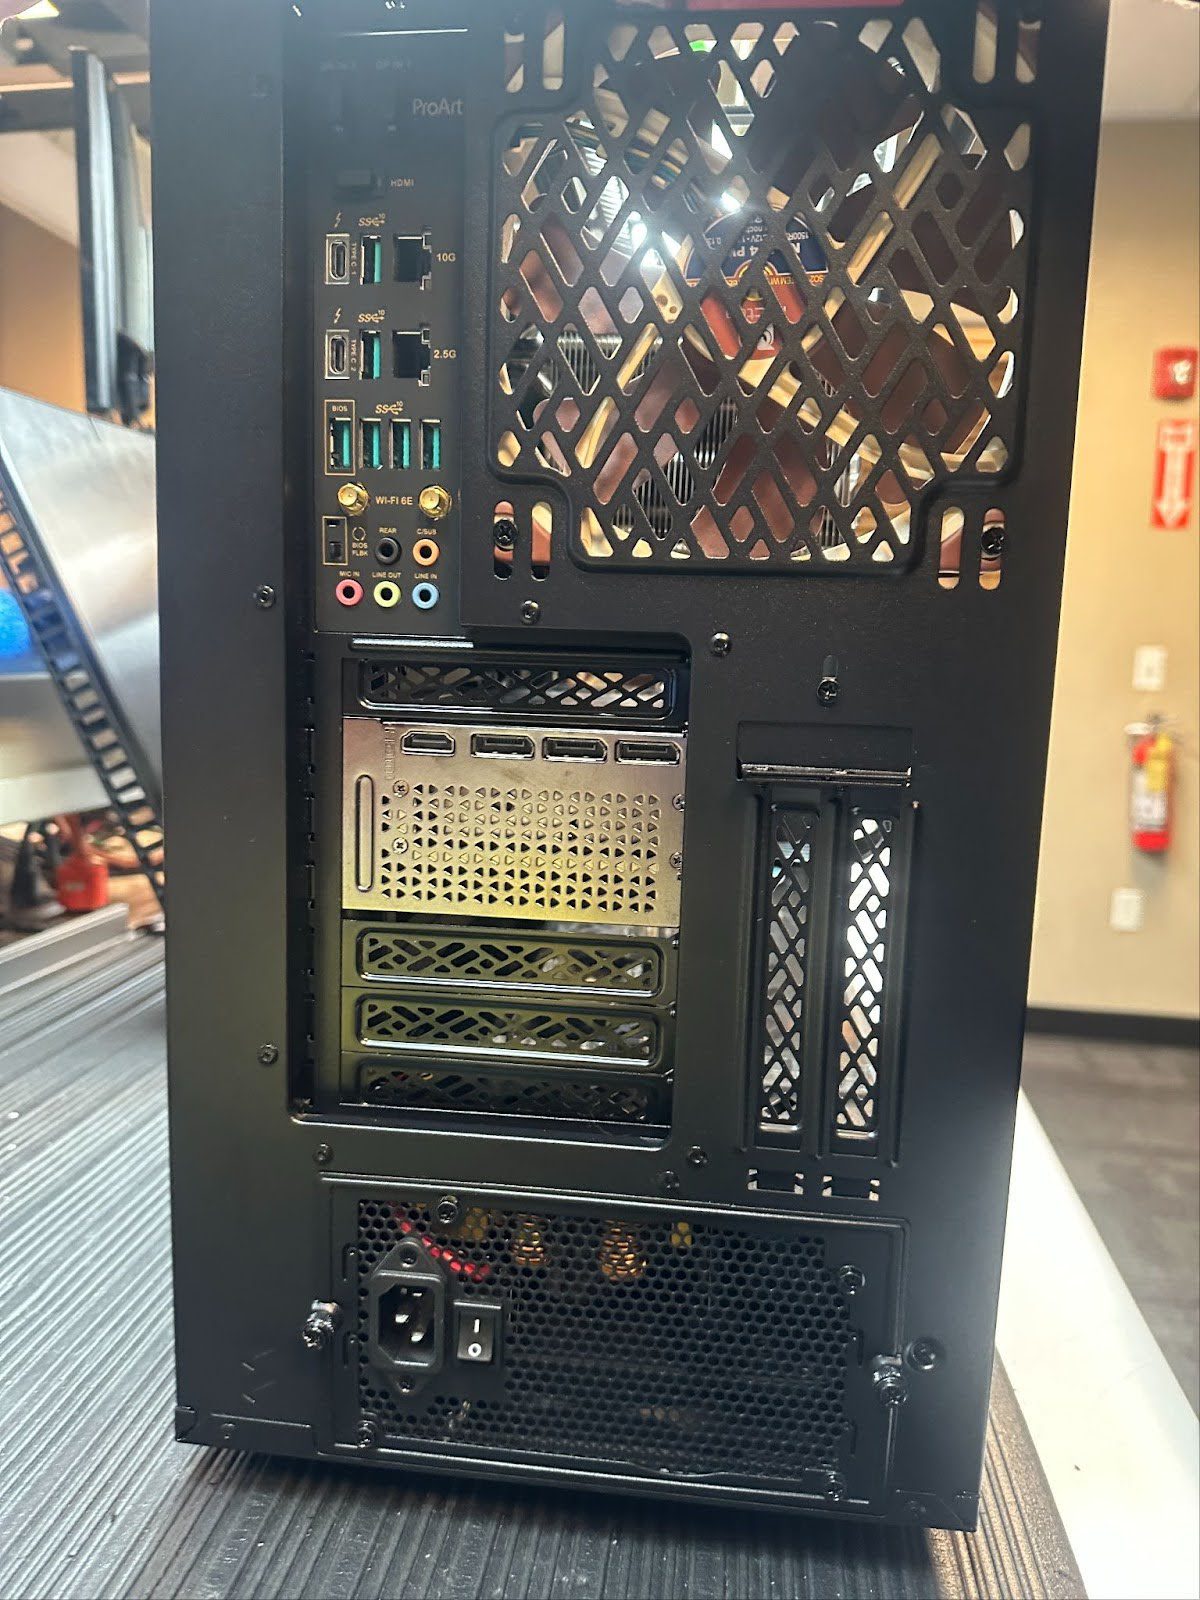
Image
Conclusion
Maintaining a clean and dust-free PC is essential for optimal performance and longevity. By taking preventative measures like elevating your PC off the ground, avoiding smoking or vaping near it, and ensuring proper airflow, you can significantly reduce the accumulation of dust. Utilizing dust filters and cleaning them regularly further enhances protection against debris.
When it comes to cleaning, following a systematic approach—starting with the dust filters and working through the chassis with appropriate tools and cleaning agents—ensures a thorough result. A clean system not only performs better but also runs quieter and more efficiently, ultimately prolonging its lifespan. With consistent care and attention, your PC will remain in top condition for years to come.
Need help with a Puget System?
All Puget Systems computers come with lifetime technical support. Our support team is readily accessible and comes from a wide range of technological backgrounds to better assist you!

Looking for self-guided help?
Regardless of whether your computer was built by Puget Systems or not, if you are experiencing a problem with your workstation or server we have a large library of public support articles that you may find helpful.