Table of Contents
What is Secure Erase?
The Samsung Secure Erase utility creates a bootable USB that you can use to permanently destroy all data stored on an SSD by erasing data from all cells. This will also reset the SSD to its factory state if there are problems with performance or operation of the SSD.
Before running Secure Erase, make sure that the firmware of the SSD is updated to the latest version. Also be aware that all data on the drive will be destroyed during this process, no exceptions.
Preparation
Required items:
- Samsung SSD
- USB flash drive
- Samsung Magician software
Download Samsung Magician software (5.0) here if you do not already have it installed
Getting started
Step 1:
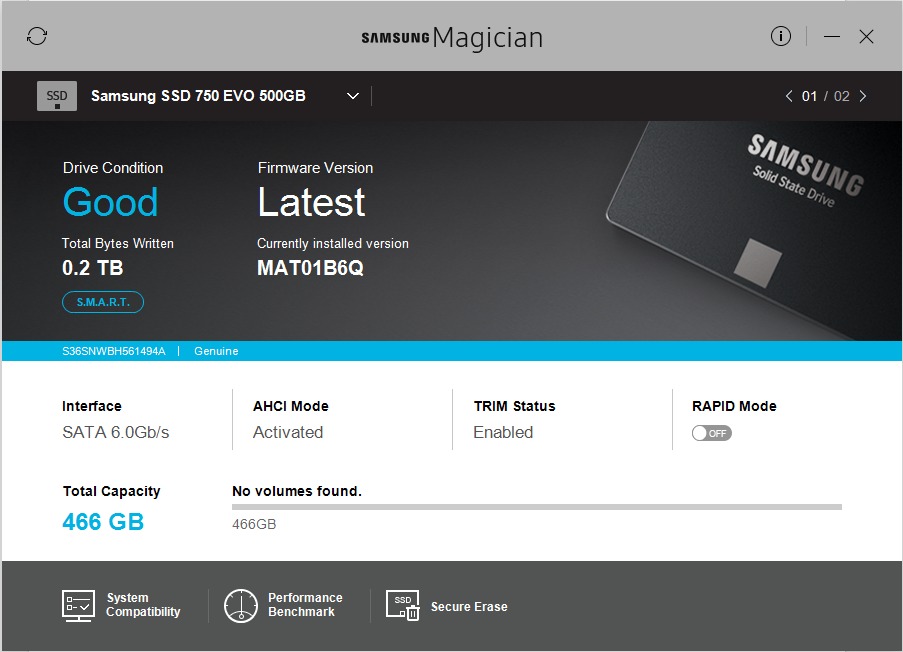
Insert the USB device and click the “START” button in the bottom left of your screen and type “Samsung Magician” then select the first result. You will then see the following window.
Step 7:
Boot from the USB – Depending on your motherboard manufacturer the process may differ but generally pressing F8 while the system is booting will provide the boot selection menu.
Step 8:
This is the Samsung Magician Secure Erase splash screen. Press “Y” on your keyboard to proceed.
Step 9:
The tool will scan all drives – in this image we only see 1 Samsung SSD but if you have multiple please verify WHICH one you are erasing before performing. Press “Y” on your keyboard to proceed.
Step 11:
The Samsung Secure erase tool will automatically close. You can then remove the USB and restart the PC.
Step 12:
Once the PC has booted back into Windows you will need to initialize the drive. Left click the “Start” button and type “Drive Management” then select the first result. The following screen will appear.
Step 13:
Leave defaults and click “OK”.
Step 14:
Select the new disk typically referred to as “Disk 0” as seen below. Click “Action>All Tasks>New Simple Volume…”.
Step 20:
Close “Disk Management” and open “File Explorer”. You will now see your new volume. It will be securely erased and usable.
Need help with your Puget Systems PC?
If something is wrong with your Puget Systems PC, we are readily accessible, and our support team comes from a wide range of technological backgrounds to better assist you!
Looking for more support guides?
If you are looking for a solution to a problem you are having with your PC, we also have a number of other support guides that may be able to assist you with other issues.
