Introduction
We are aware that many of you have been having issues with your system failing to transition into sleep mode. We have done much investigating on the problem and found that this is linked mostly to Windows 10 systems with the Intel 7260 Wifi Adapter installed and using either Asus Z170-A or Maximus VIII Gene motherboards. In this guide I will walk you through the necessary changes to be made in order to eliminate the sleep issue without losing wifi connectivity.
Resolving the issue
First thing you want to do is download these two files that you will need to run a little later. The Intel 7260 Wifi driver and the Windows Update Troubleshooter "wushowhide". Save them to your desktop or somewhere you can get to easily. For the Intel 7260 Wifi driver, make sure you right click it and extract the file. Once that is done, you will need to restart your system and enter the BIOS. To do this either restart or turn on your computer. Wait for the post beep to signal from inside the system chassis. You should then see a black American Megatrends logo screen. You can then press either F2 or DELETE key to enter the BIOS.
Once inside the BIOS go to the Advanced tab.
PCH Configuration.
Then PCI Express Configuration.
Change the PCIe Speed from AUTO to GEN3.
Now that the change has been made cycle over to the Tool tab.
Select the Overclocking Profile menu.
Click save to profile 1. This will allow the change you made to be automatically reapplied should you ever have to load BIOS defaults. Now press F10 and click yes to save/apply all changes made.
You can now let your computer boot into the operating system.
Once your desktop is loaded right click on the Windows Icon located in the bottom left hand corner of the screen. Select Device manager, this will pull up a new window showing all the currently installed hardware of your system and their drivers.
Click on the View tab at the top of the window and then check Show hidden devices.
Go down and click the arrow to the left side of Network Adapters, this will display all network hardware including your wifi adapter.
Locate ANY devices named Intel(R) Dual Band Wireless-AC 7260, right click it and select Uninstall.
Make sure to check the box next to “Delete the driver software for this device” before pressing OK. If there is no checkbox, don't worry. You can skip that part if it's not there.
Once your system is finished uninstalling the driver right click on the bottom left hand Windows icon again and this time select Programs and Features.
Locate and right click the program named “Intel PROset / Wireless Software”. Please note that for some people this program will not be installed, this is OK just proceed to the follow steps.
For those who were able to locate the program, after right clicking the entry, left click Uninstall.
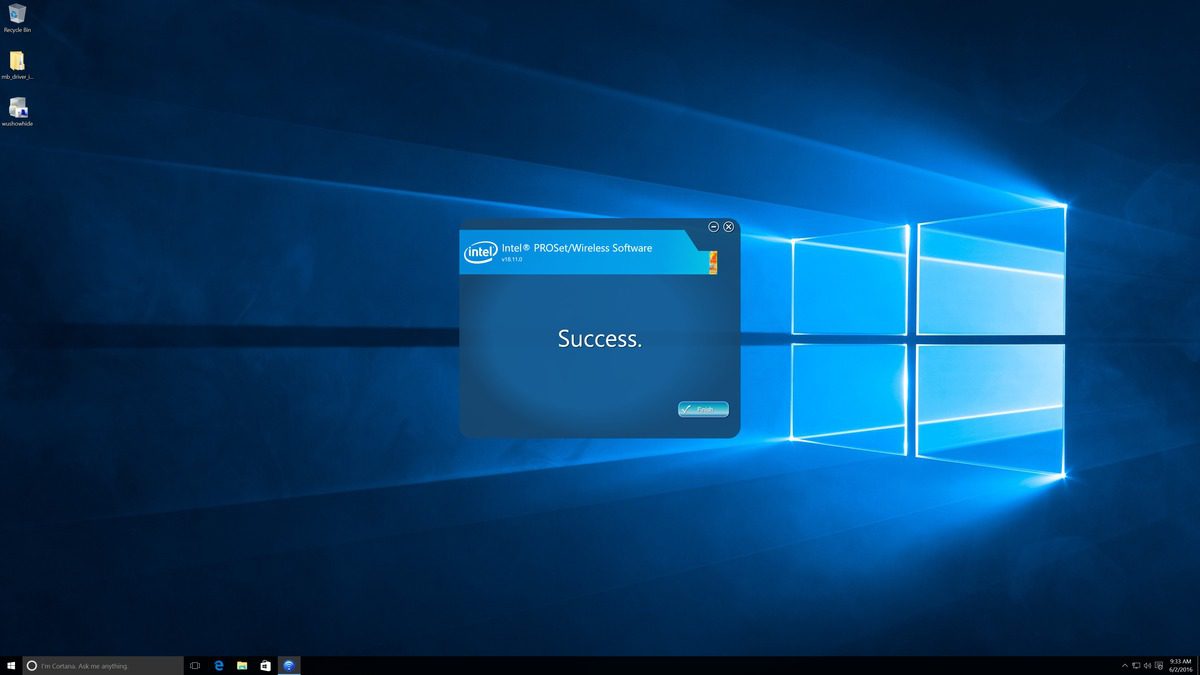
Once the Intel Software menu pops up select Discard Settings to proceed. Once the Intel launcher says “SUCCESS” go ahead and press finish.
Now open the file provided with the new driver software and double click on Autorun(Blue Wifi Logo).
A new Intel Software launcher will open. Check the box to the left side of the user agreement and then click Install. Once the install is completed the launcher will give you a “SUCCESS” message. Go ahead and close out of the Intel launcher.
Now open the second file provided named “wushowhide” and a Windows Troubleshooter window will open. Click Next to proceed.
On this menu select Hide Updates.
From here scroll down until you find an entry named “Intel – Other Hardware WLAN – Intel Dual Band Wireless-AC 7260” and check the box to the left side then click Next.
You should get a menu with a Green check mark indicating the operation was successful. You can now close the Windows troubleshooter.
All steps have now been completed. Verify to make sure your Wifi is functional. Please note sometimes a system reboot will be required for these changes to take effect but not always. I hope this proves to be helpful for many of you and look forward to hearing how the fix worked out for you.
Need help with your Puget Systems PC?
If something is wrong with your Puget Systems PC, we are readily accessible, and our support team comes from a wide range of technological backgrounds to better assist you!
Looking for more support guides?
If you are looking for a solution to a problem you are having with your PC, we also have a number of other support guides that may be able to assist you with other issues.
